
14 Backyard Obstacle Course Ideas for Active Kids
A backyard obstacle course is one of the most reliable ways to burn off a kid’s excess energy while building real coordination, balance, and strength, and most of the best setups don’t require a large budget or a professional installation. A handful of simple, well-placed elements can turn an ordinary backyard into a genuinely fun challenge kids want to run again and again.
Below are 14 backyard obstacle course ideas for active kids, from simple DIY builds to sturdier semi-permanent setups, with real numbers on dimensions, material cost, and age-appropriateness so the course fits your yard, your kids, and your budget.
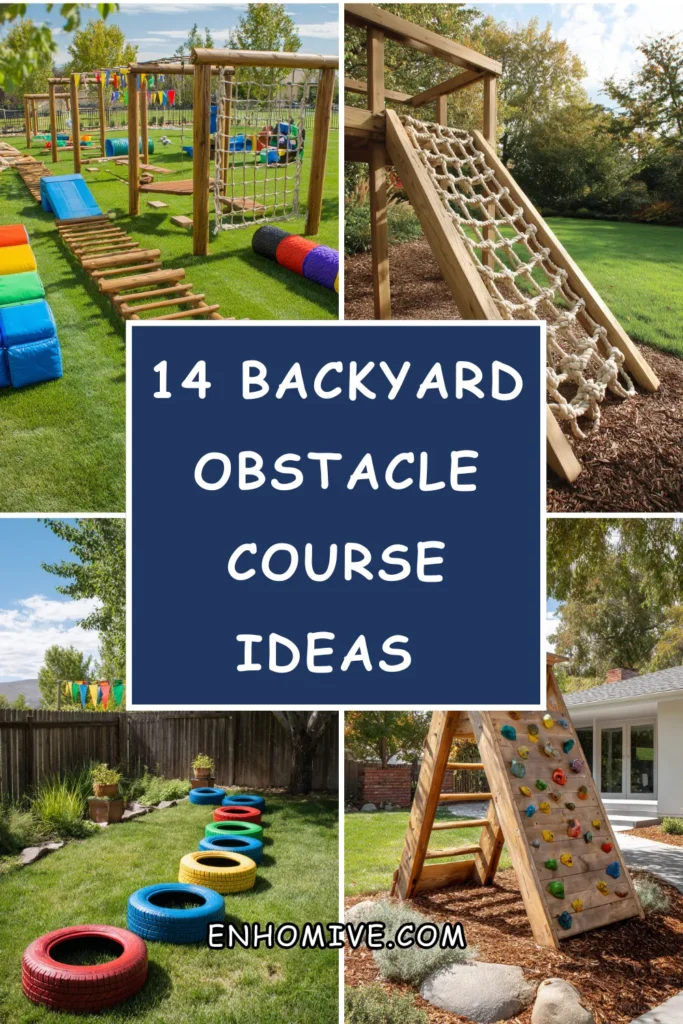
Planning Basics Before You Build
Space needed:
- Minimum functional course: 15×15 feet
- Comfortable course with variety: 25×40 feet or larger
- A course can loop around a yard’s existing layout rather than needing a straight, open path
Age and safety considerations:
- Ages 3-5: lower obstacles, soft landing surfaces, closer adult supervision
- Ages 6-9: moderate height and balance challenges, some independent play
- Ages 10+: taller structures, more complex sequences, added speed elements
- Always place any elevated obstacle over grass, mulch, or a soft surface rather than concrete
1. Set Up a Balance Beam From a Landscape Timber
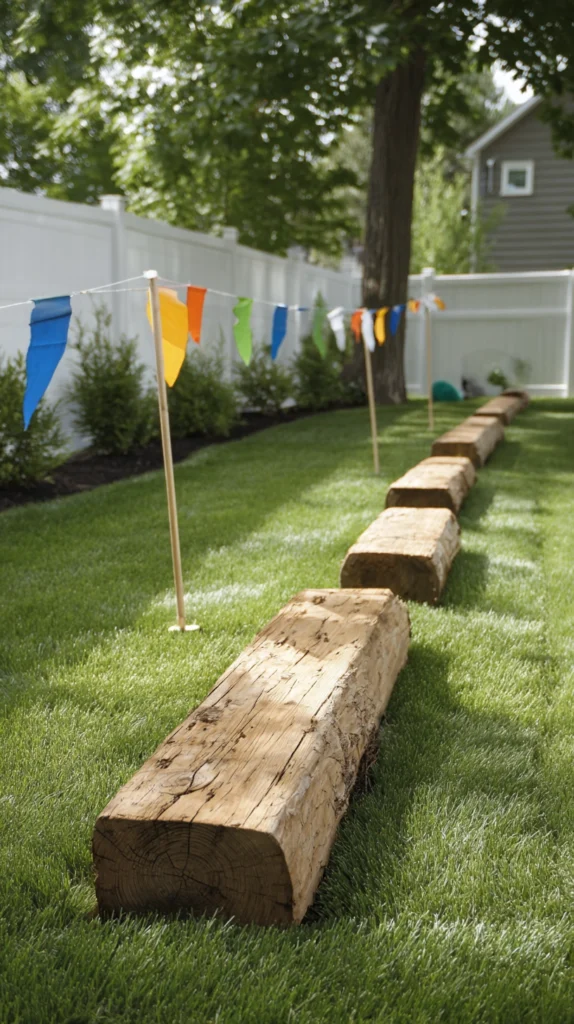
A simple wood balance beam is one of the most classic and affordable obstacle course elements, building genuine balance and core strength while doubling as a fun, low-effort addition to any yard. Standard landscape timbers run 8 feet long and 3.5-5.5 inches wide, sized to sit stably on the ground or slightly elevated on two support blocks.
Budget: $15-30 for a single pressure-treated landscape timber, making this one of the cheapest individual obstacles on this list. Sanding any rough edges before installation prevents splinters, which matters given how much bare-hand and bare-foot contact this obstacle typically gets.
For younger kids, keeping the beam flat on the ground removes fall risk while still building balance skills, while slightly elevating it on two low support blocks (2-4 inches) adds difficulty for older children ready for more challenge. Placing the beam over grass or mulch, rather than a hard surface, is an easy way to add a safety buffer even at this low height.
This is one of the best starting obstacles for any course, since it requires no special tools beyond basic sanding and works for a wide age range depending on how it’s positioned.
2. Add a Tire Crawl Using Stacked or Buried Tires
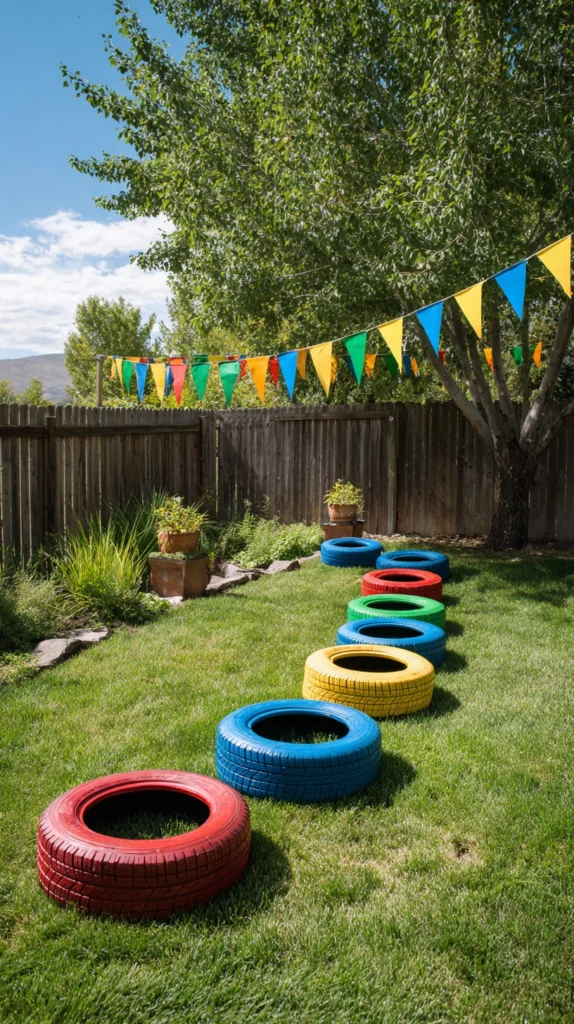
Old tires, either partially buried in the ground or simply laid flat in a row, create a classic obstacle requiring kids to lift their knees high and navigate a slightly unpredictable surface. Standard tire obstacles use 4-8 tires laid in a row spanning roughly 10-16 feet depending on tire size.
Budget: often free if sourced from a local tire shop clearing old inventory, or $5-15 per tire if purchasing secondhand. Many tire shops are happy to give away old tires for free specifically for projects like this, since it saves them a disposal cost.
Partially burying the tires (about a third of their height) creates a more stable obstacle that won’t shift underfoot, which matters both for safety and for keeping the course usable over repeated play sessions. Painting the tires in bright colors is a popular way to make this obstacle more visually appealing and can also help mark different course stations if used alongside other numbered or colored elements.
This is one of the more physically demanding obstacles for younger kids specifically, since the high-knee movement required works different muscles than most other course elements.
3. Build a Simple Rope Swing Station
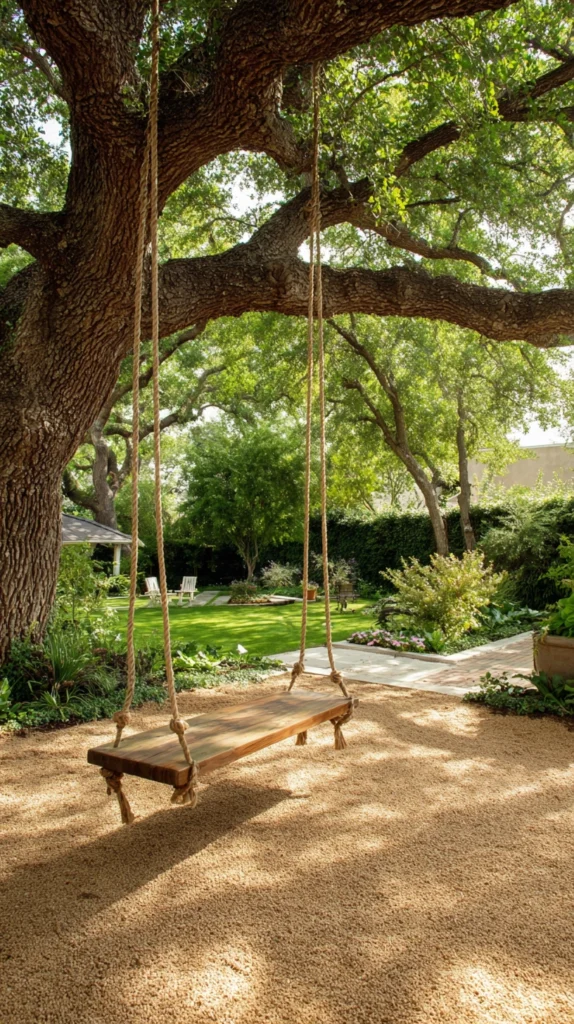
A rope swing, hung from a sturdy tree branch, adds a dynamic, momentum-based element to a course that static obstacles can’t replicate. Standard rope swings use 1-1.5 inch diameter rope rated for the weight of the children using it, hung from a branch at least 12-15 feet high for adequate swing clearance.
Budget: $20-50 for quality rated rope and a swing seat or simple knotted platform, making this a relatively affordable addition given the play value it delivers. Confirming the branch’s structural soundness before hanging any weight-bearing equipment is essential, and consulting a local tree service if there’s any doubt about the branch’s health is worth the small cost for peace of mind.
Clearing the landing and swing area of any obstacles, rocks, or roots, and ideally adding a soft mulch or sand base beneath the swing’s arc, significantly reduces injury risk from an unexpected fall or loss of grip. This obstacle works well as either a starting or ending point for a course, since it naturally draws kids in and gives them a fun, high-energy finish or launch into the rest of the sequence.
Regularly inspecting the rope for fraying or wear, particularly after periods of heavy use or exposure to weather, is an ongoing maintenance task worth building into a regular safety check routine.
4. Create a Hula Hoop Agility Station
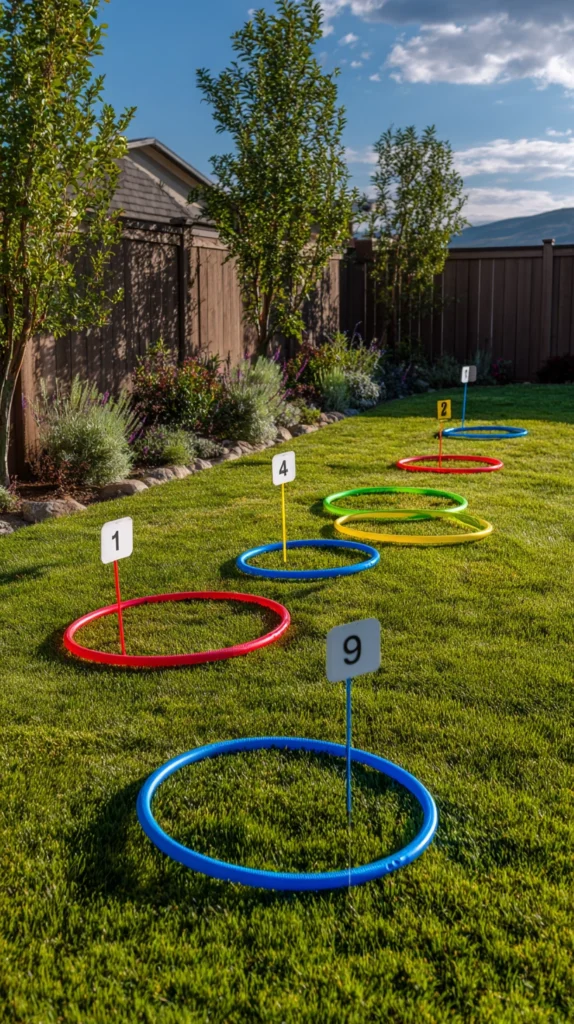
A row or grid of hula hoops laid flat on the ground creates a footwork and agility challenge, requiring kids to step precisely from hoop to hoop without touching the ground in between. Standard hula hoops run 28-36 inches in diameter, with 6-10 hoops typically enough for a meaningful station.
Budget: $15-30 for a set of 6-8 basic hula hoops, one of the more affordable obstacles on this list. Arranging the hoops in a slightly irregular, staggered pattern rather than a perfectly even grid adds more genuine agility challenge than uniform spacing would.
This station works particularly well for building foot-eye coordination in younger kids, while older kids can add speed as a challenge factor once they’ve mastered the basic pattern. Hoops are also one of the easiest obstacles to rearrange or reconfigure regularly, keeping the course feeling fresh without any additional cost or material.
This is a good low-cost, low-setup-time addition for anyone building out a course gradually, since hoops can be added or removed in minutes without any tools or permanent installation.
5. Add a Cargo Net Climb Using Rope or Chain-Link Fencing
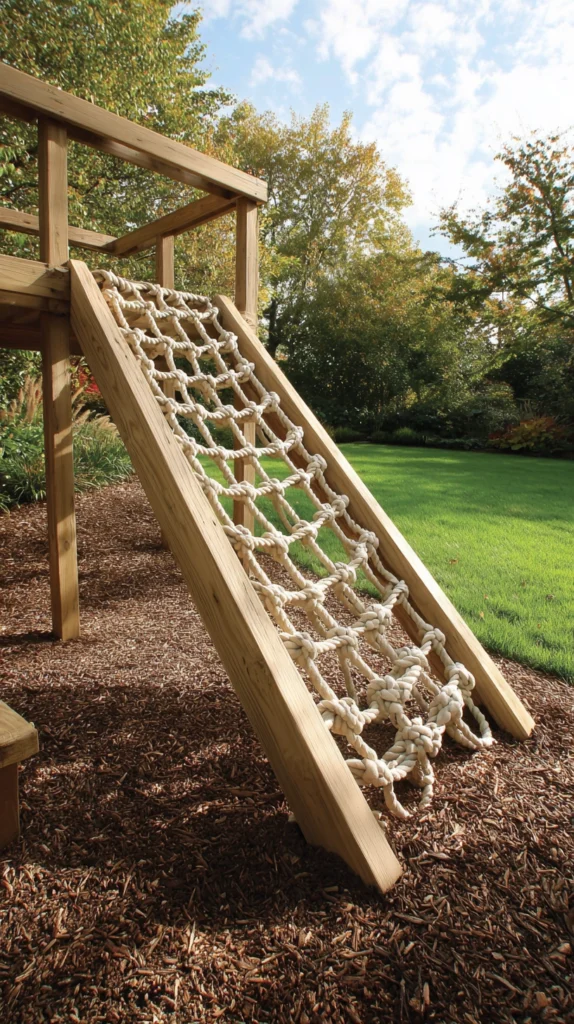
A cargo net, whether purchased or built from heavy rope tied in a grid pattern, gives kids a genuine climbing challenge that builds upper body strength alongside coordination. Standard cargo nets for backyard use run 6×8 feet to 8×10 feet, mounted at an angle between the ground and a sturdy support structure like a playset frame or two anchored posts.
Budget: $60-150 for a pre-made cargo net rated for children’s play, or less if building a simple version from rope and basic knot-tying, though a purchased, safety-rated net is generally the more reliable option for weight-bearing climbing use. Mounting the net at a moderate incline, rather than fully vertical, makes it more accessible for a wider age range while still delivering a genuine climbing challenge.
This is one of the more physically demanding obstacles on this list, so positioning it partway through a longer course (rather than as the very first obstacle) allows kids to warm up before tackling the more strength-intensive climb. A soft landing surface underneath and around the net, such as mulch or a thick layer of grass, is an important safety consideration given the height and physical exertion involved.
This obstacle tends to be a favorite among older kids specifically, who often return to it repeatedly even after completing the rest of the course.
6. Set Up a PVC Pipe Crawl Tunnel
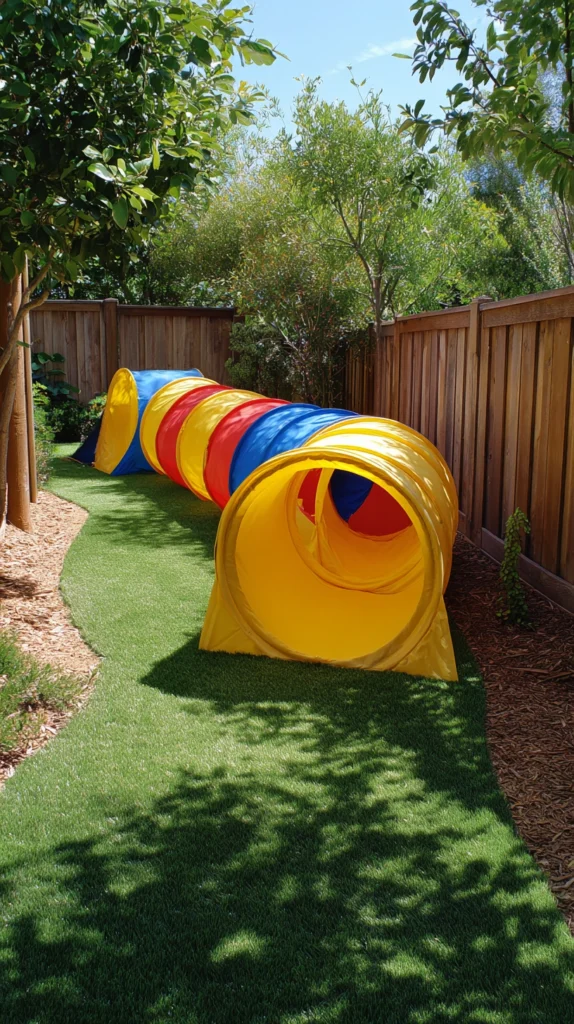
A simple crawl tunnel built from PVC pipe hoops covered in fabric, or a purchased children’s play tunnel, adds a low, confined obstacle that contrasts nicely with the more open, upright elements elsewhere in a course. Standard crawl tunnels run 4-6 feet long and about 24-30 inches in diameter, sized for most kids to crawl through on hands and knees.
Budget: $15-40 for PVC pipe and fabric to build a simple hoop tunnel, or $30-80 for a pre-made children’s play tunnel. Building your own is a straightforward weekend project, using PVC pipe bent into arches and a lightweight fabric or tarp draped over the frame.
This obstacle works well positioned early in a course, since it’s a lower-intensity element that lets kids ease into the sequence before tackling more physically demanding stations later on. Younger kids in particular tend to enjoy crawl tunnels specifically, since the enclosed, cave-like feeling appeals to a different kind of play than the more open, active obstacles elsewhere in a typical course.
Anchoring the tunnel frame securely to the ground prevents it from shifting or collapsing during use, which matters both for safety and for keeping the tunnel usable across many play sessions.
7. Add a Balance Beam Series With Varying Heights
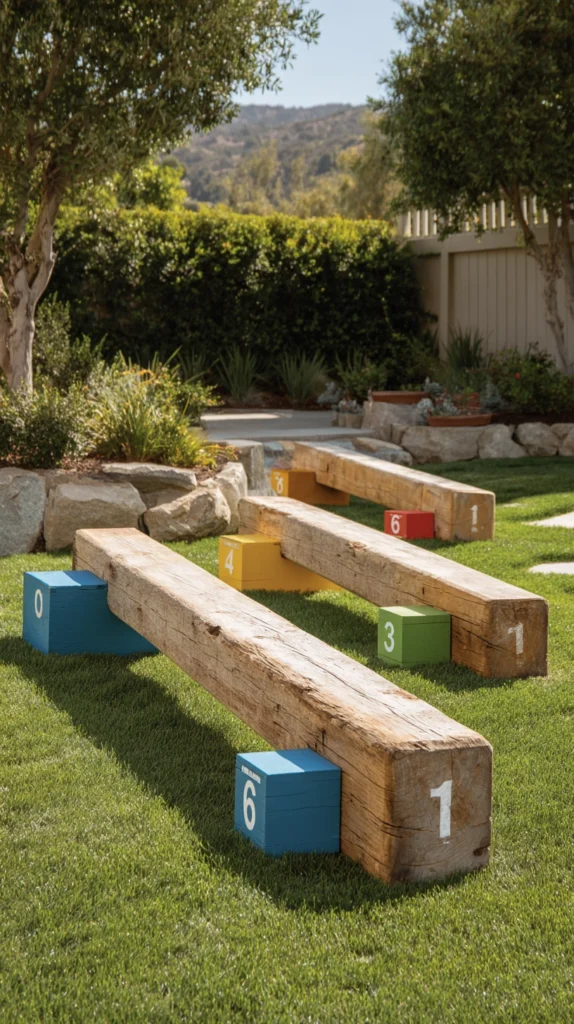
Building on the basic balance beam idea, a series of three or four beams at slightly different heights (using stacked cinder blocks or landscape timbers as supports) creates a progressively more challenging balance sequence within a single station. Standard progressive beam setups use heights ranging from ground level up to about 12-18 inches for the most advanced beam in the series.
Budget: $40-80 for the additional timber and cinder block supports needed for a full progressive series, building on the single beam described earlier in this list. Spacing the beams a few feet apart, rather than directly connected, allows kids to jump or step between each one, adding a coordination challenge beyond just the balance element itself.
This is a good obstacle to add once a family has confirmed their kids enjoy and have mastered the basic single balance beam, since it represents a natural progression in difficulty rather than an entirely new skill. Keeping the tallest beam in the series under 18 inches, with a soft surface underneath throughout, keeps this obstacle appropriately challenging without excessive fall risk even at the more advanced end of the sequence.
This series works particularly well for households with kids of varying ages, since younger children can use just the lower beams while older siblings progress through the full height range.
8. Create a Bucket Brigade or Water Relay Station
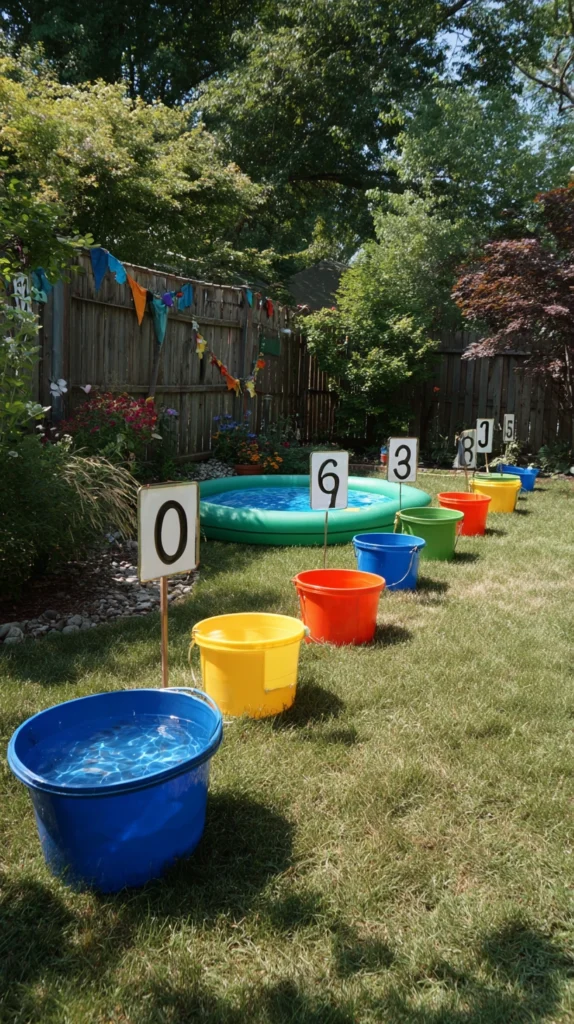
For warm weather play, a station involving carrying water in buckets or cups between two points adds a functional, cooling element to a course while building coordination and encouraging teamwork if multiple kids are racing together. Standard water relay stations use 2-4 buckets and a course distance of about 15-25 feet between the fill point and target.
Budget: $10-25 for a few plastic buckets or cups, one of the most affordable additions to any course. This obstacle works particularly well as a final station in a longer course, since it naturally cools kids down after the more physically intensive obstacles earlier in the sequence.
Filling a small kiddie pool or large container at the start point, and an empty target container at the finish, gives kids a clear visual goal and a satisfying sense of progress as the water level shifts from one container to the other over multiple relay trips. This is also one of the easier obstacles to adapt into a competitive relay format for multiple kids, adding a social, game-like element beyond the physical challenge alone.
This station is best reserved for warm weather specifically, both for comfort and because the resulting wet grass or mulch underfoot needs to dry out between uses to avoid becoming slippery.
9. Build a Simple A-Frame Climbing Wall
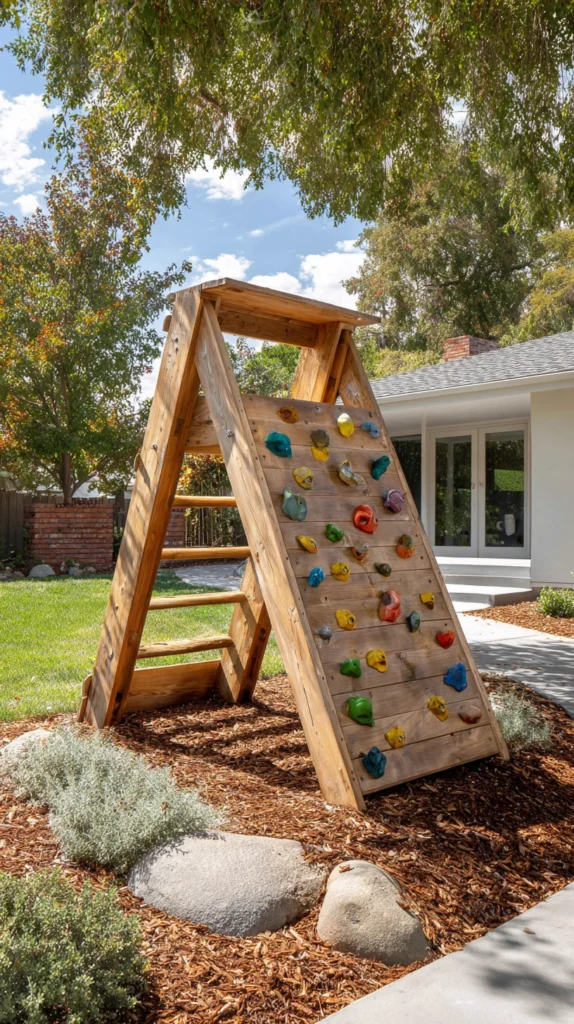
A small A-frame or angled climbing structure, built from plywood with attached climbing holds, gives kids a genuine climbing challenge scaled appropriately for a backyard setting. Standard backyard A-frame climbers run 4-6 feet tall and 3-4 feet wide, small enough to fit in most yards without dominating the available space.
Budget: $150-350 for plywood, lumber framing, and a set of purchased climbing holds, making this one of the pricier individual obstacles on this list, though still significantly more affordable than a full commercial climbing structure. Attaching the climbing holds at varying heights and angles, rather than in a single straight vertical line, creates a more genuinely challenging and engaging climbing route.
A thick layer of mulch, sand, or rubber safety flooring beneath the structure is an important safety investment given the height and climbing nature of this particular obstacle. This is one of the more substantial builds on this list, generally best undertaken as a dedicated weekend project with basic woodworking tools rather than a quick same-day addition.
This obstacle tends to have significant long-term play value, since climbing routes can be reconfigured by moving the holds to new positions, keeping the challenge fresh even after kids have mastered the original layout.
10. Add a Jump Rope or Ladder Agility Drill Station
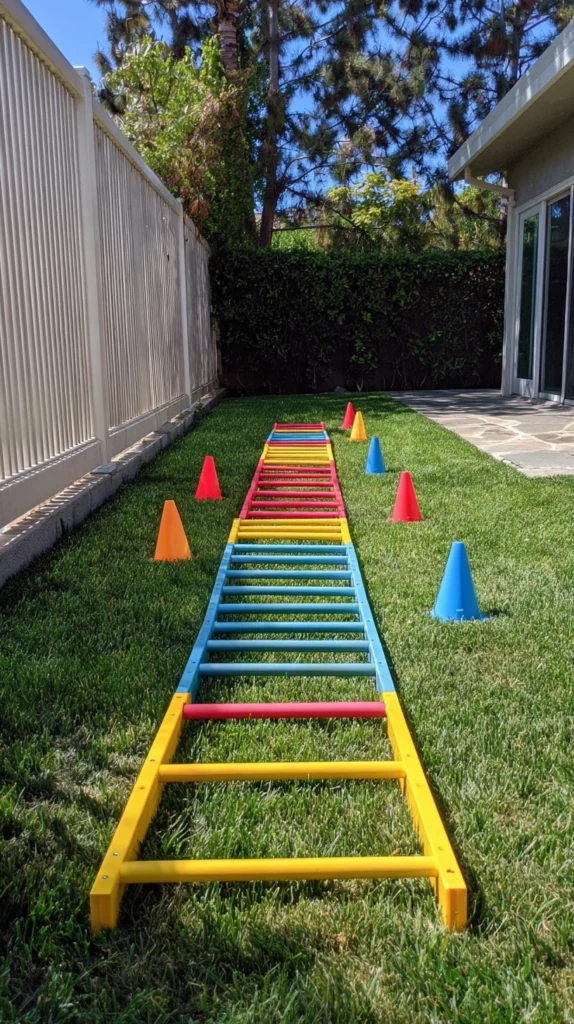
Laying a rope ladder flat on the ground, or simply marking a grid pattern with rope or chalk, creates a footwork drill station that builds the same kind of agility used in many youth sports training programs. Standard agility ladders run 15 feet long with rungs spaced about 18 inches apart.
Budget: $15-30 for a purchased agility ladder, or nearly free if creating a similar grid pattern using rope, chalk, or even painter’s tape on a hard surface. This is one of the more athletically beneficial obstacles on this list, building footwork and coordination skills that carry over into general sports performance.
Demonstrating a few basic footwork patterns (two feet in each square, then one foot, then side-stepping through) gives kids a starting point, though most children naturally start inventing their own patterns and challenges once they understand the basic concept. This station works well for a wide age range, since the difficulty can be adjusted simply by how fast or complex the footwork pattern becomes.
This is a good station to place toward the end of a longer course, since it doubles as both an obstacle and a natural cool-down activity that’s less physically taxing than climbing or crawling elements earlier in the sequence.
11. Set Up a Bean Bag or Ball Toss Target Station
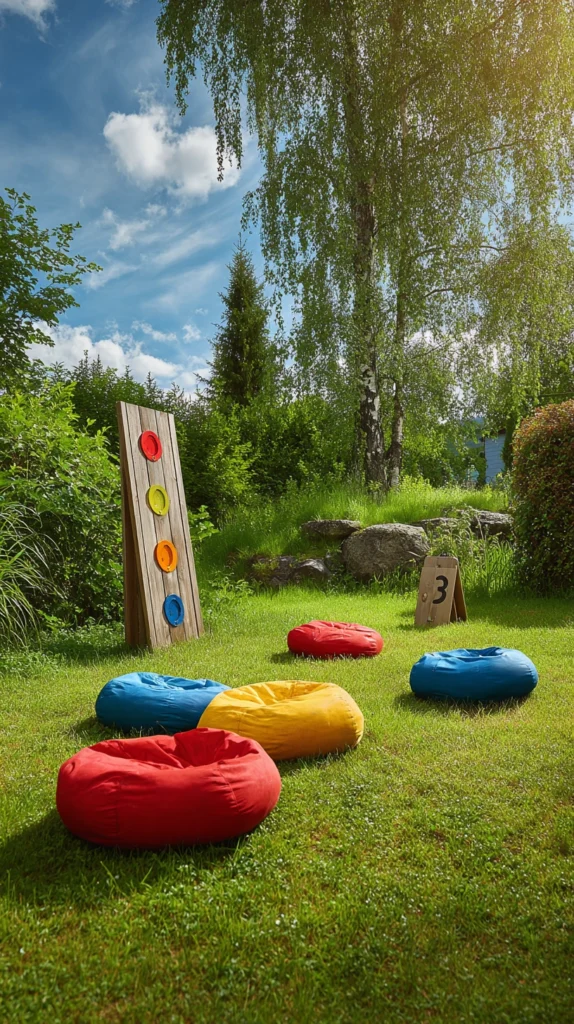
A simple target station, using a painted board with holes or a set of buckets at varying distances, adds a hand-eye coordination challenge that breaks up the more full-body physical obstacles elsewhere in a course. Standard target stations use a board with 3-5 holes of varying sizes, or a row of buckets set at increasing distances from a throwing line.
Budget: $20-50 for plywood, paint, and bean bags if building a simple target board, or less if simply using existing buckets and bean bags already on hand. Assigning different point values to different holes or buckets adds a scoring element that gives kids a clear goal and a reason to try the station more than once.
This is a good obstacle to position as a brief pause point within a longer, more physically demanding course, giving kids a moment to catch their breath while still engaging with a fun, skill-based challenge. This station also works well as a standalone game independent of the rest of the course, adding flexibility to how the overall backyard space gets used beyond just obstacle course days.
Adjusting the throwing distance based on the age of the kids using the station keeps the challenge appropriately calibrated rather than frustratingly difficult for younger children.
12. Add a Log Roll or Balance Log Crossing
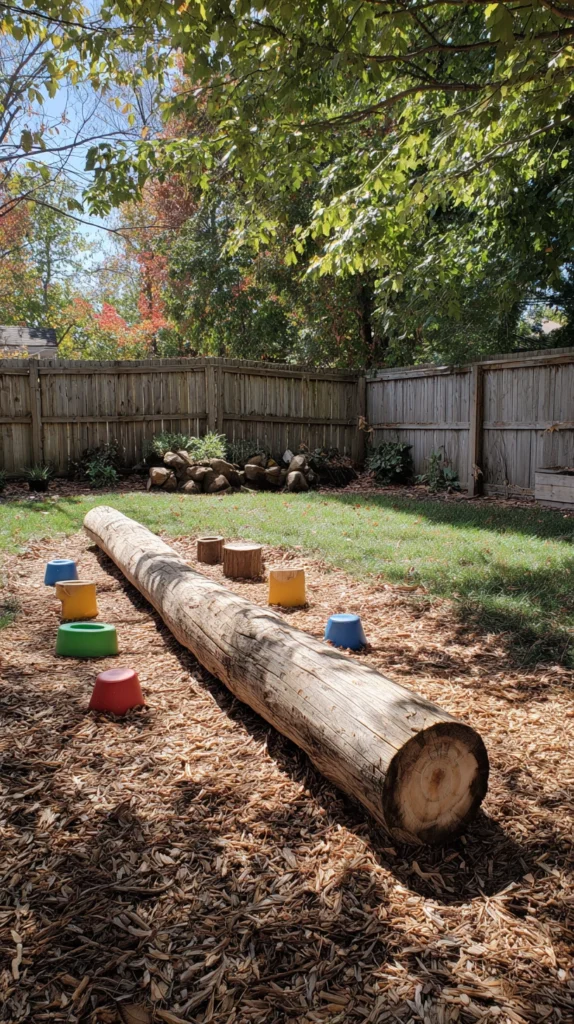
A large log, either a genuine fallen tree section or a purchased play log, laid across a low gap or simply placed on the ground, creates a rolling, unstable balance challenge more advanced than a fixed wood beam. Standard play logs run 6-8 feet long and 12-18 inches in diameter.
Budget: often free if sourced from a fallen tree on your own property or a neighbor’s, or $80-200 if purchasing a manufactured play log. Securing the log with stakes or a simple anchor point at both ends prevents it from rolling uncontrollably during use, which is an important safety modification if using a genuinely round, unsecured log.
This obstacle is best suited to older kids with more established balance skills, since the rolling or shifting quality of an unsecured log is considerably more challenging than a flat, stable beam. Placing this obstacle over a soft, thick layer of mulch or grass is particularly important here given the increased fall risk compared to more stable balance obstacles elsewhere on this list.
This is a good obstacle to introduce once a family has confirmed their kids have mastered the basic flat balance beam described earlier, representing a natural next step in balance-based challenge progression.
13. Build a Tire Swing Combined With a Landing Target
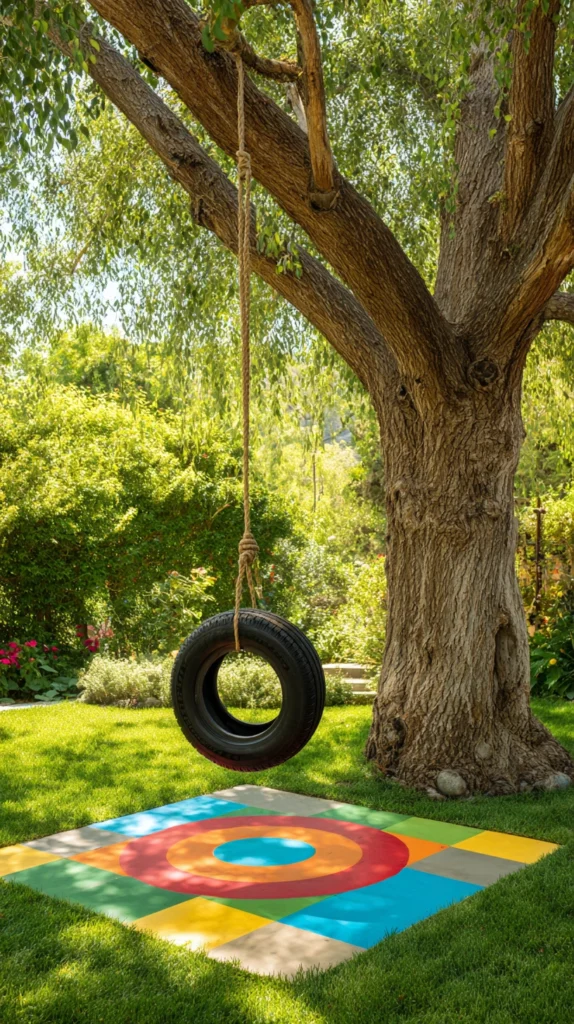
Combining a classic tire swing with a designated landing target — a hula hoop, a painted circle, or a soft mat placed at the swing’s natural dismount point — adds a goal-oriented element to a popular, classic backyard structure. Standard tire swings hang from a branch or sturdy A-frame support at least 10-12 feet high.
Budget: $30-70 for a tire (often free from a tire shop) plus quality rated rope or chain for hanging, making this a relatively affordable addition given how much play value a tire swing typically delivers on its own. Marking a clear landing target gives kids an added challenge and goal beyond simply swinging, turning a classic play structure into a more integrated obstacle course element.
Checking that the swing has adequate clearance from any nearby obstacles, trees, or structures throughout its full range of motion is an important safety check before regular use begins. This combination obstacle works well as a fun, high-energy finishing station for a longer course, giving kids a rewarding, playful conclusion after working through more physically demanding elements earlier in the sequence.
This is one of the more universally popular obstacles across a wide age range, since a tire swing on its own already has strong standalone play appeal even without the added target challenge.
14. Create a Full Course Map With Numbered Stations
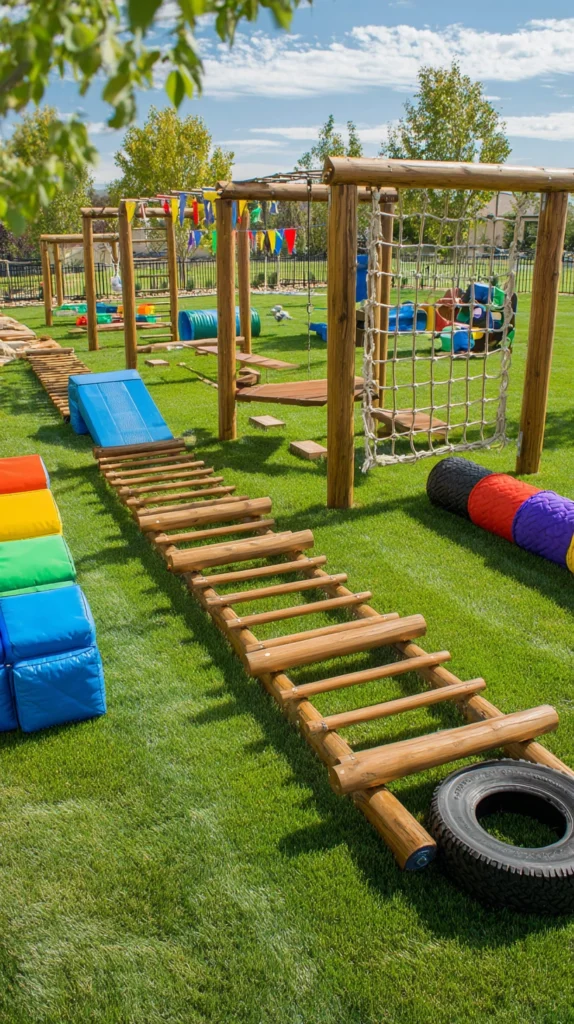
Rather than a collection of separate, disconnected obstacles, designing a clear path with numbered stations and simple instructions at each point turns individual elements into a cohesive, game-like experience kids can complete start to finish. Standard numbered course markers can be as simple as painted wood stakes or laminated index cards attached to a small post at each station.
Budget: $15-30 for basic materials to create numbered station markers, one of the lowest-cost additions on this list, but one that meaningfully improves how the overall course functions and feels to kids running it. Timing kids through the full course with a stopwatch, and keeping a simple record of best times, adds a fun, motivating, and replayable element to what might otherwise become a static, one-time novelty.
Laying out the numbered path so it loops naturally through the yard, rather than requiring kids to backtrack, keeps the experience feeling like a genuine course rather than a disconnected group of activities. This final organizational step is what elevates a yard full of individual fun elements into something that genuinely functions and feels like an actual obstacle course, which is often what keeps kids coming back to it repeatedly rather than losing interest after the first novelty wears off.
This is worth doing even with just 4-5 obstacles to start, since the sense of sequence and progression matters more to sustained engagement than the total number of individual stations.
Quick Start Project List
This weekend, under $150:
- A single landscape timber balance beam: $25
- A set of hula hoops for an agility station: $25
- A basic agility ladder: $25
- Numbered station markers for the first few obstacles: $20
Budget-Friendly Version
Lowest-cost obstacles to start with:
- Free tires from a local tire shop for a crawl station
- A fallen log from your own yard for a balance crossing
- Chalk or rope grid instead of a purchased agility ladder
- Existing buckets and bean bags for a target toss station
Safety Checklist
- Place any elevated obstacle over grass, mulch, or another soft surface
- Inspect ropes, nets, and swings regularly for wear or fraying
- Match obstacle difficulty and height to the actual ages of kids using the course
- Confirm any tree branch used for a swing is structurally sound before adding weight
- Supervise younger children closely on balance and climbing obstacles specifically
Remember
Start with a few affordable, low-effort obstacles before committing to a larger structure like a climbing wall, always place elevated or balance-based obstacles over a soft surface rather than concrete or hard-packed dirt, match each obstacle’s height and difficulty to the actual ages of the kids using the course, number and sequence the stations so the course feels like one connected experience rather than scattered activities, and build the course gradually over time, adding new obstacles as kids master existing ones rather than trying to build the full course in a single weekend.