

14 Clawfoot Tub Bathroom Ideas for Vintage Charm
I found my clawfoot tub at a salvage yard, rusted and full of cobwebs, priced to move.
Everyone told me to buy new. Smooth acrylic, easy install, no drama.
I refinished it myself over a long weekend instead, and the bathroom has never looked the same since.

That single tub changed the whole room from “just a bathroom” into a space people ask about.
Here are 14 ways to build a clawfoot tub bathroom that actually feels like it belongs to another era, without feeling like a museum.
Why clawfoot tubs anchor a whole room
A clawfoot tub isn’t just a fixture, it’s a piece of furniture.
- It sits proud in the room instead of hiding against a wall
- It forces every other choice in the room to either match or intentionally contrast it
- It ages beautifully instead of looking dated after a few years
Once you accept the tub is the star, the rest of the design gets much easier to plan around it.
1. Classic Black and White Checkerboard Floor
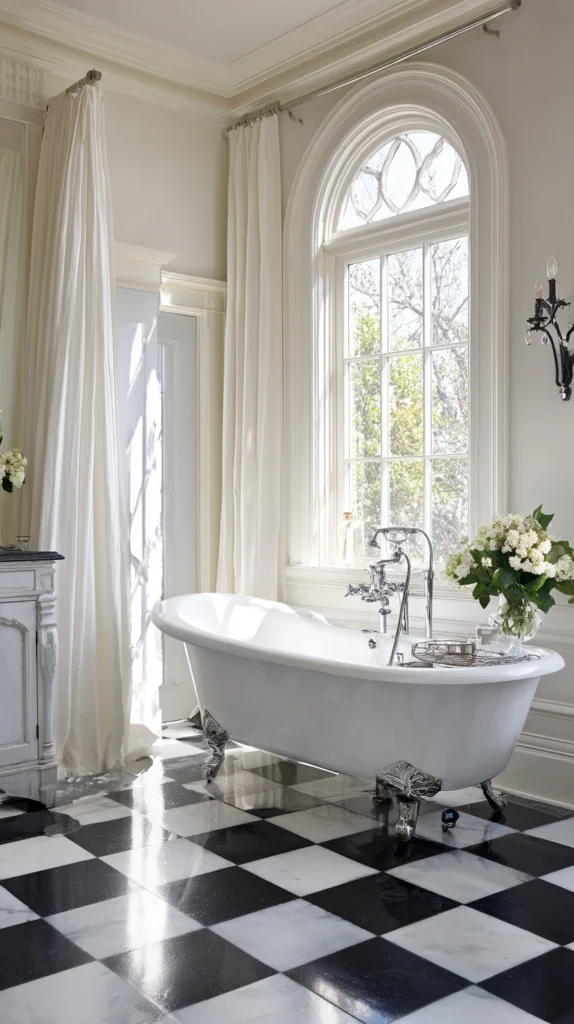
The single most reliable pairing for a clawfoot tub.
How to get the look:
- 12×12 inch porcelain tiles in a strict alternating black and white pattern
- Grout in a mid-gray rather than stark white, which hides everyday grime far better
- Lay tiles on a diagonal for a more dramatic, old-hotel-lobby feel
Why this floor works so well with a clawfoot tub:
- The graphic pattern gives the eye a strong anchor at floor level, balancing the height of the tub
- It’s the single most historically accurate flooring choice for early 1900s bathrooms
- Works with nearly any wall color you choose later
Cost breakdown: Porcelain tile runs $2 to $4 per square foot. A 60 square foot bathroom lands between $120 and $240 in tile alone.
2. Exposed Brass Gooseneck Faucet
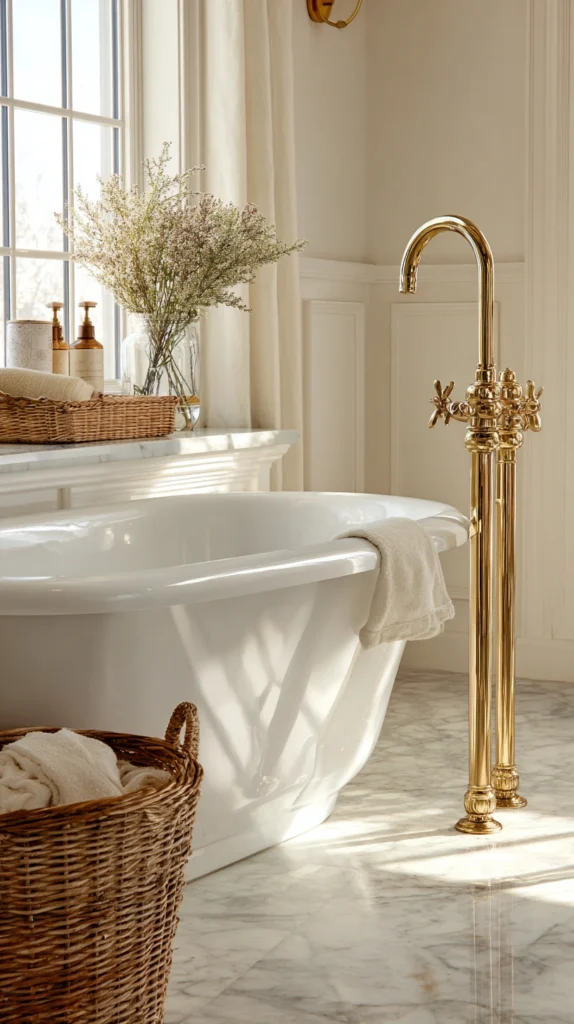
Swap a modern faucet for one with real presence.
What to look for:
- A tall gooseneck spout, ideally freestanding rather than deck-mounted
- Cross-handle or lever-handle controls, not modern single-lever mixers
- Unlacquered brass, which is designed to darken and patina with age rather than staying shiny
Why unlacquered brass beats the lacquered version:
- Lacquered brass looks plastic-shiny and eventually peels in blotchy patches
- Unlacquered brass develops a warm, uneven patina that actually looks more expensive over time
- It matches the handmade, imperfect character clawfoot tubs already have
Installation note: Freestanding faucets need floor-mounted supply lines run up through the flooring, so plan this before your floor tile goes down, not after.
3. Wainscoting Halfway Up the Wall
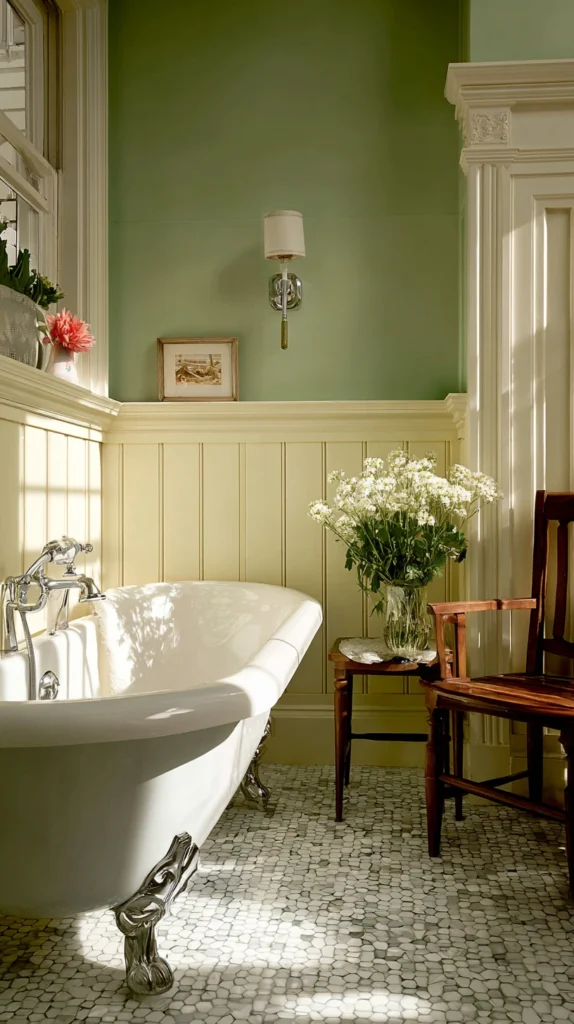
Beadboard or paneled wainscoting instantly reads as vintage.
Build it:
- Beadboard paneling installed to about 42 inches high, capped with a simple wood chair rail
- Paint the wainscoting in a soft white or pale sage, and the upper wall in a contrasting deeper tone
- Caulk every seam before painting so the finished look reads as solid, not seamed panels
Why wainscoting pairs so naturally with clawfoot tubs:
- Both are architectural features borrowed from the same late Victorian and Edwardian era
- The horizontal chair rail line visually grounds the tall verticality of the tub’s legs
- It protects lower walls from splashes far better than paint alone
Cost breakdown: Prefabricated beadboard paneling runs $30 to $50 per 4×8 sheet, plus $20 in trim and caulk for an average bathroom.
4. A Freestanding Tub Filler with Handheld Shower
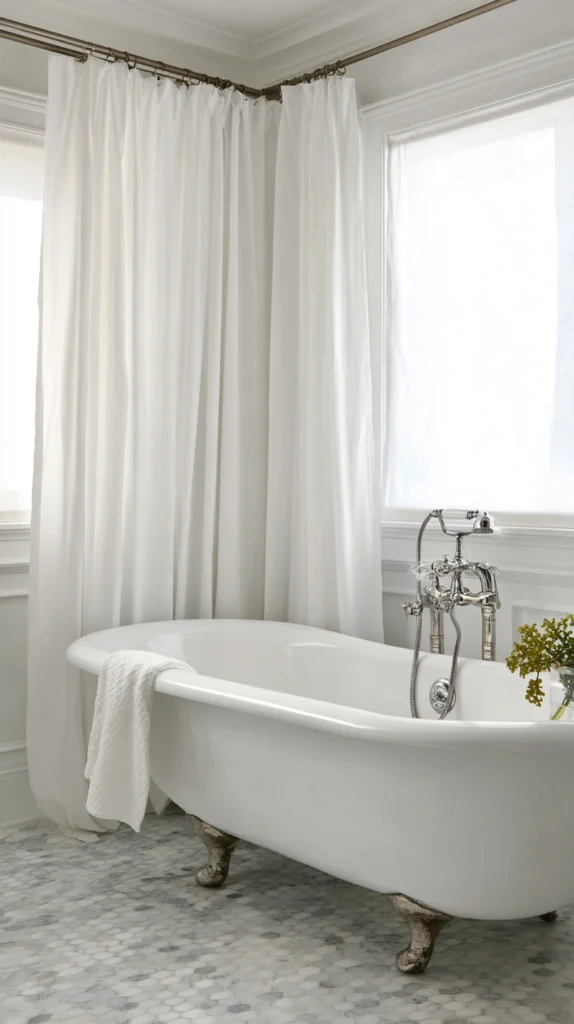
For a clawfoot tub that still functions as a real daily shower.
Setup:
- A floor-mounted tub filler with an integrated diverter valve
- A handheld shower head on a long hose, hung from a simple wall hook when not in use
- A shower curtain ring mounted to the ceiling in an oval shape around the tub for full curtain coverage
Why this solves the biggest clawfoot tub complaint:
- Most people assume a clawfoot means giving up daily showers entirely
- An oval ceiling-mounted curtain ring contains water splash almost as well as a built-in shower enclosure
- The handheld wand still lets you rinse the tub itself clean afterward
Budget note: This upgrade adds real plumbing labor, so budget $400 to $800 installed depending on your region and whether new supply lines are needed.
5. Antique Brass or Iron Towel Ladder
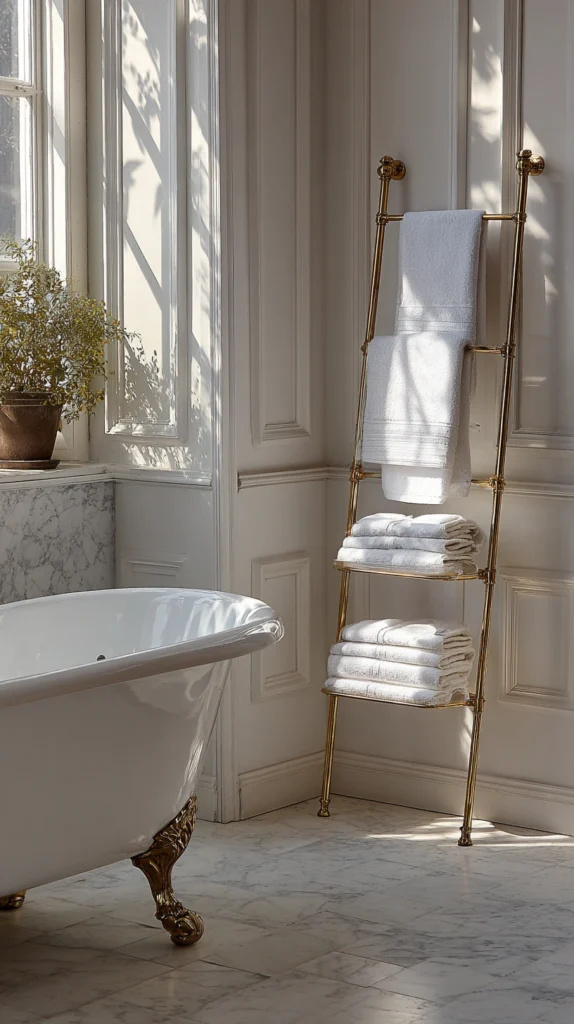
Skip the built-in towel bar for something with more character.
What works:
- A leaning ladder-style towel rack in aged wood or wrought iron
- Vintage folded linen towels rather than modern plush ones, for texture that matches the era
- Positioned within arm’s reach of the tub, not across the room
Why a ladder rack beats a wall-mounted bar here:
- It doesn’t require drilling into tile or plaster walls
- It reads as furniture, matching the freestanding nature of the tub itself
- It can be moved or repositioned if you rearrange the room later
Cost breakdown: Reclaimed wood ladders run $40 to $90 secondhand, or build one from a $15 pine board and stain.
6. Vintage Pedestal Sink Pairing
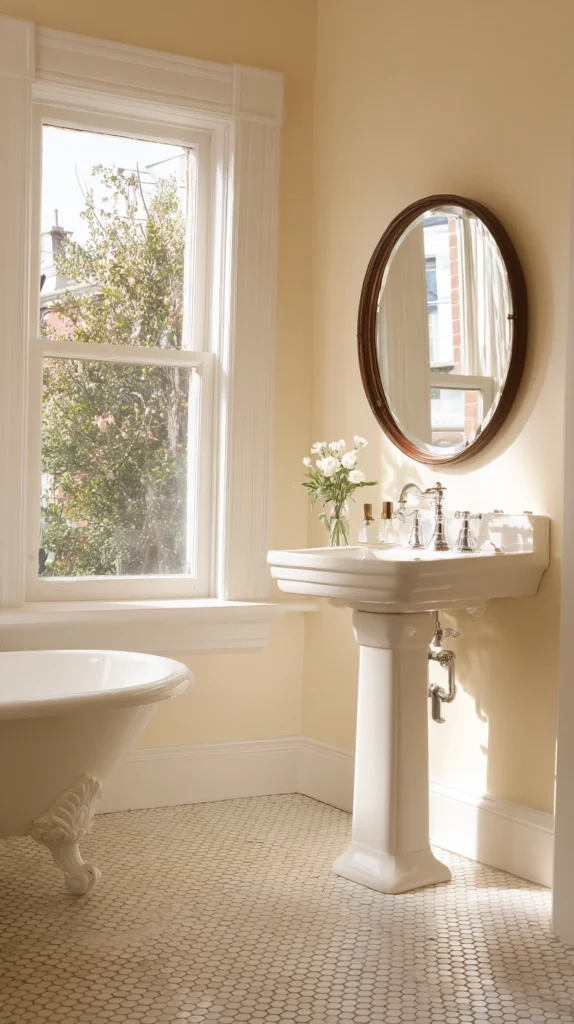
The tub’s natural partner in the room.
What to look for:
- A pedestal sink with a rounded basin and simple cross-handle faucets
- Matching or complementary brass or nickel hardware to the tub’s fixtures
- A small vintage mirror above rather than a large modern medicine cabinet
Why pairing matters more than people expect:
- Mismatched metal finishes between the tub and sink are the single most common vintage bathroom mistake
- A pedestal sink keeps the floor open, which is essential in a room already dominated by a large tub
- Rounded basin shapes echo the curves of the tub itself
Cost breakdown: Reproduction pedestal sinks run $250 to $500. Salvage yard originals can be found for $75 to $150 but often need re-glazing.
7. Wallpaper With a Botanical or Damask Print
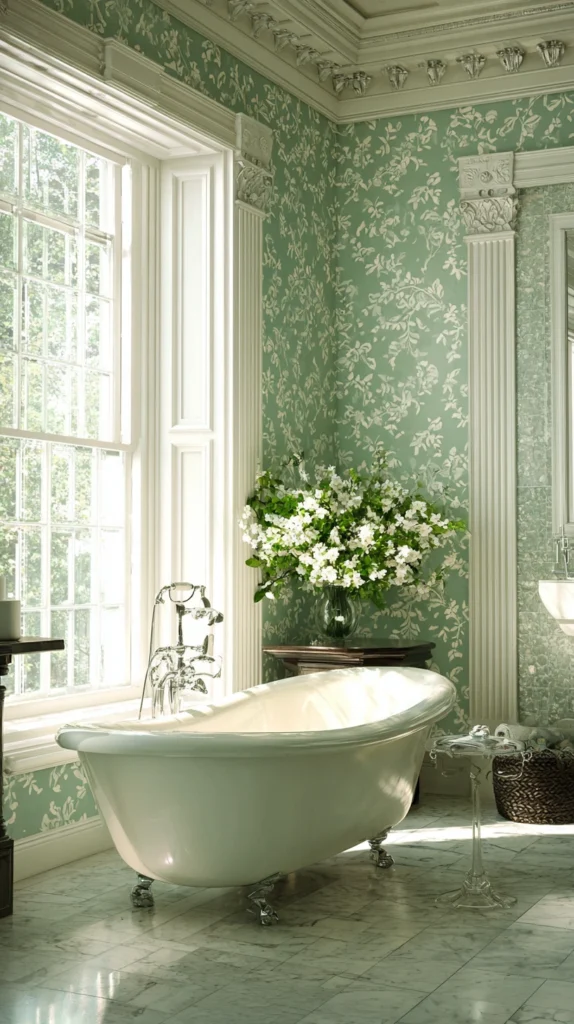
Wallpaper does more heavy lifting than paint ever could here.
Pattern types that work best:
- Small-scale botanical prints in muted, dusty color palettes
- Classic damask patterns in tone-on-tone color combinations
- Vintage-reproduction florals, which many wallpaper brands now carry specifically
Why wallpaper suits this style so well:
- Solid paint alone can leave a clawfoot tub bathroom feeling sparse rather than period-accurate
- Pattern gives the room visual richness without adding any more furniture or fixtures
- Peel-and-stick versions now exist for renters who can’t commit to traditional paste-up paper
Practical tip: Use a vapor-barrier primer first if your bathroom has poor ventilation, since paper needs protection from steam over time.
8. Brass or Nickel Cage Pendant Lighting
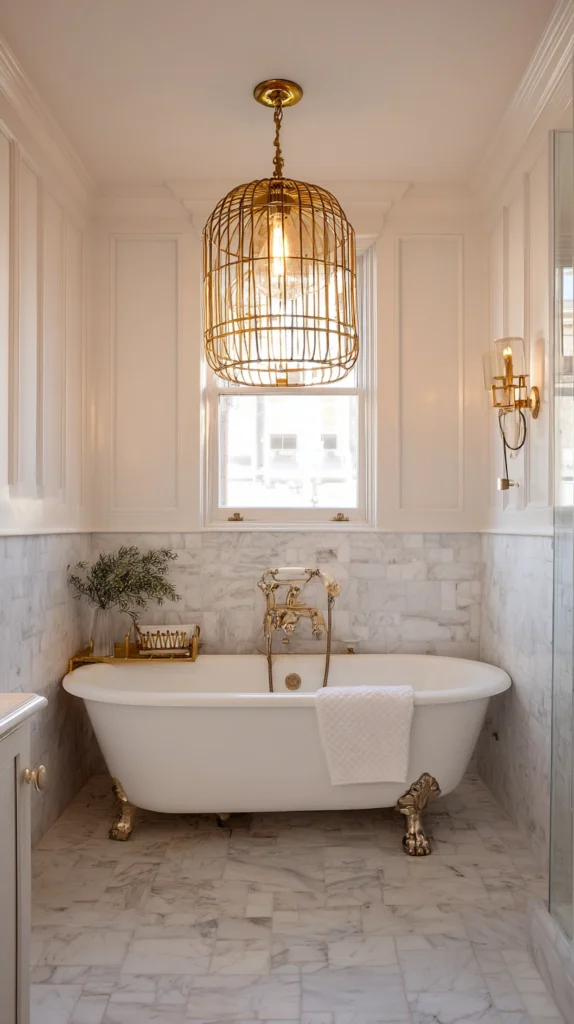
Overhead lighting that matches the tub’s hardware language.
Fixture choices:
- A single caged pendant hung centrally over the tub
- Exposed Edison-style bulbs for warm, filament-lit glow
- Matte black or aged brass finishes rather than polished chrome
Why lighting choice matters this much:
- Recessed can lighting reads as flat and modern, undercutting every other vintage choice in the room
- A single statement pendant becomes a focal point on its own, echoing the tub below it
- Warm bulb temperatures (2700K) flatter skin tones far better than cool white LEDs
Cost breakdown: Caged pendant fixtures run $40 to $120 depending on finish and size.
9. A Vintage Step Stool or Small Bench Beside the Tub
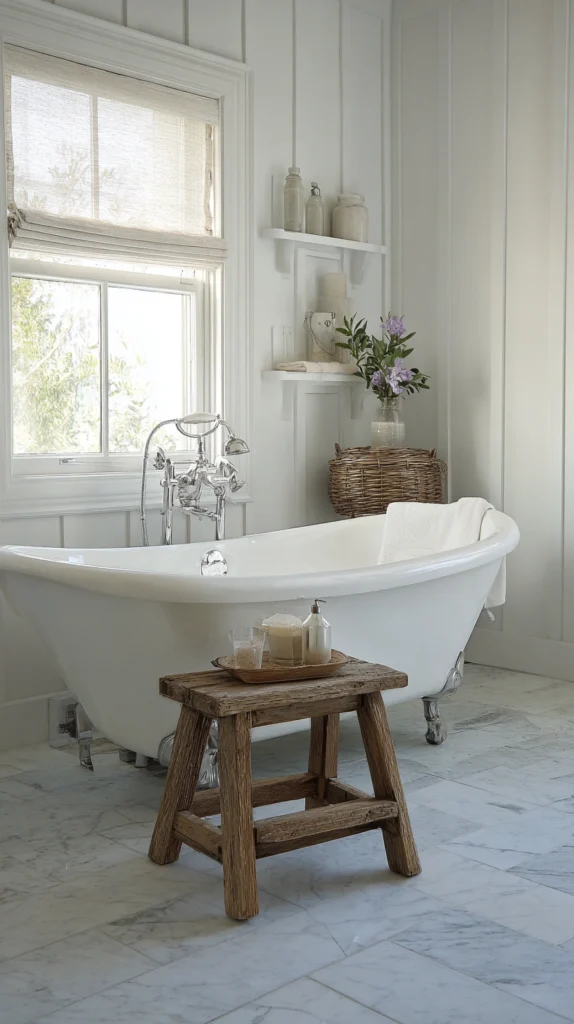
A small furniture piece that earns its keep.
Options that work:
- A weathered wooden step stool for easier entry into a tall tub
- A small painted stool doubling as a surface for a candle, book, or bath tray
- A vintage stepladder repurposed as a towel and product shelf
Why this detail gets overlooked so often:
- Clawfoot tubs sit higher off the ground than built-in tubs, and a stool solves real accessibility
- It gives the room a lived-in, furnished feeling rather than a purely functional one
- Secondhand pieces cost next to nothing and add instant patina
Cost breakdown: Thrifted stools run $10 to $25. A new reproduction piece runs closer to $60.
10. Reclaimed Wood or Wood-Look Ceiling Beams
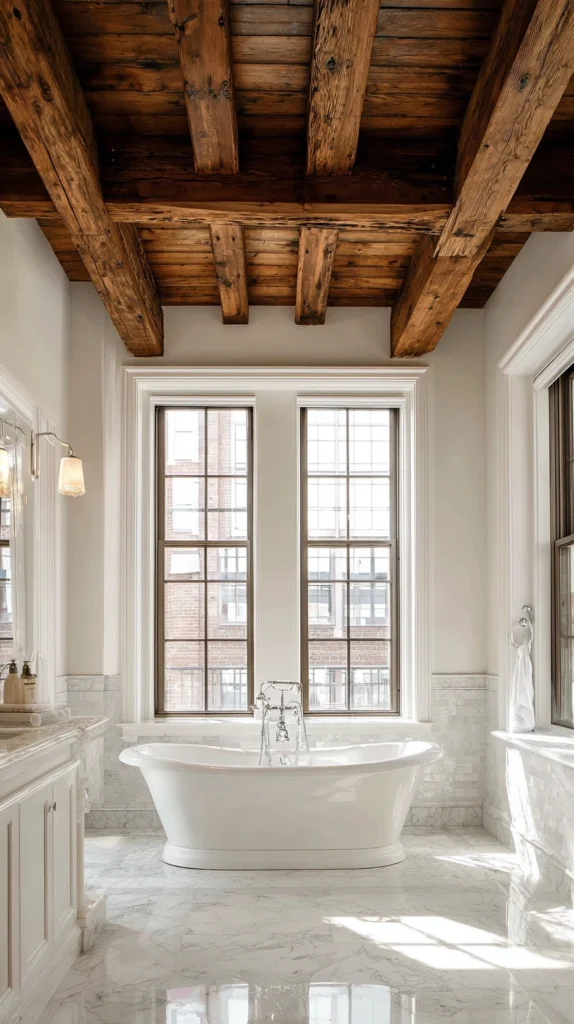
Draw the eye upward to match the tub’s grandeur.
Build it:
- Faux beams made from lightweight polyurethane, installed with construction adhesive
- Stained in a deep walnut or left raw and whitewashed depending on your palette
- Spaced evenly across the ceiling, running perpendicular to the tub’s length
Why ceiling detail matters in this specific room:
- A clawfoot tub already draws the eye vertically because of its height and legs
- Beams continue that vertical story instead of leaving a flat, builder-grade ceiling above it
- It’s one of the few upgrades that doesn’t touch plumbing, tile, or wiring at all
Cost breakdown: Faux wood beams run $30 to $60 each depending on length, typically needing three to five per bathroom.
11. A Freestanding Vintage Radiator or Towel Warmer
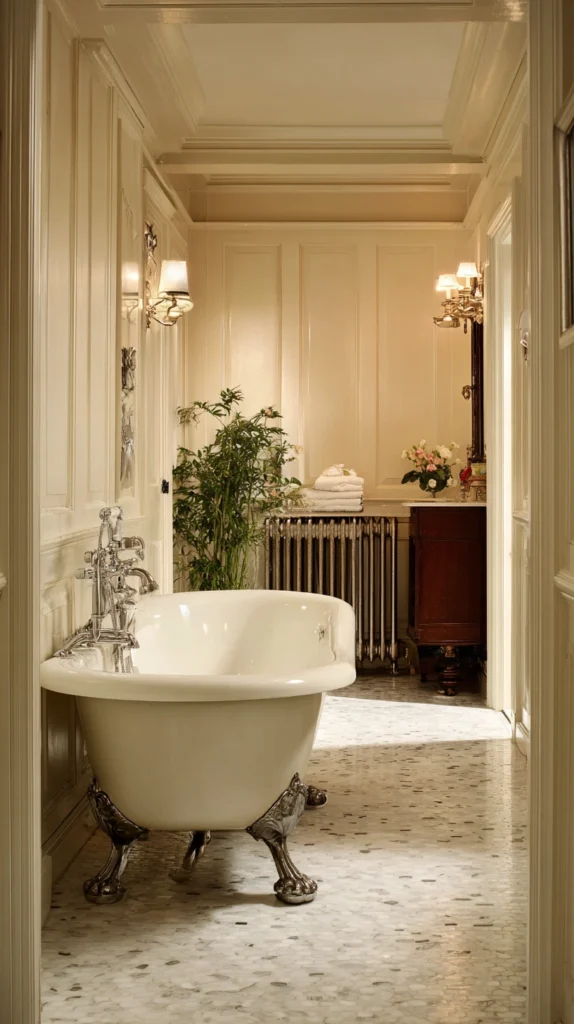
Function and period style in one piece.
What to look for:
- A column-style cast iron radiator repurposed as a towel warmer
- Reproduction electric towel warmers styled to look like antique radiators
- Positioned along an open wall where it won’t compete with the tub itself
Why this earns its place in the room:
- Cast iron radiators were original to the same era clawfoot tubs come from
- Warm towels waiting after a bath elevate an ordinary bath into a genuine ritual
- The vertical ribbed shape adds texture to an otherwise flat wall
Cost breakdown: Reproduction towel-warmer radiators run $200 to $450 installed.
12. Marble or Marble-Look Countertops on the Vanity
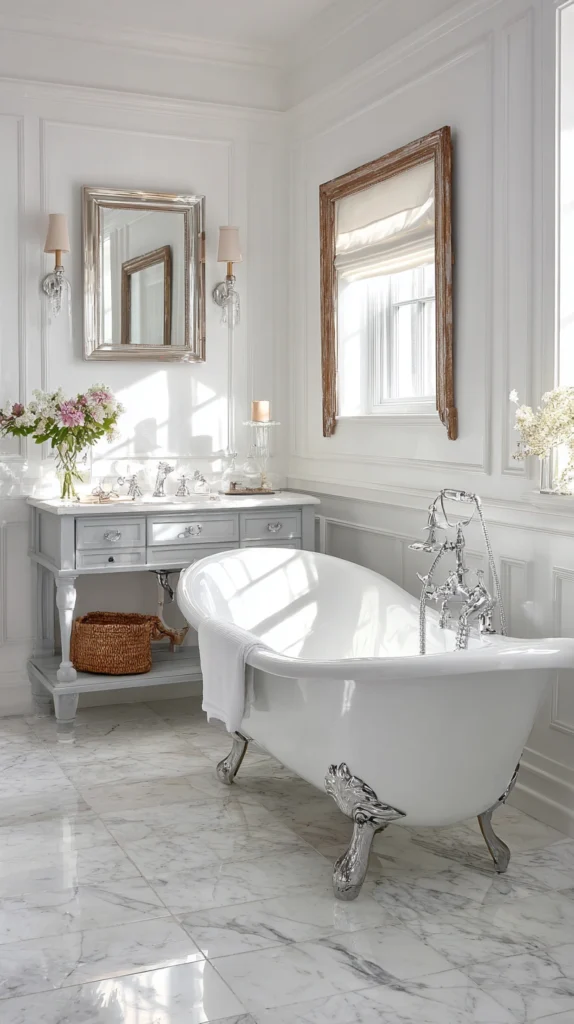
If your layout includes a separate vanity, this is where to spend.
Options by budget:
- Real marble slab for full authenticity, at a higher cost and higher maintenance
- Quartz with a marble-look pattern for near-identical looks with far less upkeep
- Marble-pattern peel-and-stick countertop film for the lowest-cost temporary option
Why marble specifically suits this style:
- Marble vanities were common in the same era clawfoot tubs were originally installed
- The veining adds visual softness that balances the tub’s heavier cast iron form
- It photographs beautifully against brass or nickel fixtures
Cost breakdown: Real marble runs $75 to $150 per square foot installed. Quartz alternatives run $50 to $90. Peel-and-stick film runs under $30 total.
13. Vintage Apothecary Jars and Glass Bottle Storage
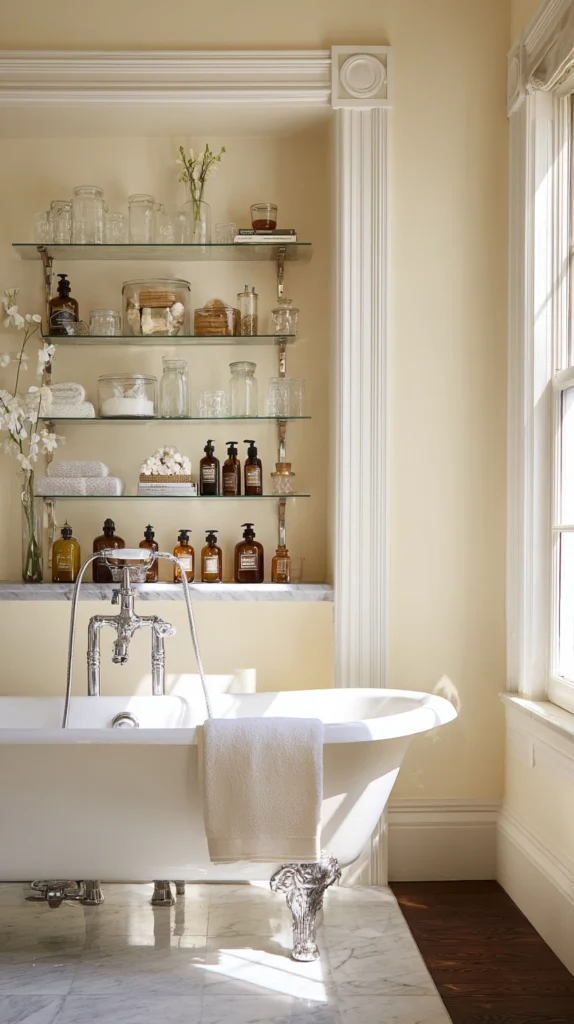
Storage that doubles as decoration.
What to collect:
- Amber or clear glass apothecary jars for cotton balls and bath salts
- Vintage perfume or medicine bottles repurposed for soap and lotion
- A small wire or wood caddy to corral everything on the tub’s ledge or a nearby shelf
Why this detail finishes the room:
- Plastic bottles are the single fastest way to break a vintage bathroom’s illusion
- Glass catches and reflects light in a way plastic never does
- Thrifted bottles are nearly free and each one is genuinely unique
Cost breakdown: Secondhand glass bottles and jars run $2 to $8 each at thrift stores and flea markets.
14. A Clawfoot Tub Painted or Refinished by Hand
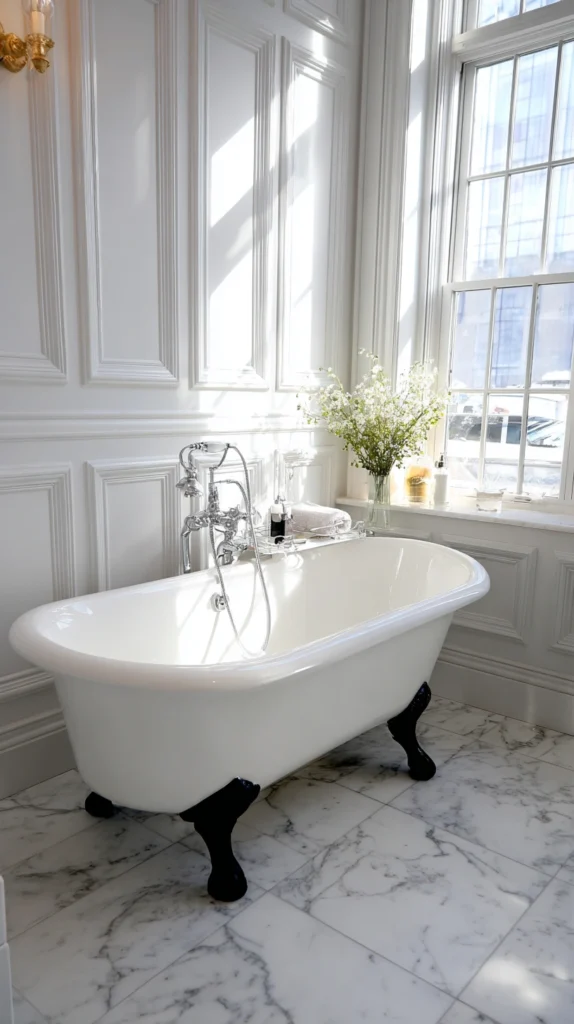
The tub itself, taken as its own design project.
Refinishing basics:
- Sand the existing finish lightly to help new paint or epoxy adhere
- Apply a specialty tub refinishing epoxy in white for the classic look, or a bold color for contrast
- Paint or re-leaf the exterior claw feet separately, often in gold or black for contrast against the tub body
Why refinishing beats buying new:
- Original cast iron tubs hold heat far longer than modern acrylic reproductions
- A refinished vintage tub costs a fraction of a new cast iron replica
- The slight imperfections left behind after refinishing add to the authentic, aged character
Cost breakdown: DIY refinishing kits run $50 to $80. Professional refinishing services run $350 to $600 depending on tub condition.
Getting started this weekend
You don’t need to tackle all fourteen ideas before the room feels transformed.
- Start with the faucet and fixtures, since hardware sets the tone for everything else
- Add the floor and wall treatments once you know your fixture finish
- Save the vanity, lighting, and decorative layers for last
My own bathroom took four separate weekends spread across a year, one layer at a time.
Budget reality
Vintage charm doesn’t require a full renovation budget.
- Under $50: Towel ladder, apothecary jars, step stool
- $50-250: Wainscoting, wallpaper, ceiling beams, refinishing kit
- $250-500: Pedestal sink, professional tub refinishing, lighting fixture
- $500+: Tub filler plumbing, marble vanity, towel-warmer radiator
Most of the visual impact in this style comes from the layered small details, not the biggest single purchase.
What actually makes the room feel vintage
It was never really about finding an authentic antique tub.
It’s the mismatched brass, the checkerboard floor, the glass jars catching morning light, all working together instead of any single perfect piece.
Build the layers slowly, let the finishes age honestly, and the room will feel like it’s always been there.