
14 Haunted House Entryway Ideas That Set the Mood
The entryway is where a Halloween theme either lands or falls flat, since it’s the very first thing trick-or-treaters and guests see before stepping inside. A few well-chosen, atmospheric touches at the door do more to set a spooky mood than a yard full of scattered decorations ever could.
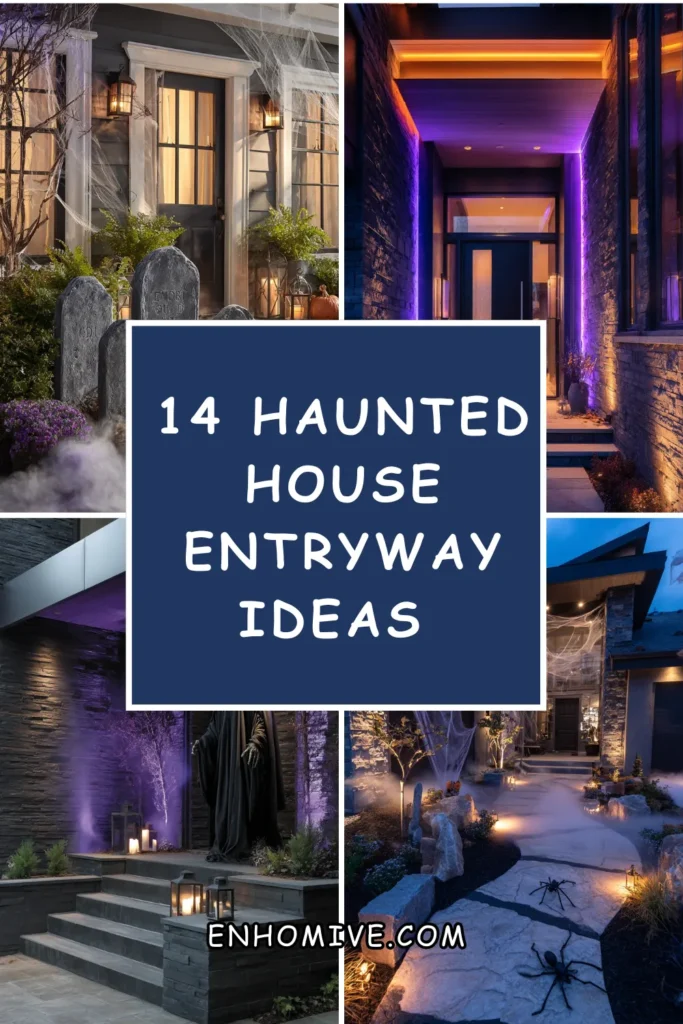
Below are 14 ways to transform an entryway into a genuinely haunted-feeling entrance, from lighting and fog effects to full prop builds, with real numbers on cost and setup so the mood comes together without looking like a cluttered store display.
Setting the Mood Before You Decorate
What makes an entryway read as “haunted”:
- Low, warm, or colored lighting rather than bright white
- A few large, well-placed props rather than many small ones
- Sound and movement, not just static visuals
- A clear focal point guests notice immediately upon approach
What tends to undercut the effect:
- Overly bright porch lighting left on as normal
- Too many small, scattered decorations competing for attention
- Bright, cartoonish colors instead of muted, eerie tones
- Decorations that block the actual path to the door
1. Swap Standard Porch Bulbs for Colored Lighting
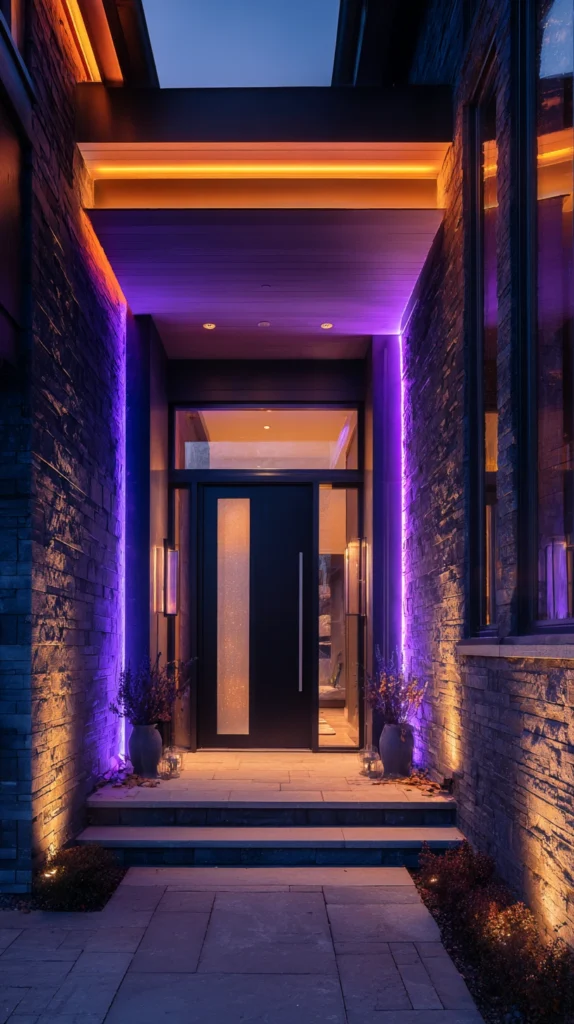
Replacing a regular white porch bulb with an orange, purple, or green-toned bulb instantly changes the entire mood of an entryway before a single prop is added. Standard porch fixtures accept the same base bulb size as most colored party or specialty bulbs, making this a simple swap requiring no tools.
Budget: $8-15 for a quality colored LED bulb, one of the cheapest and highest-impact changes on this entire list. Purple and deep amber tones tend to read as more genuinely eerie than bright orange, which can sometimes feel more cheerful than spooky depending on the fixture and surrounding decor.
This single change affects how every other decoration on the porch actually looks once evening falls, since colored light shifts the tone of props, fog, and fabric decorations far more dramatically than daylight ever reveals. This is worth doing first, before adding any other decorations, since it’s the foundation the rest of the entryway’s mood gets built on.
2. Add a Fog Machine Near the Entry Path
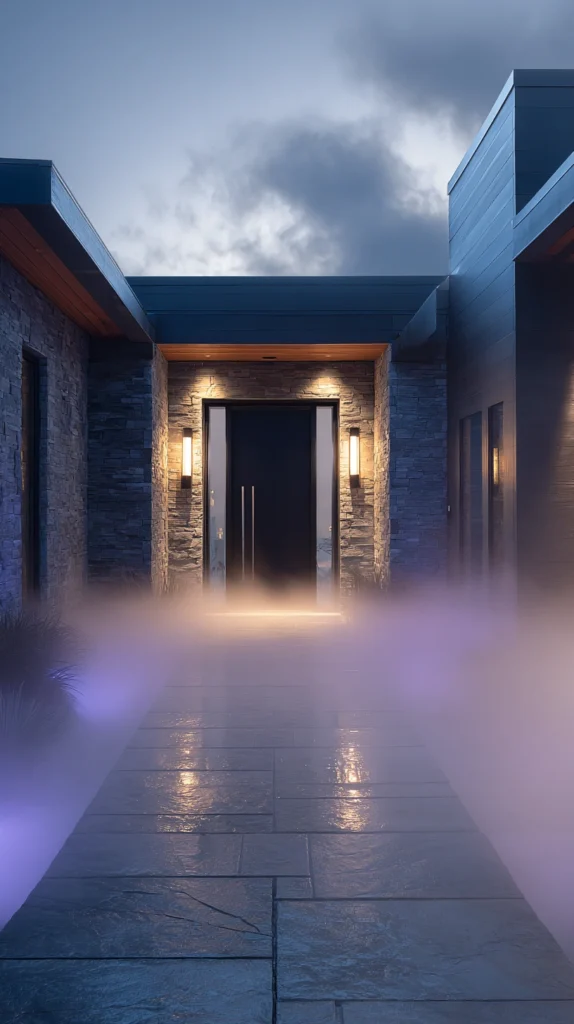
A small fog machine positioned near the walkway or just inside the entry creates a low-lying mist that dramatically increases the eerie atmosphere, especially when combined with colored lighting. Standard compact fog machines cover 200-800 sq ft depending on the model’s output.
Budget: $30-80 for a quality compact fog machine, a reusable investment that works for many future Halloween seasons beyond just the initial purchase. Positioning the machine low to the ground, sometimes hidden behind a prop or a low wall, keeps the equipment itself out of sight while the fog effect spreads naturally across the entry path.
Running the fog machine intermittently, rather than continuously, both extends the fluid supply through a full evening of trick-or-treaters and creates a more dynamic, surprising effect as fog periodically rolls in rather than staying constant. This is one of the highest-impact additions on this list for the cost, since moving fog reads as significantly more atmospheric than any static decoration alone.
3. Build a Fabric or Cheesecloth Ghost Display
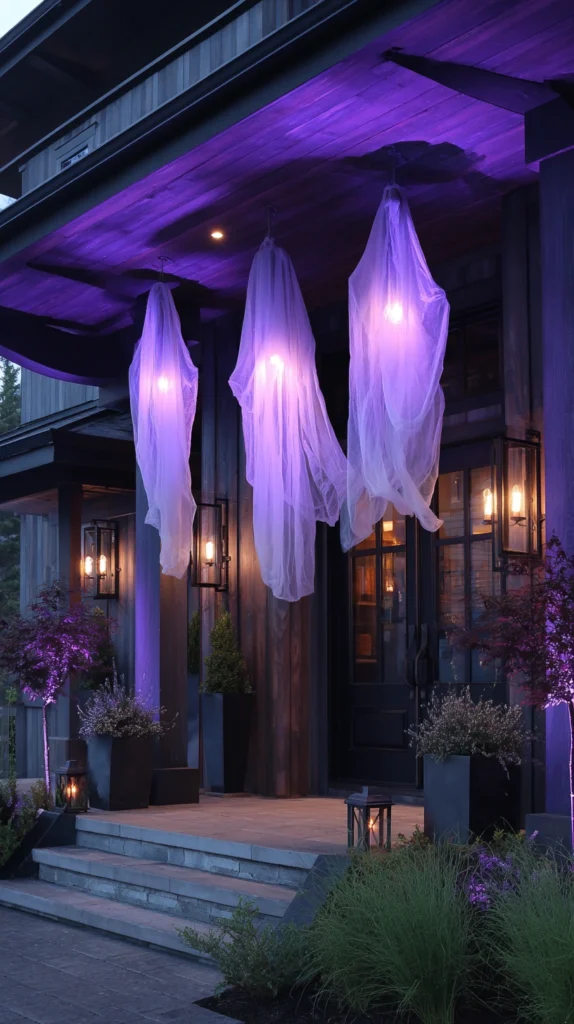
Draping stretched cheesecloth or thin white fabric over simple wire or foam head forms creates a classic, eerie ghost figure that moves gently in the breeze near an entryway. Standard ghost figures run 4-6 feet tall, appropriately scaled to flank a doorway or line a walkway.
Budget: $15-25 per ghost figure using cheesecloth, wire, and a foam head form, making a group of 2-3 ghosts achievable for $45-75 total. Stiffening the cheesecloth with a fabric stiffener or a diluted glue mixture, then draping it over the form while still slightly damp, helps the fabric hold a more dramatic, flowing shape once dry.
Hanging these figures at slightly varying heights, rather than a uniform row, creates a more unsettling, natural-looking group than perfectly matched spacing would. Positioning them where they’ll catch a natural breeze, or adding a small hidden fan nearby, keeps the fabric moving throughout the evening rather than hanging static.
4. Add a Motion-Activated Prop Near the Door
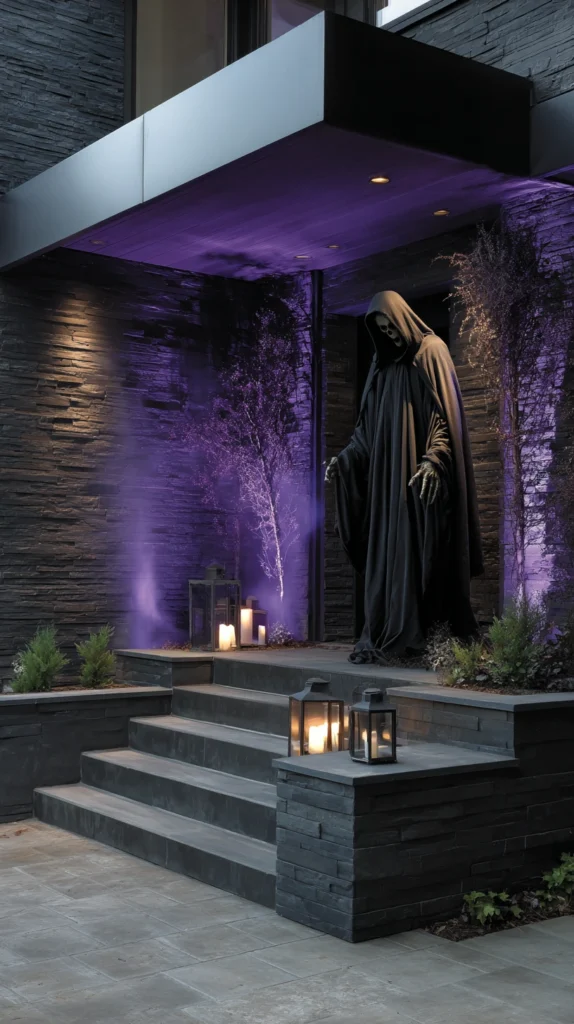
A single motion-activated prop — a jumping spider, a reaching hand, or a figure that lights up and makes sound when triggered — creates a genuine startle moment that static decorations can’t replicate. Standard motion-activated props detect movement within 3-8 feet, appropriately scoped for a walkway or porch approach.
Budget: $30-100 for a quality motion-activated prop, depending on complexity and whether it includes sound, movement, or lighting effects. Positioning the sensor to trigger as guests approach the door, rather than too early down the walkway, maximizes the surprise effect right at the moment people are least expecting it.
Testing the prop’s sensitivity and placement in advance, ideally in the evening lighting conditions it will actually be used in, prevents both false triggers from wind or pets and missed triggers from guests walking past undetected. This is one of the more memorable individual additions on this list, since a genuine jump-scare moment tends to be what guests and trick-or-treaters remember and talk about afterward.
5. Create a Spiderweb Canopy Over the Entry
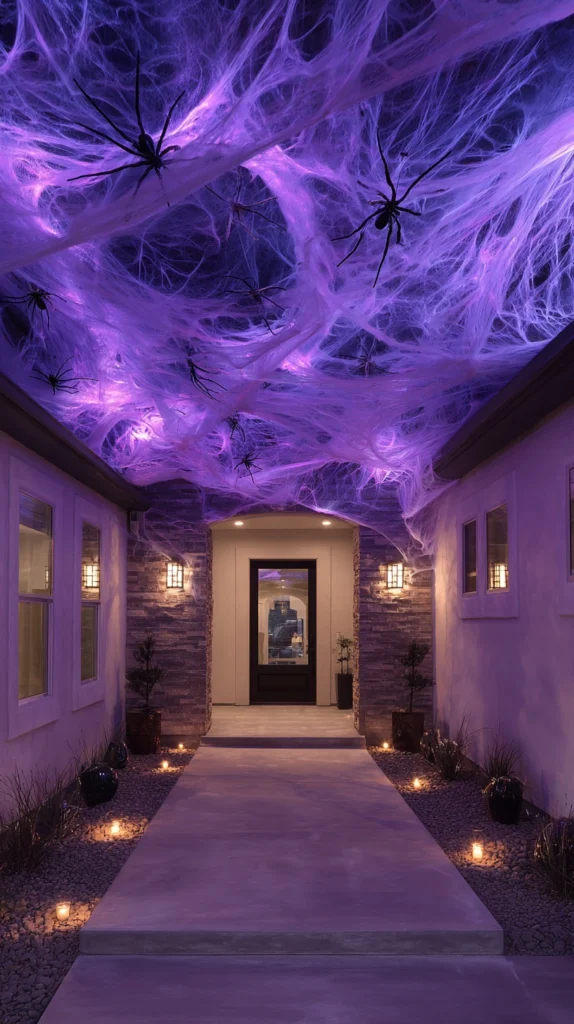
Stretching stretchy synthetic spiderweb material across the entryway, porch ceiling, or nearby bushes creates an immersive, enveloping effect that a few isolated web decorations can’t achieve on their own. Standard spiderweb material comes in bags covering roughly 60-200 sq ft depending on how thickly it’s stretched.
Budget: $15-30 for enough spiderweb material to cover a standard porch entryway, one of the more affordable full-coverage decorations on this list. Pulling the material apart slowly and thoroughly before hanging, rather than leaving it in dense clumps, creates a more realistic, gauzy web effect rather than looking like a solid white sheet.
Adding a few oversized plastic spiders at varying points within the web canopy, particularly at eye level near the door, completes the effect and gives guests something specific to notice within the larger web installation. This works particularly well combined with the colored lighting described earlier, since light filtering through stretched web material creates dramatic shadows on the porch surface below.
6. Add Flickering Candlelight Along the Walkway
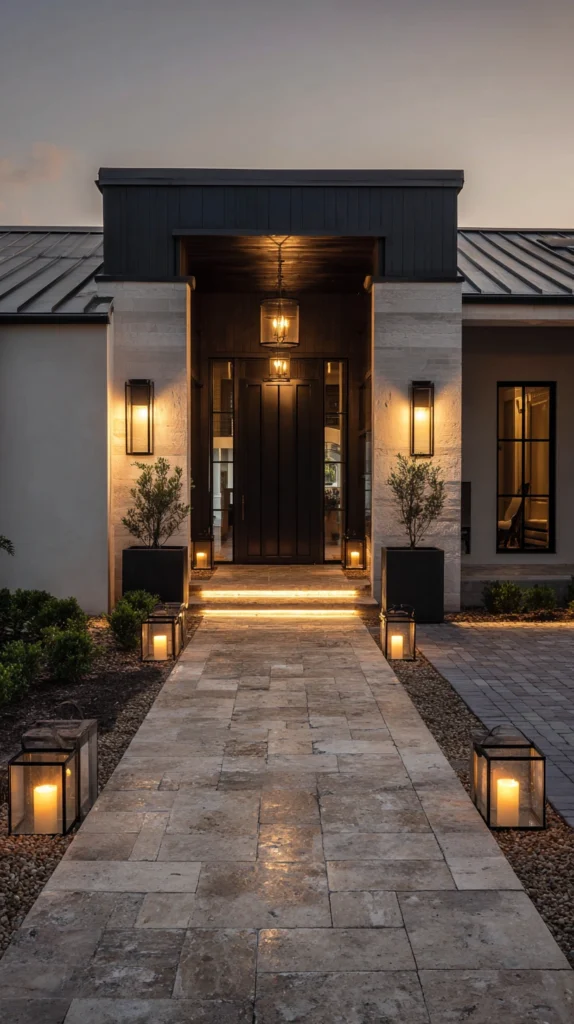
A row of flameless LED candles with a realistic flicker effect, placed along the walkway leading to the door, guides guests toward the entrance while reinforcing the eerie, old-world atmosphere. Standard walkway candle placements use 6-10 candles spaced 2-3 feet apart along a typical entry path.
Budget: $20-40 for a set of quality flameless flicker candles, significantly safer than real open flame for a high-traffic area with excited trick-or-treaters and costumes that could easily catch on an actual flame. Placing candles inside simple black lanterns or glass hurricanes, rather than leaving them exposed, both protects them from wind and adds another layer of atmospheric styling.
This is one of the more subtle additions on this list, but it does meaningful work guiding foot traffic safely toward the door while reinforcing the mood established by other elements like colored lighting and fog. Battery-operated candles with a timer function are worth the slightly higher cost, since they can be set to automatically turn on at dusk without needing to be manually activated each evening.
7. Build a Faux Tombstone Display Near the Entry
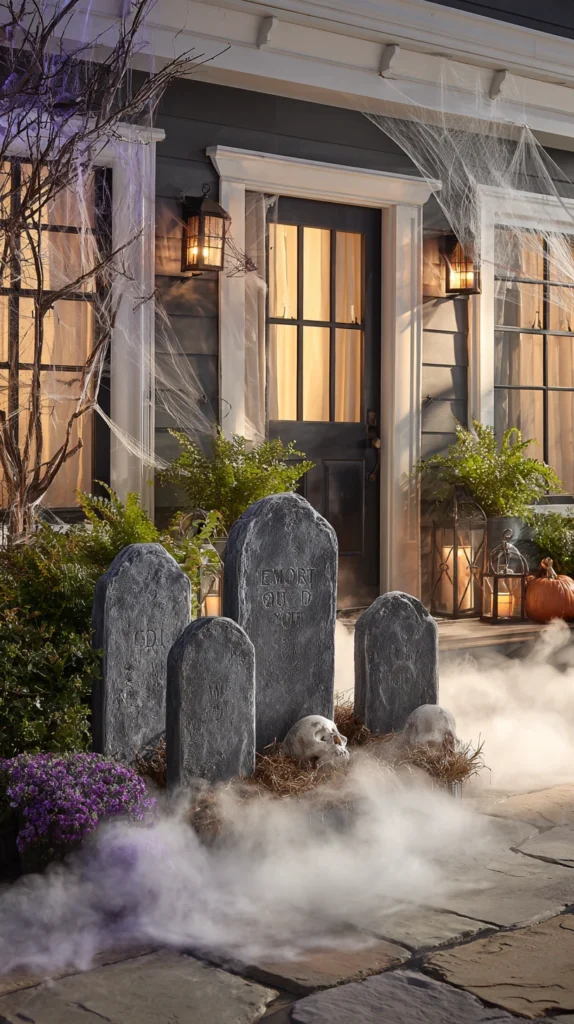
A small cluster of foam or cardboard tombstones, arranged just off the main walkway, creates an instantly recognizable graveyard scene that sets the tone before guests even reach the door. Standard tombstone props run 18-24 inches tall, with 3-5 typically enough for a convincing small display.
Budget: $20-40 for a set of 3-5 foam tombstones, or less if building simple versions from painted cardboard or foam board as a DIY project. Staggering the tombstones at slightly different heights and angles, rather than lining them up perfectly straight, creates a more naturally aged, weathered look than a uniform row.
Adding a bit of fake spiderweb, some artificial dead leaves, or a scattering of fake bones around the base of the tombstones completes the scene without requiring significant additional purchases. This is one of the most recognizable, classic Halloween entryway elements, and it works well as a smaller accent alongside other bigger-ticket items on this list, or as a standalone focal point on a tighter budget.
8. Add Dramatic Uplighting to Trees or Porch Columns
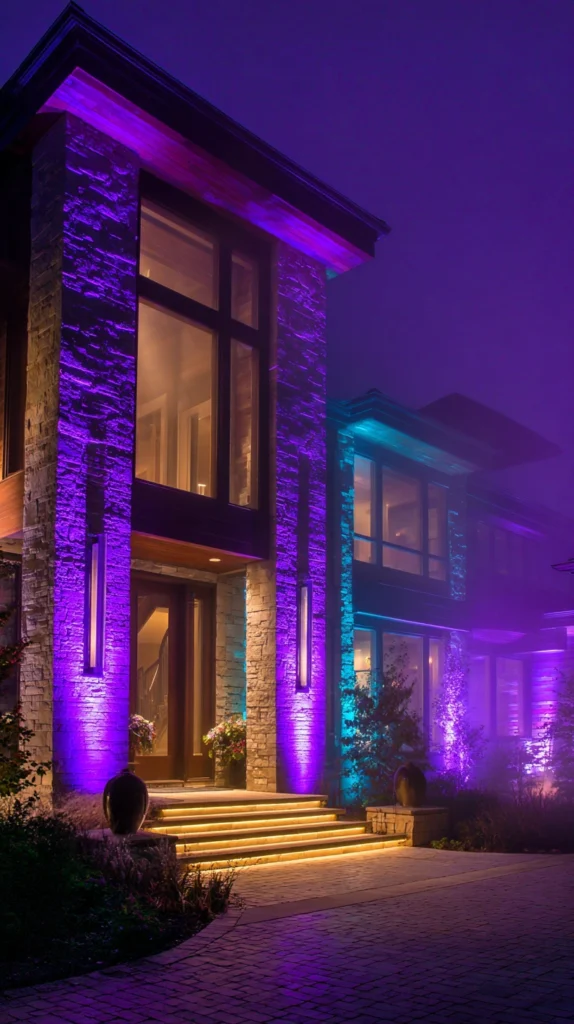
Positioning small spotlights or uplighting fixtures at the base of porch columns, nearby trees, or large plants, angled upward, creates dramatic shadows and an eerie glow that standard downward-facing porch lights can’t replicate. Standard uplighting fixtures run $15-30 each, with 2-4 typically enough to transform a standard entryway.
Budget: $40-100 for a set of 2-4 quality uplighting fixtures, including colored lens options for orange, purple, or green effects if desired. This lighting technique is commonly used by professional haunted attractions specifically because upward-angled light creates unnatural, exaggerated shadows that read as unsettling in a way overhead or front-facing light doesn’t.
Positioning these lights at the base of any large tree near the entryway casts dramatic, moving shadows from the branches onto the house facade, adding atmosphere even without any additional props in that specific area. This is a technique worth testing at dusk before finalizing placement, since the shadow effects can vary significantly based on exact fixture angle and distance from the tree or column.
9. Create a Sound Design Element Near the Door
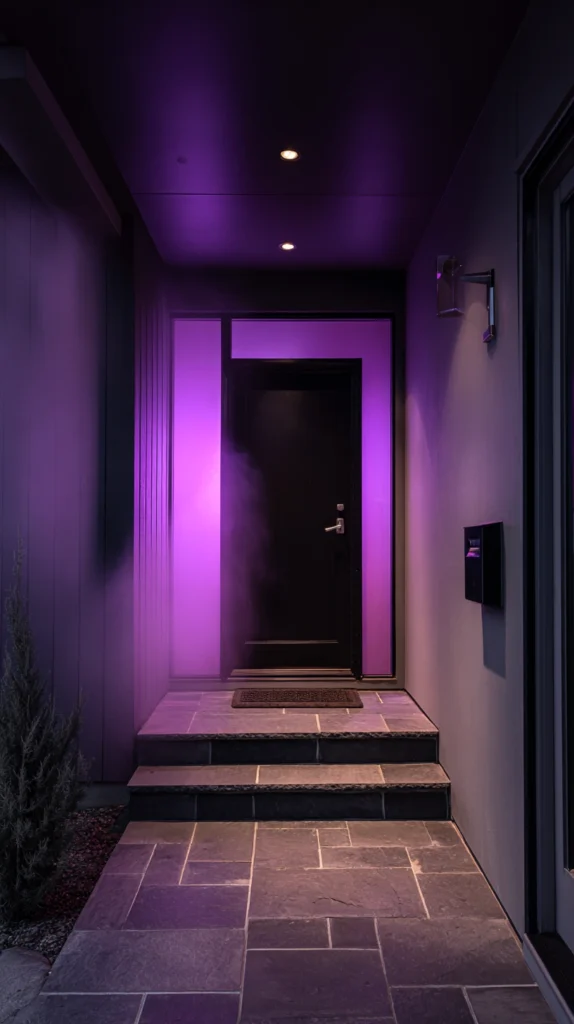
A small speaker playing looped ambient sound — creaking floorboards, distant howling, a slow heartbeat — adds an audio layer that most entryway displays skip entirely, despite sound being one of the most effective tools for building genuine atmosphere. Standard outdoor-rated Bluetooth speakers cost $30-80 and can loop a downloaded soundtrack throughout the evening.
Budget: $30-80 for a weatherproof outdoor speaker, a reusable investment for many future Halloween seasons. Keeping the volume at a background level, rather than overwhelming, tends to be more effective than loud, jarring sound effects, since subtle ambient noise builds unease more effectively than something guests can immediately identify as a sound effect playing on a loop.
Free or low-cost ambient horror soundtracks are widely available online specifically designed for this kind of Halloween party or entryway use, making the audio content itself essentially free once the speaker is purchased. This is one of the most overlooked additions on this list, but combined with fog and colored lighting, sound is often what pushes an entryway from “decorated” to genuinely atmospheric.
10. Add a Dramatic Doormat or Threshold Detail
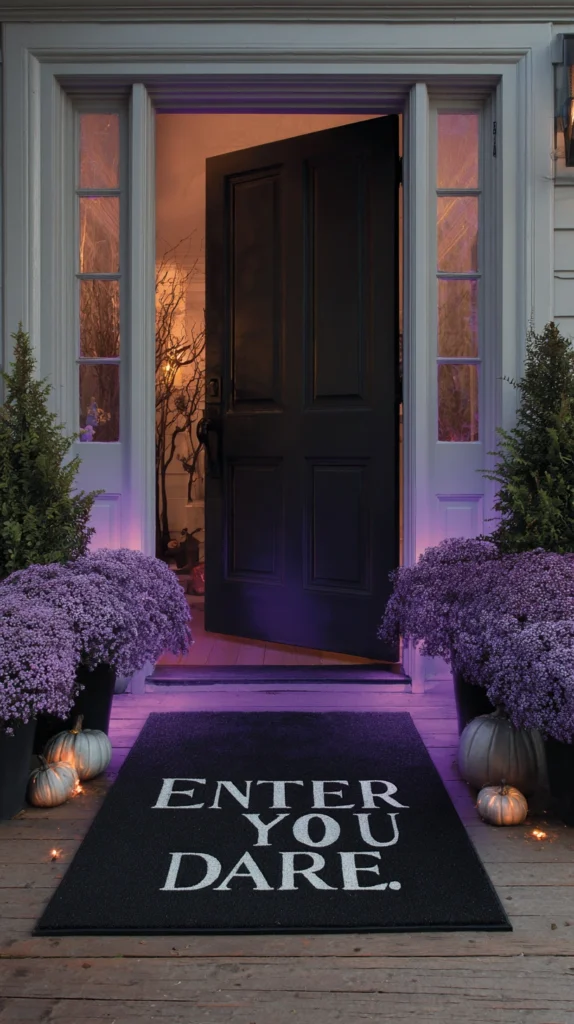
A simple but pointed doormat — one reading “Enter If You Dare” or featuring a spooky illustration — is a small, low-cost detail that guests notice right at the final threshold before entering. Standard doormats run 18×30 inches, a widely available size fitting most standard entryways.
Budget: $15-35 for a quality Halloween-themed doormat, one of the more affordable individual items on this list. This detail works well paired with a bit of fake blood or dirt-effect styling around the mat’s edges for a slightly more elevated, less generic look than a store-bought mat used exactly as purchased.
This small touch is often what guests interact with most directly, since it’s literally underfoot right before they knock or ring the bell, making it worth a bit more consideration than its low cost might suggest. Choosing a mat that can be reused as a general fall doormat after Halloween, rather than something exclusively Halloween-branded, extends its usefulness into a broader autumn decorating season.
11. Build a Cobweb-Covered Furniture Vignette
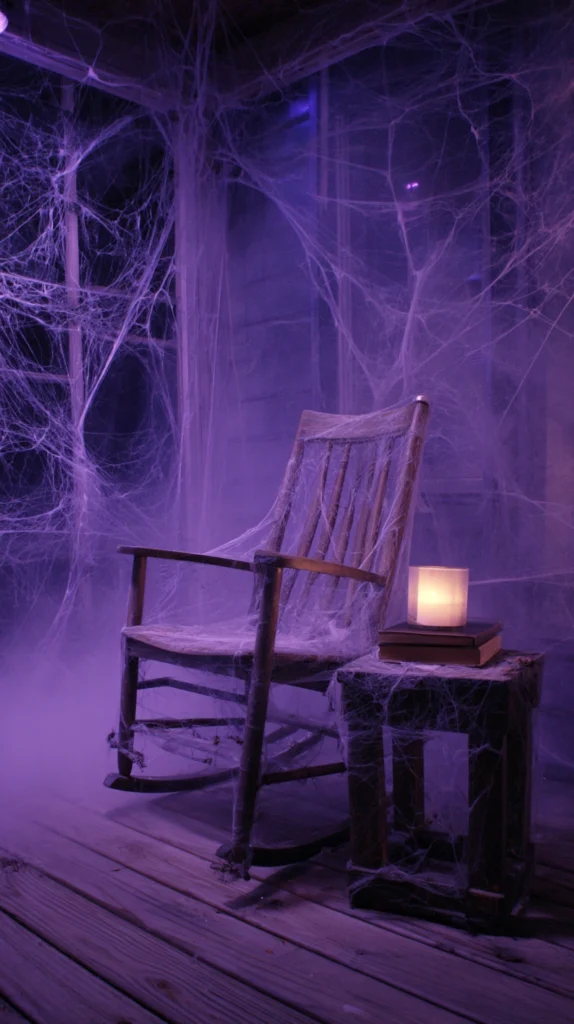
An old chair, small table, or decorative item covered heavily in fake cobwebs and positioned near the entry creates the feeling of an abandoned, long-forgotten space rather than a typical decorated porch. Standard vignette displays use one or two furniture pieces plus 2-3 bags of stretched spiderweb material for full coverage.
Budget: $20-40 in spiderweb material for a full furniture piece, using furniture already on hand or sourced secondhand for a few dollars. A secondhand chair from a thrift store, specifically chosen for this seasonal purpose, is often more cost-effective than buying a new prop designed to look old.
Adding a few props on or around the furniture — an old book, a candle, a cracked vase — deepens the “abandoned” narrative and gives the vignette more storytelling detail than the covered furniture alone. This is one of the more creative, personalized additions on this list, since the specific furniture and props used can reflect items already owned rather than requiring an entirely new purchase.
12. Add a Silhouette Display in a Window Near the Entry
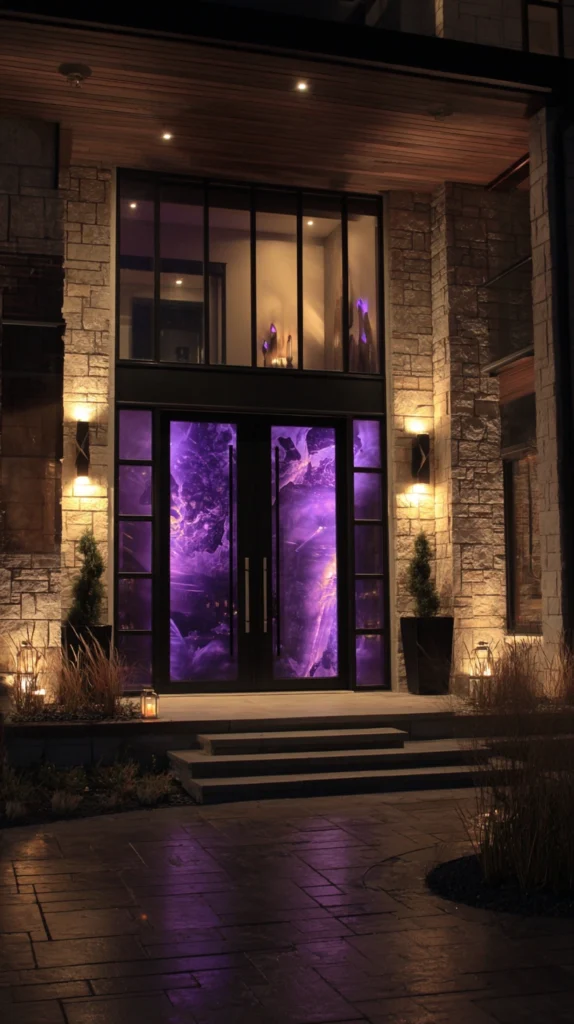
Black paper or vinyl silhouettes — a witch, a raven, a skeletal figure — placed in a window near the entryway, especially when backlit, create dramatic shapes visible from the walkway well before guests reach the door. Standard silhouette decals run 12-36 inches, sized appropriately for a typical window.
Budget: $10-25 for a set of window silhouette decals, one of the most affordable additions on this list relative to its visual impact. Backlighting the window with a colored bulb or a lamp positioned behind the silhouette creates a dramatic, glowing effect that a simple daytime-visible decal can’t achieve on its own.
This technique works particularly well for a window positioned directly beside or above the entry door, since it extends the haunted mood vertically rather than keeping all the atmosphere concentrated at ground level. This is a good addition for anyone with limited porch or yard space for larger props, since it uses an existing window rather than requiring additional floor space.
13. Create a Layered “Approach” Rather Than a Single Display
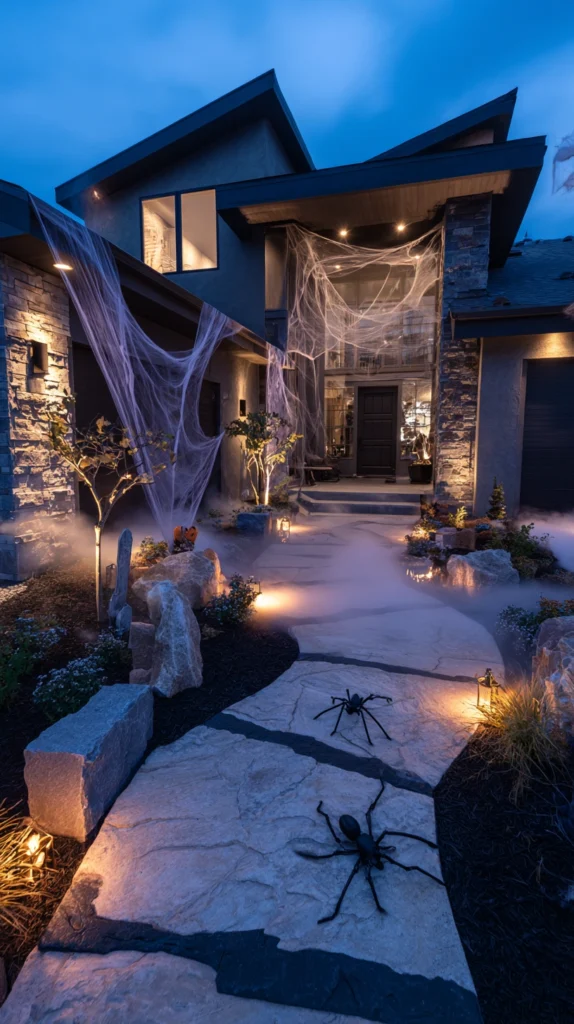
Rather than concentrating all the decoration directly at the door, spacing a few key elements along the actual walkway or driveway approach — a tombstone here, a ghost figure there, fog rolling across the path — builds anticipation as guests move toward the entrance. Standard walkways benefit from 3-4 distinct decorative moments spaced along their length, rather than one dense cluster at the very end.
Budget: this is a placement strategy rather than an additional cost, using items already described elsewhere on this list distributed thoughtfully rather than clustered. Spacing decorations to reveal themselves progressively, rather than all at once from the street, mimics the pacing used by professional haunted house attractions to build tension before the main event.
This approach also solves a common problem where a porch becomes overcrowded with decorations while the rest of the yard sits bare, creating a more balanced, immersive experience across the entire property. This is one of the more important organizing principles on this list, since even a modest decoration budget goes further when thoughtfully paced rather than concentrated in a single spot.
14. Add a Costumed Figure or Prop as the Final Reveal
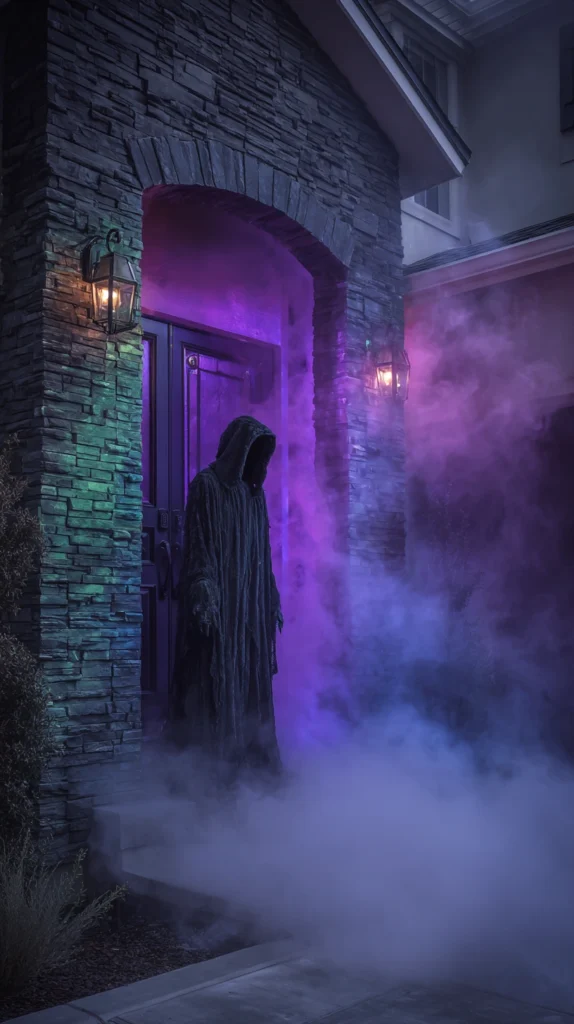
A single large, high-quality prop or costumed mannequin positioned directly at the door — the tallest, most detailed element in the entire display — serves as the payoff moment after guests have walked through the rest of the atmospheric buildup. Standard life-sized props run 5-6 feet tall, appropriately scaled to feel genuinely imposing at the threshold.
Budget: $60-200 for a quality life-sized prop, the biggest single investment on this list, but often worth it as the clear focal point everything else on this list builds toward. Positioning this prop where it’s the last thing guests see before knocking, rather than visible from the street, preserves its surprise impact for the moment they’re actually standing at the door.
This prop benefits the most from the lighting and fog techniques described earlier in this list, since dramatic uplighting and drifting fog make even a moderately priced prop look significantly more convincing and expensive than it actually is. This final element ties together every other idea on this list into one cohesive, escalating experience rather than a scattered collection of individually decorated elements.
Quick Start Shopping List
This weekend, under $150:
- A colored porch light bulb: $12
- A bag of spiderweb material: $20
- A set of flameless flicker candles: $30
- A themed doormat: $25
- A small set of foam tombstones: $30
Budget-Friendly Version
Lowest-cost ways to start:
- A colored bulb swap, the single highest-impact low-cost change
- DIY cheesecloth ghosts instead of purchased fabric props
- Secondhand furniture for a cobweb vignette rather than a new prop
- Free ambient sound tracks played through an existing speaker
Success Indicators
- The mood is noticeable from the street, not just up close at the door
- Lighting, fog, and sound work together rather than feeling like separate additions
- One clear focal point anchors the display rather than scattered small items
- The walkway still functions safely and clearly guides guests to the door
- Guests or trick-or-treaters comment on the atmosphere, not just individual props
Remember
Start with lighting, since a colored bulb swap does more for the mood than almost any prop at a fraction of the cost, add fog and sound before assuming more visual decorations are needed, since atmosphere depends on more than sight alone, pace decorations along the full walkway rather than clustering everything at the door, keep the actual path to the entrance clear and safe despite the added props and lighting, and build toward one strong focal point rather than spreading the budget evenly across many small, forgettable items.