
10 Floating Shelf Styling Ideas for Any Room
Floating shelves look like the easiest styling project in the whole house, a board on the wall, a few objects on top, done in an afternoon.
In practice, they’re one of the easier things to get visibly wrong, either left too empty to feel intentional or crammed full enough to look like overflow storage.
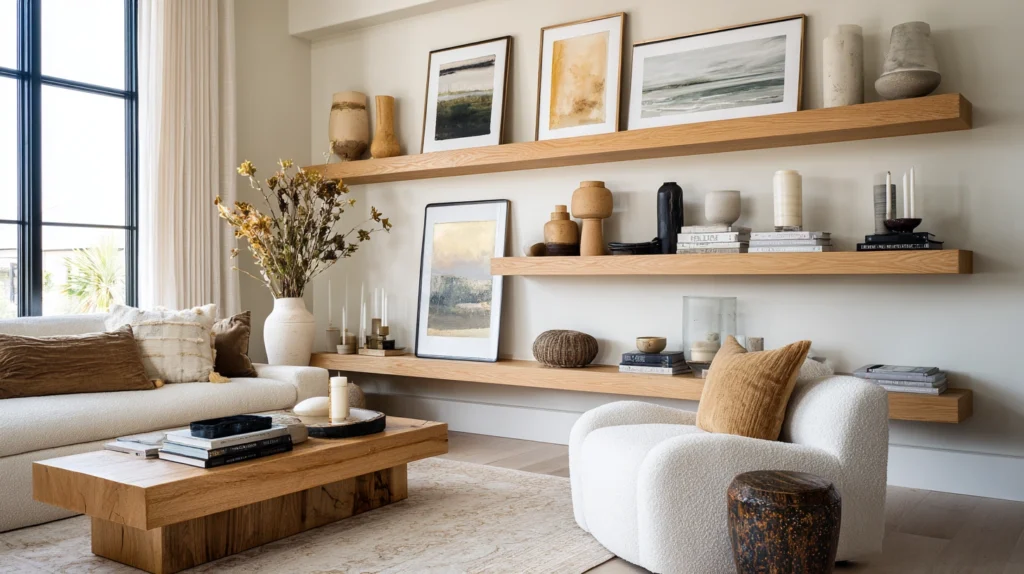
The difference between a shelf that looks styled and one that looks abandoned usually comes down to a handful of repeatable techniques, not natural talent.
Here are 10 ways to style a floating shelf so it works in almost any room of the house.
Why floating shelves are trickier to style than they first appear
Unlike a bookshelf or cabinet, there’s no surrounding structure to hide an awkward arrangement.
- Every object on an open shelf is fully visible from every angle, with nowhere to tuck away something that doesn’t quite fit
- The shelf’s limited depth means scale and proportion matter more here than almost anywhere else in the house
- A shelf styled without any variation in height or texture reads as flat, even if every individual object is nice on its own
Once you know the handful of techniques that actually work, restyling any shelf takes far less time than it seems like it should.
1. Anchor Each Shelf With One Taller Object
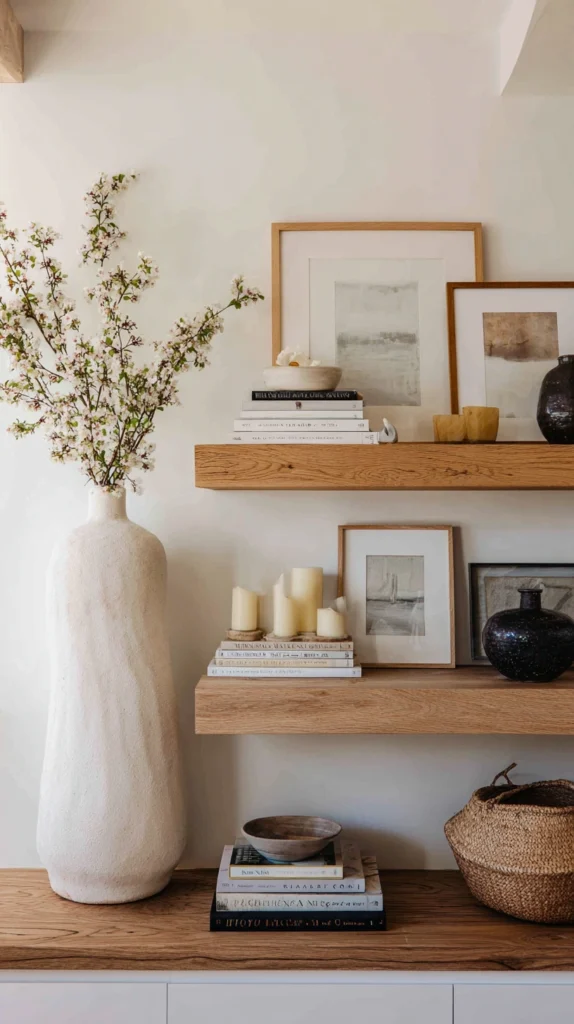
Giving the eye a clear starting point before it takes in anything smaller.
Build it:
- A tall vase, a stack of books, or a single framed piece leaned against the wall, positioned toward one end of the shelf
- Smaller objects grouped in front of or beside the anchor, stepping down in height toward the shelf’s open end
- The anchor kept slightly off-center rather than placed dead in the middle, avoiding an overly symmetrical, static look
Why a height anchor matters more than any single decorative object:
- Without one clear tall piece, a shelf of similarly sized objects can look scattered rather than composed
- It gives the whole arrangement a sense of visual hierarchy, similar to how a bouquet is built around one focal stem
- It’s the single easiest fix for a shelf that currently feels flat despite having nice individual pieces on it
Cost breakdown: Free if using an object already owned, or $15 to $40 for a new tall vase or decorative object.
2. Group Objects in Odd Numbers
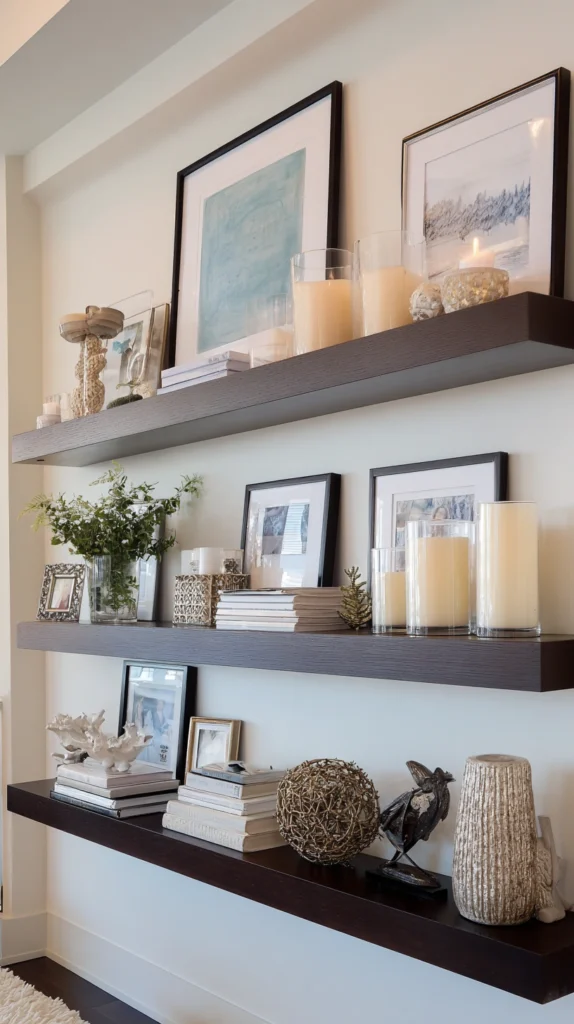
A simple styling rule that applies just as well to a shelf as any other surface.
Build it:
- Clusters of three or five items rather than two or four, varying slightly in height within each group
- Small gaps of visible shelf left between each cluster rather than one continuous row of objects
- Repeated across multiple shelves if styling more than one, keeping the odd-number principle consistent throughout
Why odd-numbered groupings read as more intentional than even ones:
- Even numbers tend to arrange themselves symmetrically by default, which can look accidental rather than deliberate
- Odd groupings create natural asymmetry that the eye reads as more considered and less rigid
- It’s a technique that works regardless of what specific objects are being styled, making it broadly reusable across any room
Cost breakdown: Free, since this is a rearranging technique rather than a purchase.
3. Lean Framed Art Instead of Hanging It
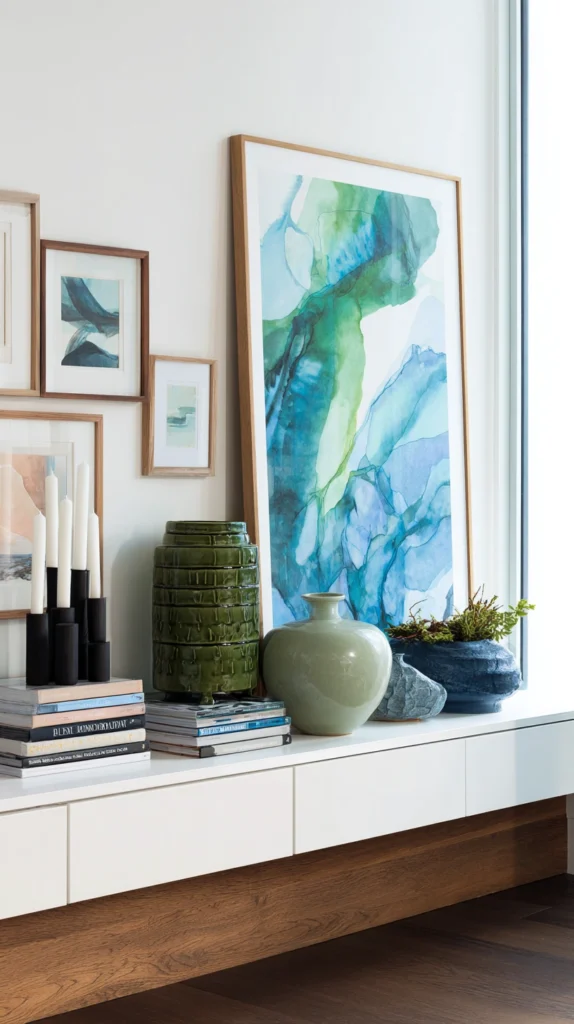
Using the shelf itself as a display ledge for smaller artwork.
Build it:
- A small framed print or photo leaned against the wall at the back of the shelf rather than hung separately
- Additional objects, like a small plant or candle, placed slightly in front of the leaned frame for layered depth
- Frame size kept proportional to the shelf’s depth, avoiding anything so large it overwhelms the available surface
Why leaning art adds a dimension flat-hung pieces on a bare wall don’t:
- It creates genuine depth and layering that a single wall-hung piece can’t achieve on its own
- It’s considerably easier to swap out seasonally or whenever taste changes, since nothing requires new wall holes
- It works particularly well on shelves positioned against an otherwise blank wall, giving that wall space a second purpose
Cost breakdown: A small framed print for leaning runs $15 to $40 depending on size and framing.
4. Mix at Least Three Different Textures
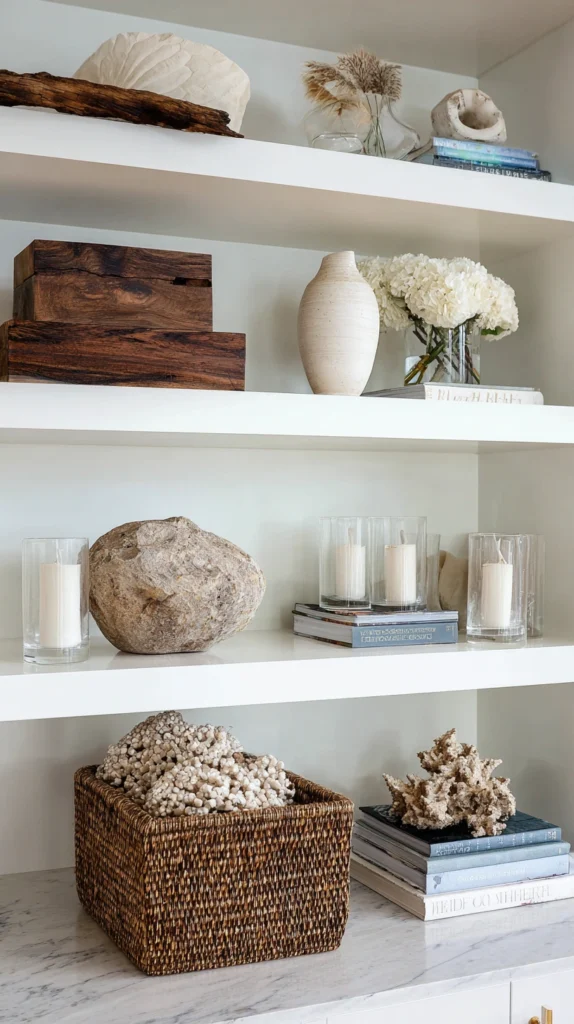
Preventing a shelf from feeling flat even when every object shares a similar color palette.
Build it:
- A woven basket, a smooth ceramic vase, and a piece of raw wood or stone all represented somewhere on the same shelf
- Textures varied deliberately rather than accidentally, choosing pieces specifically because they contrast with their neighbors
- Avoided an entire shelf of the same material, like all glass or all ceramic, which tends to look monotonous regardless of arrangement
Why texture variety matters as much as color coordination:
- A shelf that’s visually cohesive in color but uniform in texture often still reads as flat under normal room lighting
- Contrasting textures catch light differently from each other, adding visual interest without needing more objects
- It’s a free styling principle if a reasonable mix of materials already exists somewhere in the house to pull from
Cost breakdown: Free, assuming a mix of textures already exists elsewhere in the home to incorporate.
5. Let a Trailing Plant Soften the Shelf’s Hard Edge
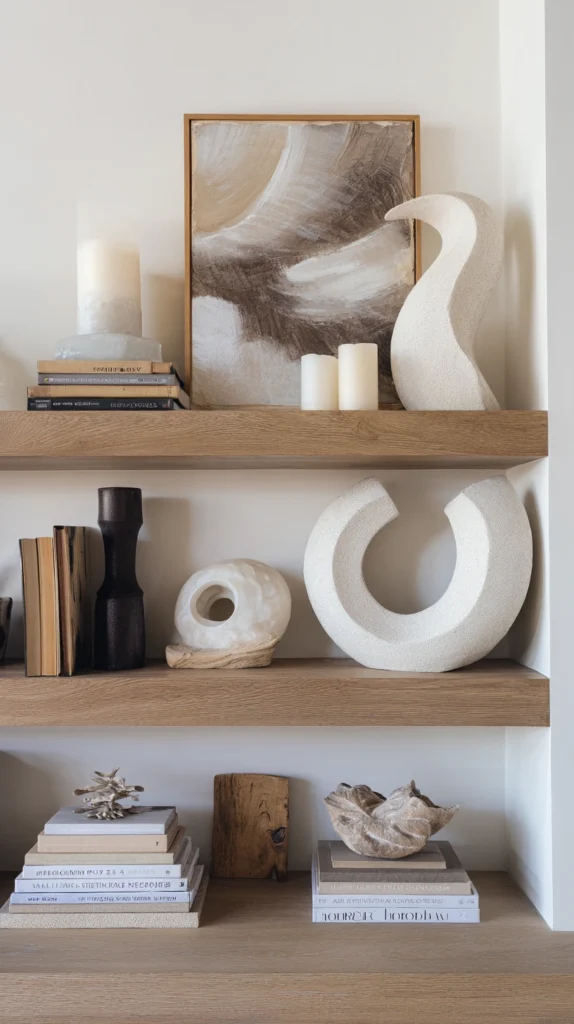
Introducing movement and a living element into an otherwise static display.
Build it:
- A small pothos, string of pearls, or similar trailing plant positioned at one end of the shelf
- Allowed to spill naturally over the front edge rather than trained to stay contained within the shelf’s footprint
- Rotated occasionally to keep growth even, since one side of the plant will naturally lean toward the room’s main light source
Why a trailing plant does more for a shelf than a second static object would:
- The cascading growth adds a sense of movement that purely decorative objects can’t replicate
- It softens the shelf’s hard, straight edge, especially useful on floating shelves with a visibly thin, modern profile
- It requires relatively little ongoing care for the visual payoff it delivers, especially with a low-maintenance variety
Cost breakdown: A small trailing plant in a simple pot runs $10 to $20 depending on variety and pot size.
6. Style Books Both Vertically and Stacked Horizontally
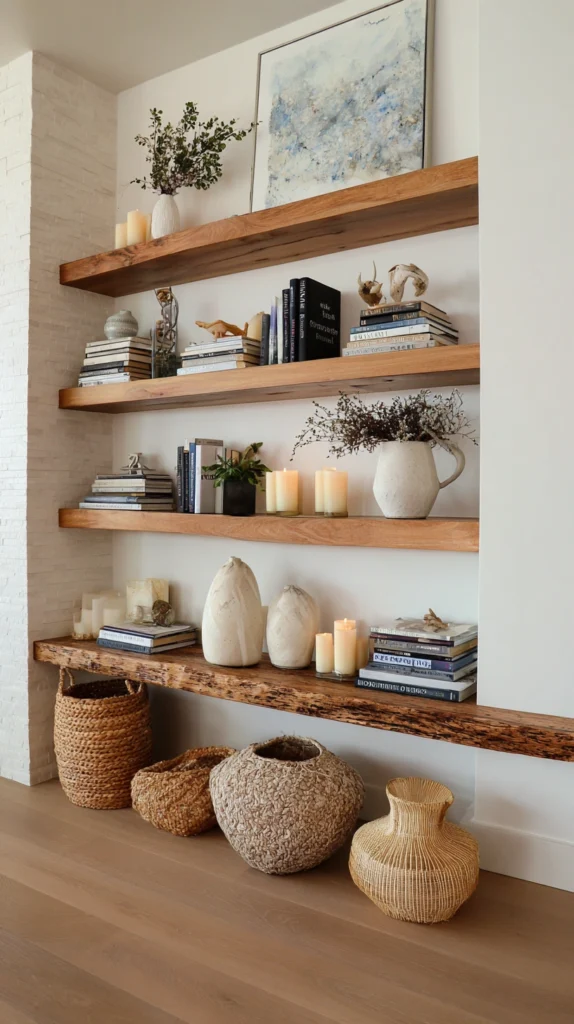
Breaking up a straight row of spines with a different orientation.
Build it:
- A small vertical grouping of upright books at one end of the shelf, bookended by a simple object or small stack
- A separate horizontal stack of two or three books elsewhere on the same shelf, topped with a small decorative object
- Spine colors considered when arranging, grouping similar tones together if a more curated, color-coordinated look is desired
Why mixing book orientation adds more visual interest than one long row:
- A single uniform row of upright spines, however nice individually, reads as fairly repetitive across a whole shelf
- Horizontal stacks create a natural surface for a small object to sit on top of, adding another layer of height variation
- It’s an easy way to restyle an existing book collection without needing to purchase anything new
Cost breakdown: Free, using books already owned.
7. Use a Shelf’s Underside for a Second Layer of Interest
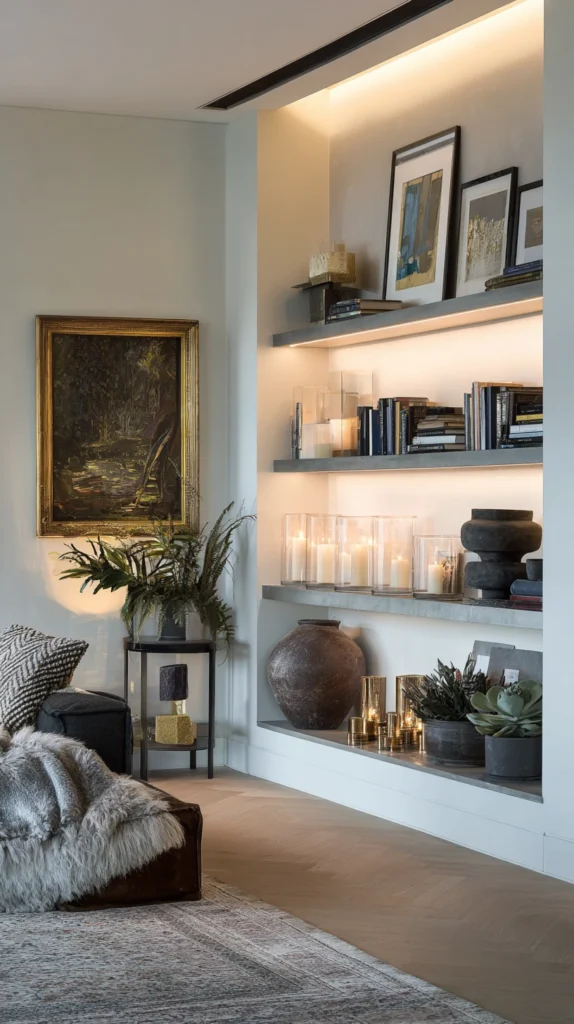
Adding detail below the shelf itself, not just on top of it.
Build it:
- Small pendant hooks or a discreet strip of LED lighting installed along the underside of the shelf
- A few small items, like a hanging plant or a strand of beads, suspended from the underside hooks if desired
- Lighting wired to a small plug-in dimmer, allowing brightness to be adjusted for daytime versus evening use
Why the underside is an often-overlooked opportunity for additional styling:
- Most floating shelf styling focuses entirely on the top surface, leaving the underside as unused visual real estate
- Hidden lighting specifically highlights the objects displayed above, adding a professional, gallery-like quality
- It’s a detail that adds genuine dimension to the shelf without requiring more objects on the main surface
Cost breakdown: Small LED strip lighting for a shelf’s underside runs $15 to $30 depending on length.
8. Repeat a Single Color Thread Across Multiple Shelves
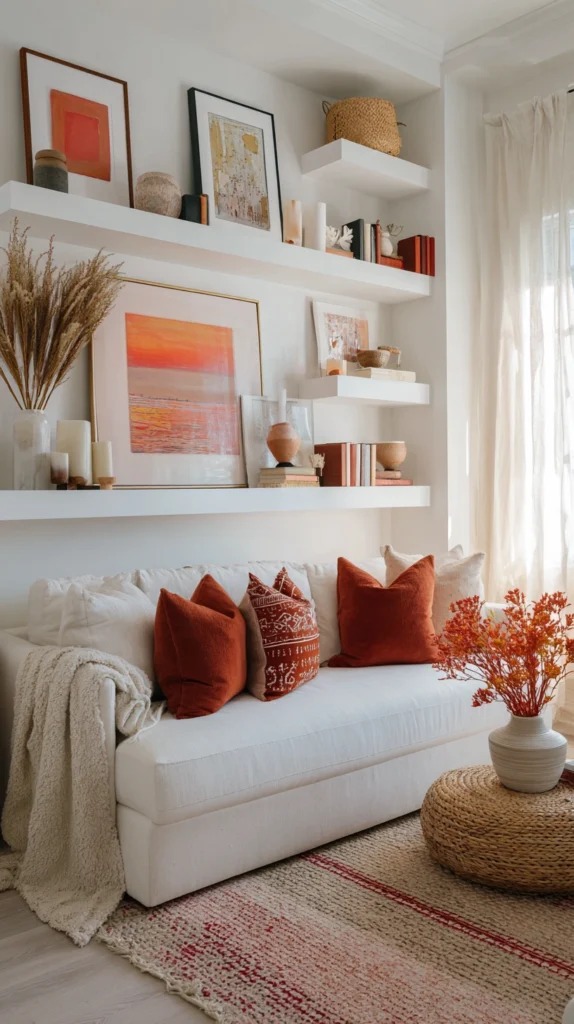
Tying several shelves together into one cohesive display rather than treating each in isolation.
Build it:
- A specific accent color, like a deep terracotta or sage green, represented somewhere on every shelf being styled
- The repeated color appearing in different object types each time, like a vase on one shelf and a book spine on another
- The rest of each shelf’s palette kept neutral, letting the repeated accent color do the unifying work
Why a repeated color thread matters more when styling multiple shelves at once:
- Without some connecting element, several separately styled shelves in the same room can end up feeling unrelated to each other
- A single repeated color creates a clear visual rhythm as the eye moves from one shelf to the next
- It’s a free technique to apply retroactively, simply by rearranging which existing colored objects go on which shelf
Cost breakdown: Free, assuming objects in the chosen accent color already exist somewhere in the home.
9. Leave a Third of Each Shelf Genuinely Empty
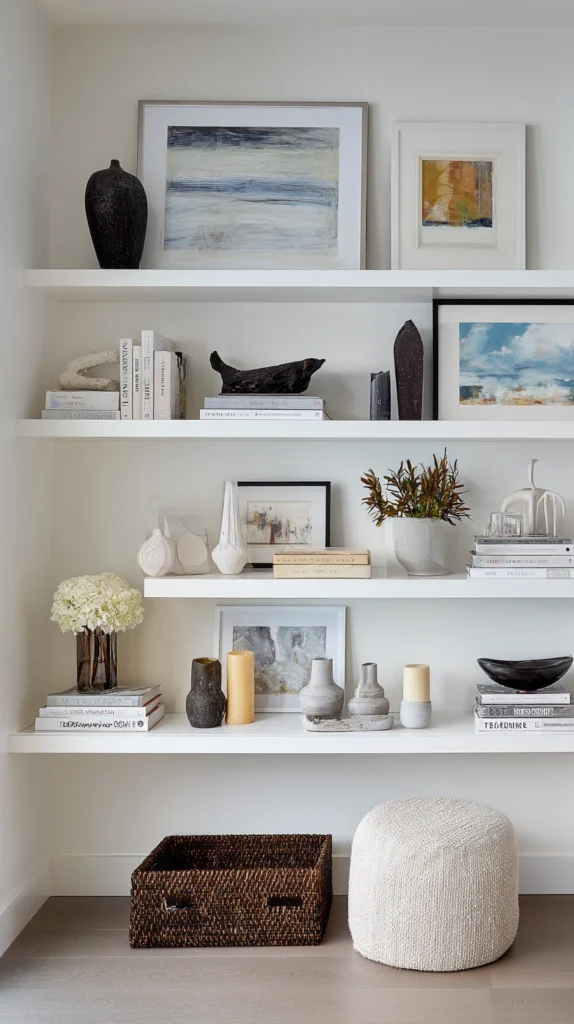
The single most common fix for a shelf that feels cluttered no matter what’s on it.
Build it:
- A deliberate check after styling to confirm that roughly one-third of each shelf’s length remains visibly open
- Negative space distributed between groupings rather than only pushed to the shelf’s far end
- Additional objects removed rather than added if the shelf still feels crowded after this check
Why negative space does more work than any additional object could:
- A completely filled shelf reads as cluttered regardless of how nice each individual piece is
- Empty space gives the eye somewhere to rest between groupings, making the styled objects easier to actually notice
- It’s the fastest fix available for an over-styled shelf, since it only requires removing items rather than sourcing new ones
Cost breakdown: Free, and often the single easiest improvement available on an already-styled shelf.
10. Match the Shelf’s Styling to the Room It’s In
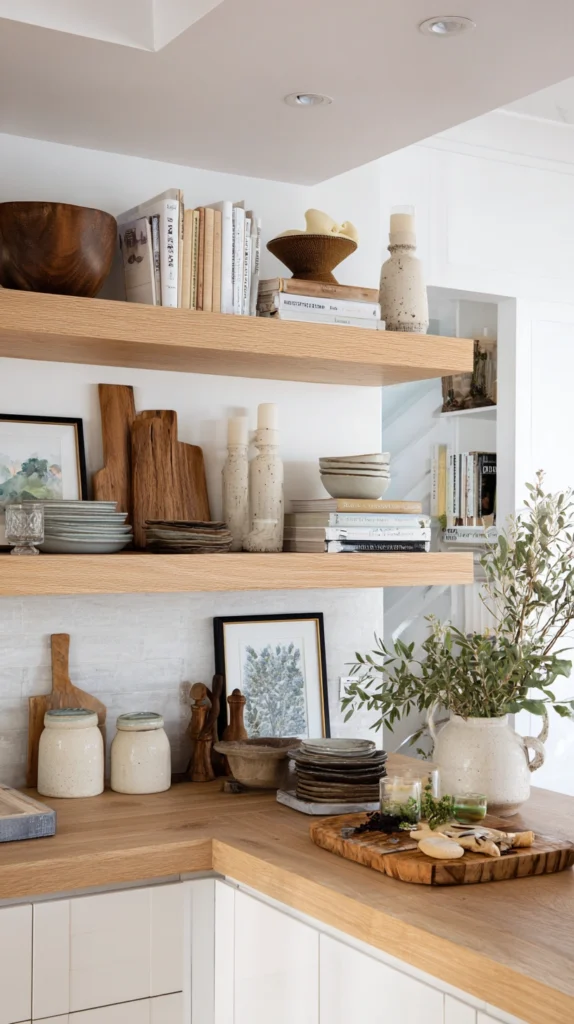
Adjusting the specific objects and mood based on which room the shelf actually lives in.
Build it:
- A kitchen floating shelf styled with a mix of everyday-use items, like a few cookbooks and a small plant, rather than purely decorative objects
- A bathroom shelf kept simpler and more moisture-tolerant, favoring ceramic and glass over materials that could warp
- A living room or entryway shelf given more freedom for purely decorative, less functional styling choices
Why room-specific styling matters more than a single universal formula:
- A kitchen shelf styled purely for looks often ends up impractical once daily cooking actually resumes
- Materials that hold up well in a humid bathroom differ meaningfully from what suits a dry, climate-controlled living room
- Considering the room’s actual daily use first prevents having to restyle the shelf again shortly after the initial setup
Cost breakdown: No added cost beyond whatever specific objects are chosen, since this is a planning consideration rather than a material one.
Getting started this weekend
You don’t need new decor before an existing shelf starts looking more intentional.
- Start by clearing the shelf completely and rebuilding the arrangement using one tall anchor and an odd-numbered grouping
- Add a trailing plant and check for genuine negative space once the basic layout feels settled
- Save additions like underside lighting or a repeated color thread across multiple shelves for a second pass
Most shelves improve dramatically within twenty minutes of rearranging, using only what was already sitting on them before.
Budget reality
Floating shelf styling can be almost entirely free, depending on what’s already on hand.
- Free: Odd-number grouping, mixed book orientation, negative space check, room-specific rearranging
- Under $25: Trailing plant, small leaned art print
- $25-50: Underside LED lighting, a new anchor vase or decorative object
- $50+: A full restyle across several shelves combining new objects, plants, and lighting at once
Most of the visible improvement comes from arrangement technique, not from buying new decor.
What actually makes a floating shelf look styled instead of empty or cluttered
It was never really about finding the perfect set of matching decor objects.
It’s the one tall anchor giving the eye somewhere to start, the trailing plant softening an otherwise hard edge, the third of the shelf left empty on purpose instead of filled out of habit.
Clear the shelf down to nothing, rebuild it using just a few of these techniques, and the improvement tends to show up almost immediately.