
15 Exposed Beam Ceiling Ideas for Rustic Charm
Our living room ceiling used to be flat, white, and completely forgettable, the kind of surface nobody looks at twice.
We added faux beams one weekend mostly on a whim, not expecting it to change much.
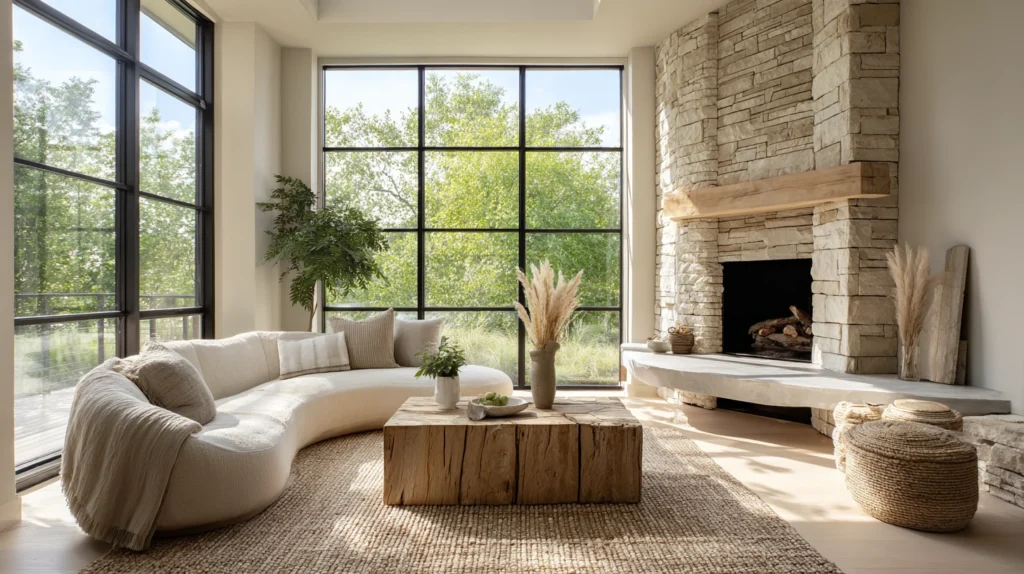
The whole room suddenly had a sense of scale and warmth it never had before, all from something overhead we used to ignore entirely.
Ceilings do more design work than people give them credit for, and beams are one of the fastest ways to prove it.
Here are 15 ways to bring that same rustic, architectural weight into a room through its ceiling.
Why exposed beams change a room more than most upgrades
A beamed ceiling draws the eye upward, adding a dimension most rooms never use for design at all.
- It introduces real texture and material warmth to what’s usually the most overlooked surface in the house
- It works with almost any style beneath it, from farmhouse to modern, depending on the beam’s finish
- It’s one of the few upgrades that changes a room’s entire sense of scale without touching the floor plan
Once the ceiling has real presence, the rest of the room gets to relax around it.
1. Reclaimed Barn Wood Beams
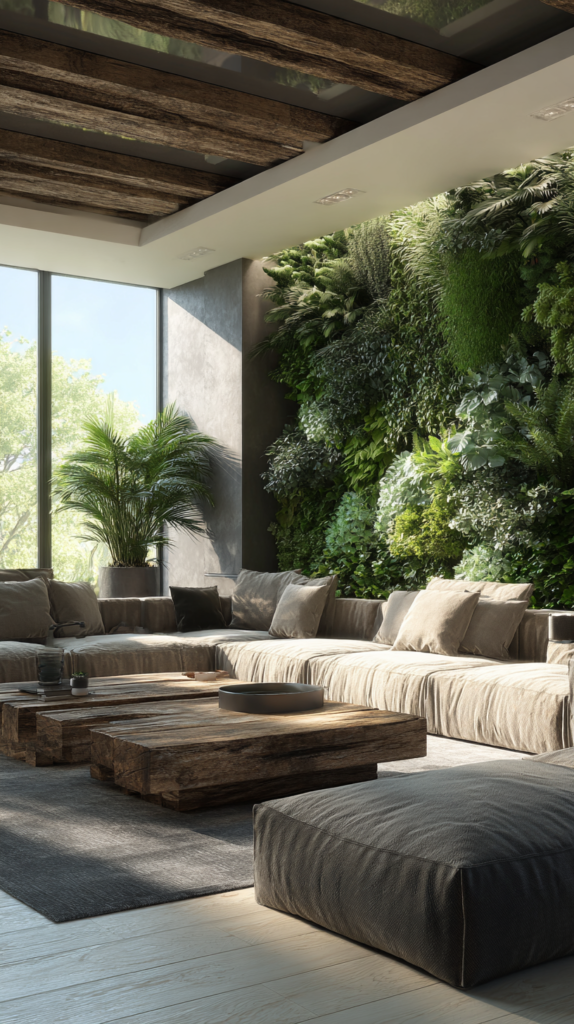
Genuine salvaged wood carrying its own history overhead.
Build it:
- Solid reclaimed beams sourced from old barns or industrial buildings, kept in their original weathered finish
- Nail holes, saw marks, and uneven coloring left visible rather than sanded smooth
- Installed with exposed structural brackets or simple lag bolts, adding to the raw, working character
Why reclaimed wood outperforms new lumber here:
- Every mark and weathering pattern tells a specific story that new lumber, however well distressed, can’t authentically replicate
- The material is often more stable and less prone to warping than green lumber, having already aged for decades
- It keeps genuinely old material out of landfills, adding a sustainability angle to the design choice
Cost breakdown: Reclaimed barn wood beams run $8 to $15 per linear foot depending on size and source, typically $400 to $900 for an average living room.
2. Faux Lightweight Polyurethane Beams

A budget-conscious option that mimics real wood convincingly.
Build it:
- Hollow polyurethane beams molded with realistic wood grain texture
- Installed with construction adhesive and screws directly into ceiling joists, requiring no structural reinforcement
- Finished with a wood-look stain or paint to match the room’s existing palette
Why faux beams are worth considering even in a rustic-styled room:
- They weigh a fraction of real lumber, making installation possible without hiring structural support
- The realistic molded texture reads convincingly as real wood from normal viewing distance
- It’s considerably faster to install than real timber, often completed in a single weekend
Cost breakdown: Faux polyurethane beams run $30 to $70 each depending on length, typically $200 to $500 for a full room.
3. Whitewashed Wood Beams
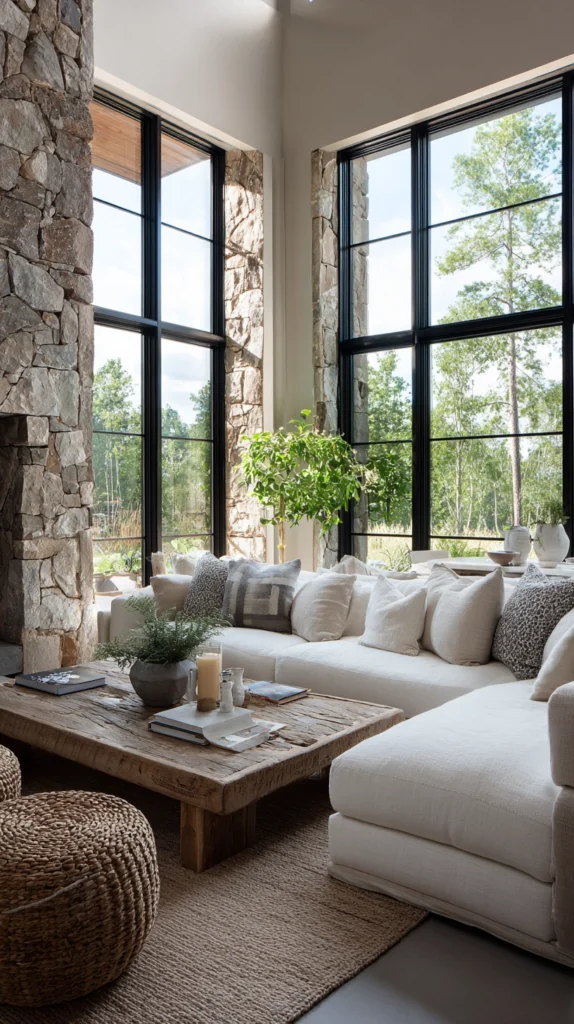
A lighter finish that keeps the rustic texture without the heavy, dark look.
Build it:
- Solid or faux wood beams treated with a whitewash stain that lets the grain show through
- Applied in thin coats, building up gradually to control how much of the wood tone remains visible
- Paired with lighter wall colors to keep the whole ceiling and room feeling airy rather than heavy
Why whitewashing suits smaller or lower-ceilinged rooms particularly well:
- Dark, heavy beams can make a room with limited ceiling height feel more closed in
- Whitewashing keeps the textural benefit of exposed beams while brightening rather than darkening the room overall
- It works especially well in coastal, farmhouse, or Scandinavian-inspired interiors
Cost breakdown: Whitewash stain and application supplies run $30 to $60 in addition to the beam material cost itself.
4. Dark Stained Beams Against a White Ceiling
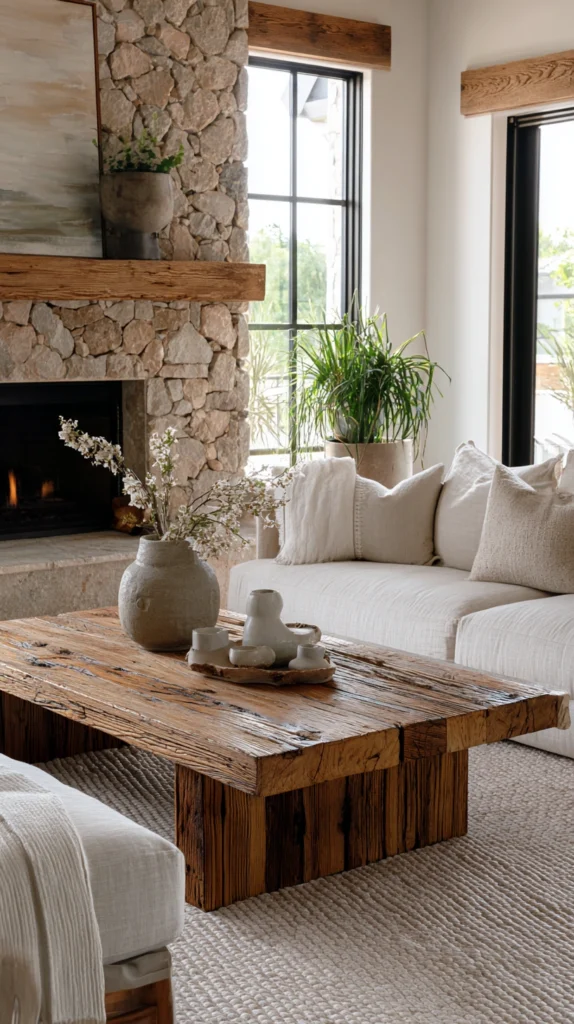
High contrast between the beam material and the ceiling plane.
Build it:
- Beams stained in a deep walnut or espresso tone
- Installed against a ceiling kept in bright white or a soft off-white
- Spaced evenly across the room’s width, running perpendicular to the longest wall for the most balanced visual rhythm
Why strong contrast reads as more architecturally intentional:
- It makes the beams themselves the clear focal point rather than blending into a similarly toned ceiling
- The dark wood against white creates a graphic, structured look that suits both traditional and modern interiors
- It’s a relatively simple way to add drama to a ceiling without needing an elaborate structural addition
Cost breakdown: Dark stain application runs $20 to $40 on top of the base beam material cost.
5. Box Beam Ceiling Grid
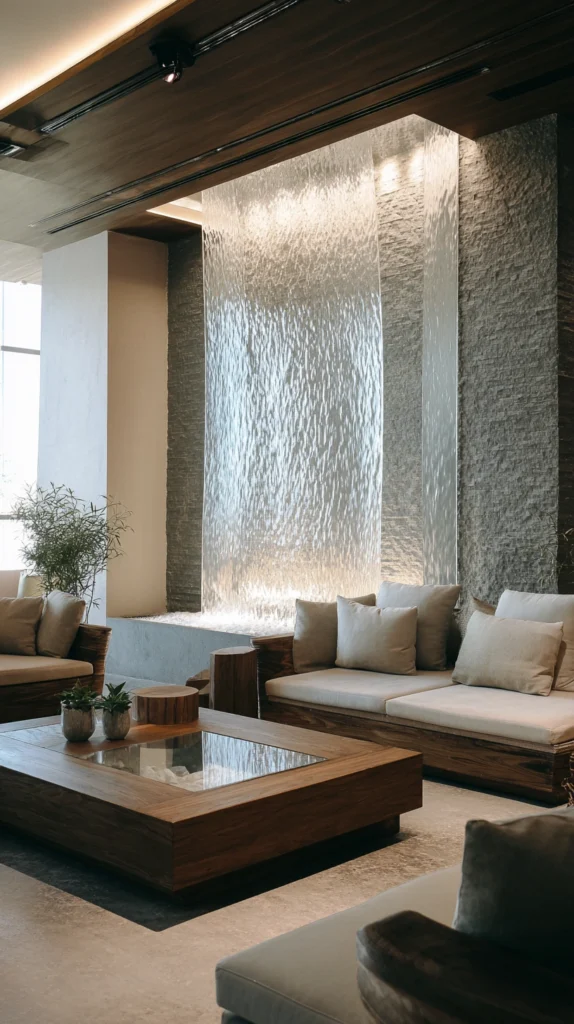
Beams arranged in an intersecting grid pattern rather than parallel rows.
Build it:
- Hollow box beams built from three finished sides, installed to form a grid across the ceiling
- Intersections aligned carefully so each crossing point looks clean and symmetrical from below
- Painted or stained uniformly across the whole grid for a cohesive, architectural look
Why a grid pattern suits formal or larger rooms especially well:
- It creates a genuine coffered ceiling effect, historically associated with formal dining rooms and libraries
- The repeating grid pattern adds structure and rhythm to an otherwise plain, flat ceiling
- It works particularly well in rooms with higher ceilings, where the added depth doesn’t feel overwhelming
Cost breakdown: A box beam grid ceiling runs $8 to $20 per square foot installed, depending on beam size and spacing.
6. Rustic Beams Paired With Shiplap Ceiling Panels
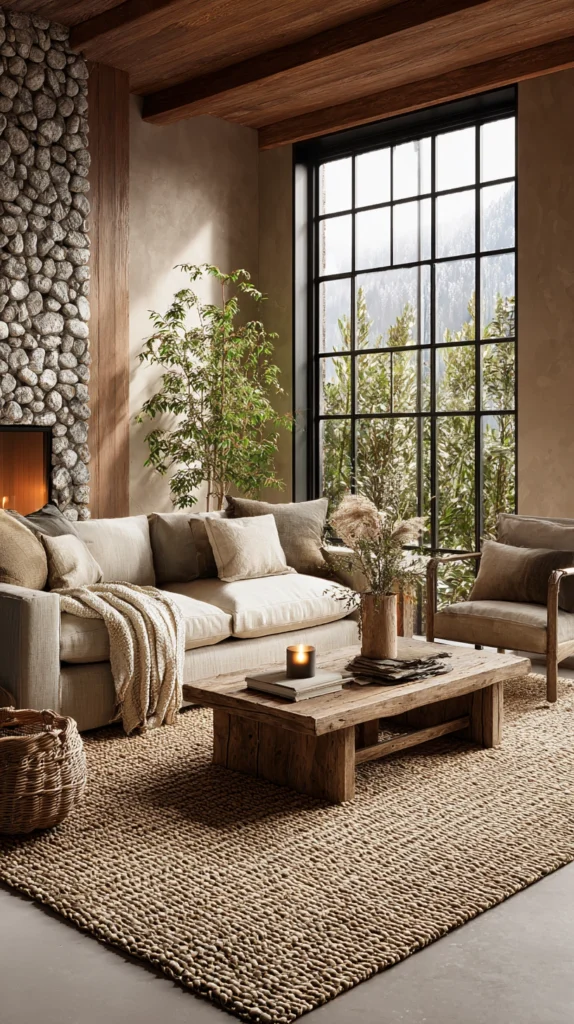
Combining two textural elements overhead for a fuller farmhouse look.
Build it:
- Shiplap or tongue-and-groove wood paneling installed across the full ceiling surface
- Beams layered on top, running perpendicular to the shiplap boards for visual contrast
- Both elements finished in complementary but distinct tones, such as whitewashed shiplap with darker stained beams
Why combining beams and shiplap adds more depth than beams alone:
- The horizontal lines of shiplap contrast nicely against the beams’ perpendicular placement
- It fills what would otherwise be a flat white ceiling plane between the beams with additional texture
- This combination is especially common in farmhouse and cottage-style homes, reinforcing that specific aesthetic
Cost breakdown: Shiplap ceiling panels run $2 to $5 per square foot in addition to the beam installation cost.
7. Hand-Hewn Timber Beams With Visible Axe Marks
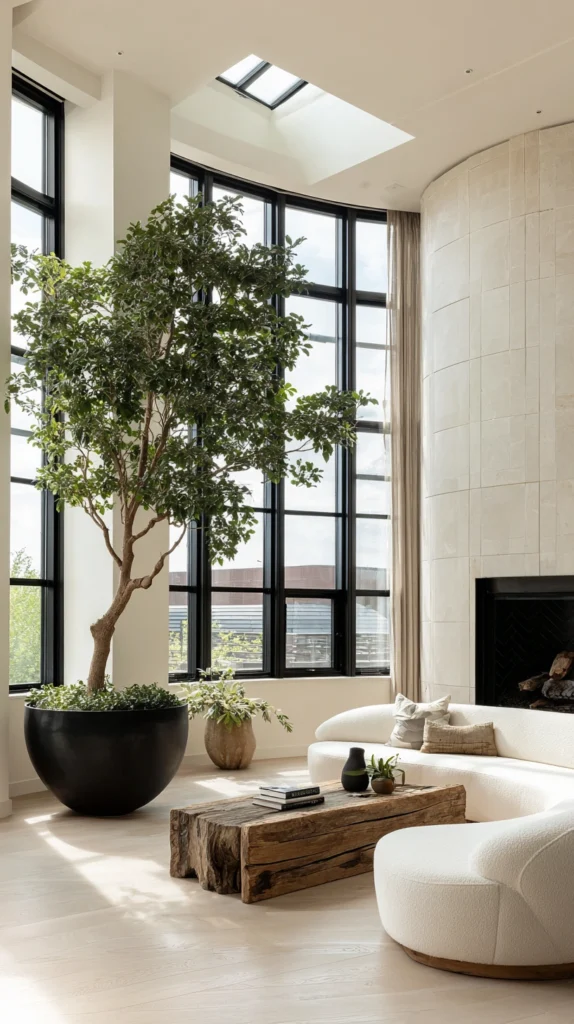
A more rugged, historically authentic timber finish.
Build it:
- Solid timber beams cut and finished to show visible hand-hewn texture, either genuinely reclaimed or newly cut to replicate the look
- Rough, uneven surfaces left intact rather than sanded to a smooth, uniform finish
- Installed with visible wood pegs or hand-forged metal brackets rather than modern hardware
Why hand-hewn texture suits log cabin or historic-style homes specifically:
- The visibly uneven surface reflects genuine historic timber framing techniques predating modern milling
- It adds the most rugged, heaviest visual weight of any beam style on this list
- It pairs naturally with stone fireplaces, log walls, and other heavily textured rustic elements
Cost breakdown: Hand-hewn style timber beams run $15 to $25 per linear foot, considerably more than standard milled lumber.
8. Beams With Integrated Rope or Cable Lighting
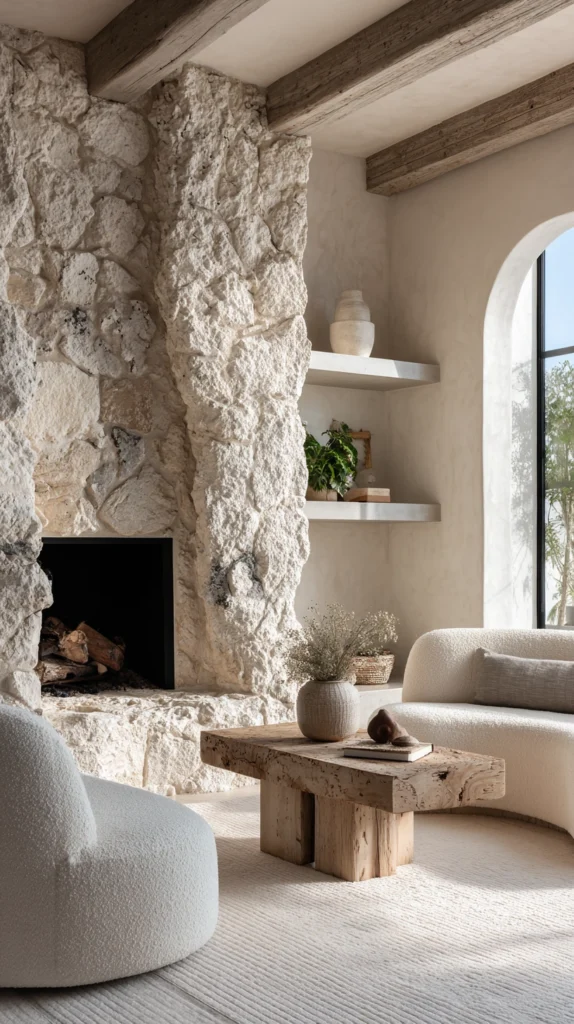
Functional lighting built directly into the beam structure.
Build it:
- A channel routed into the underside of each beam to house a low-profile LED rope light
- Warm-toned bulbs to complement the wood’s natural or stained color
- Wired to a dimmer switch, allowing the lighting to shift from bright daytime use to a softer evening glow
Why integrated lighting adds function without disrupting the beam’s clean lines:
- It avoids the need for a separate ceiling fixture that might otherwise compete visually with the beams themselves
- The light channel remains hidden from direct view, so only the warm glow is visible, not the fixture itself
- It highlights the beam’s own texture and shape from below, adding a subtle architectural spotlight effect
Cost breakdown: LED rope lighting and channel routing adds $50 to $150 per beam depending on length and electrical complexity.
9. Rustic Beams in a Vaulted or Cathedral Ceiling
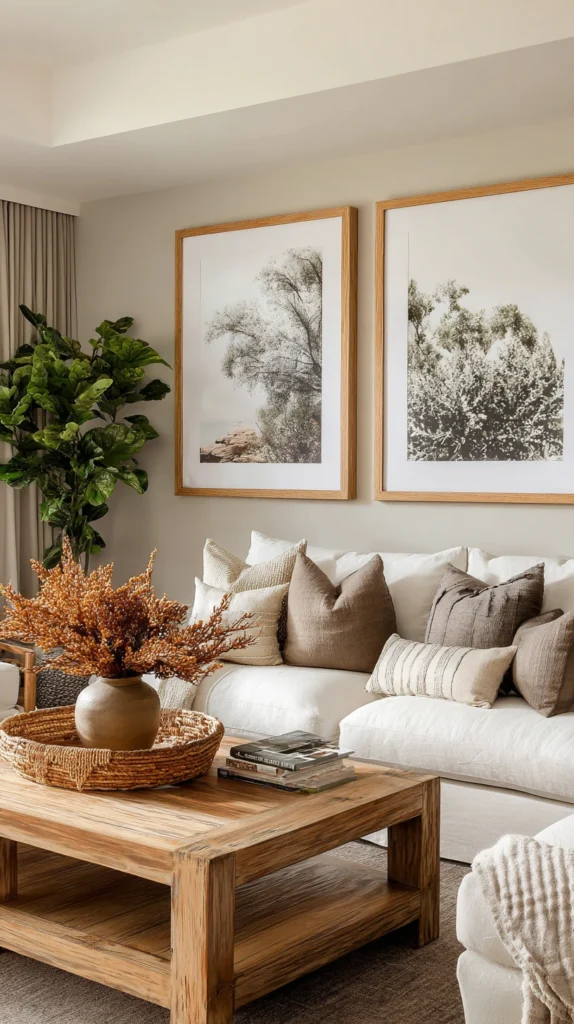
Beams positioned to follow and emphasize an angled ceiling’s natural slope.
Build it:
- Beams installed along the ceiling’s ridge line and sloped sides, following the roof’s existing angle
- King post or queen post style beam configurations added at the peak for genuine structural or decorative support
- Kept in a natural or lightly stained finish to let the ceiling’s height and angle remain the visual focus
Why vaulted ceilings are the ideal setting for a beam installation:
- The added height already creates architectural drama, and beams reinforce rather than compete with that scale
- It’s one of the settings where structural beams, rather than purely decorative ones, are most likely to already exist and can be highlighted rather than built new
- The combination of height and beam structure creates one of the most dramatic ceiling treatments achievable in a home
Cost breakdown: Vaulted ceiling beam installations vary considerably by scope, typically running $1,000 to $3,000 depending on whether the beams are structural or decorative.
10. Beams Painted to Match an Accent Wall Color
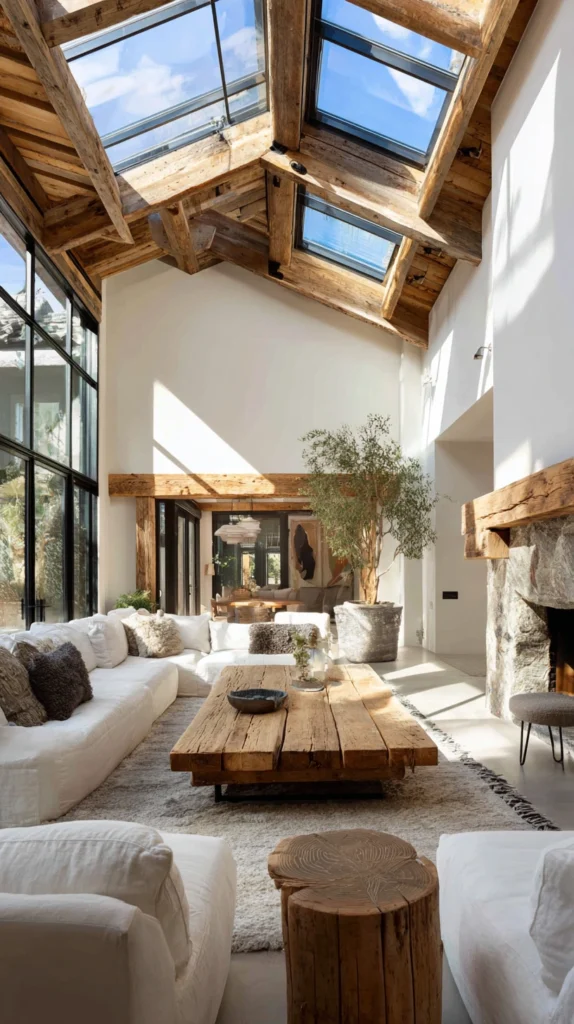
Coordinating the ceiling directly with a bold wall choice elsewhere in the room.
Build it:
- Beams painted in the same color as a nearby accent wall, rather than a natural wood or standard white finish
- A matte finish to keep the beams from looking too glossy or plastic against the surrounding ceiling
- Kept to a single bold color rather than mixing multiple tones across different beams
Why matching an accent wall ties the whole room together:
- It extends a bold color choice vertically, making the room feel more intentionally designed rather than having one isolated colorful wall
- Colored beams add a more playful, modern twist to what’s traditionally a natural wood or neutral element
- It’s a relatively low-cost way to make a beamed ceiling feel custom to the specific room, rather than a generic add-on
Cost breakdown: Painting existing or newly installed beams adds $20 to $50 in paint and supplies beyond the beam material itself.
11. Mixed Wood Tone Beams for an Eclectic Look
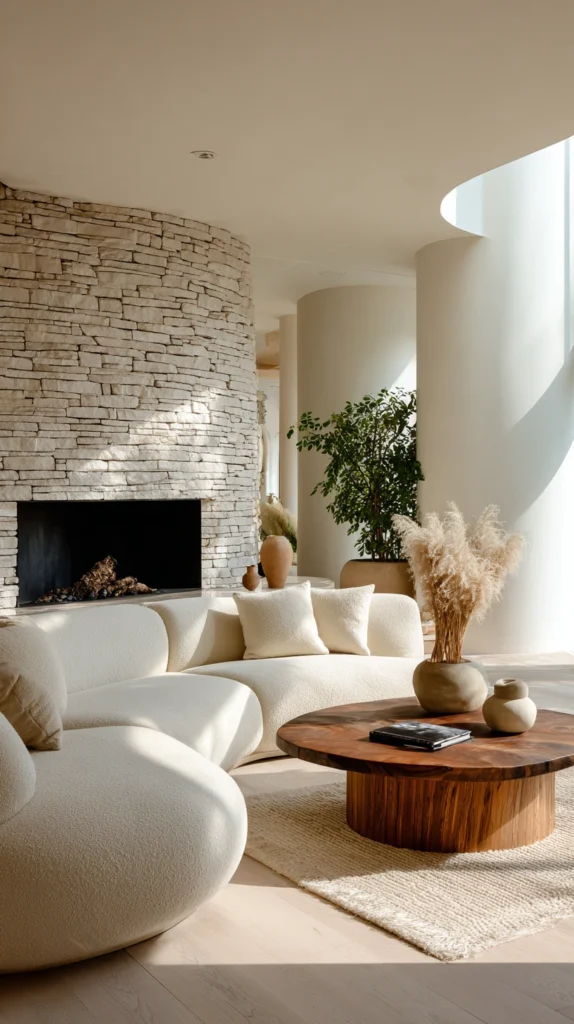
Beams left in slightly varied, unmatched wood tones rather than a single uniform stain.
Build it:
- A mix of reclaimed or new wood beams, each with slightly different natural coloring or grain pattern
- Installed without an attempt to fully match tones across every beam
- Sealed individually to preserve each piece’s unique natural color variation
Why mismatched tones can look more intentional than a single uniform stain:
- It mimics how genuinely reclaimed material naturally varies piece to piece, reading as more authentic than a uniform finish
- The slight variation adds visual interest to a ceiling that might otherwise feel too flat or matched
- It suits eclectic or bohemian-leaning interiors especially well, where perfect uniformity isn’t the goal
Cost breakdown: Mixed-tone beams cost comparably to standard beam installation, typically $300 to $700 depending on quantity and wood source.
12. Beams Left Unfinished and Raw
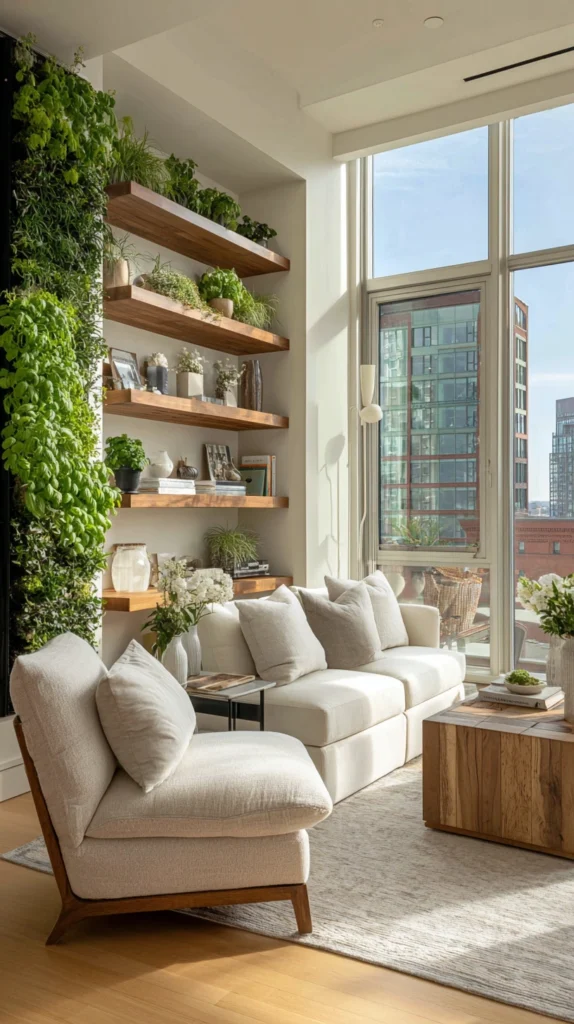
Wood left entirely untreated, allowing it to age and weather naturally over time.
Build it:
- Solid wood beams installed with no stain, paint, or sealant applied
- Positioned in a space with stable indoor humidity, since untreated wood can be more prone to movement in fluctuating conditions
- Allowed to darken and develop its own natural patina gradually over years of exposure to light and air
Why raw, unfinished wood suits the most stripped-back rustic aesthetic:
- It’s the most honest, unaltered version of the material, aligning with a broader appreciation for natural imperfection
- The beam’s appearance genuinely changes and improves over time, rather than staying static like a sealed finish
- It requires the least upfront labor and cost, since no staining or sealing step is needed at installation
Cost breakdown: Skipping the staining and sealing step saves $20 to $50 compared to a finished beam installation.
13. Beams Combined With Recessed Can Lighting Between Them
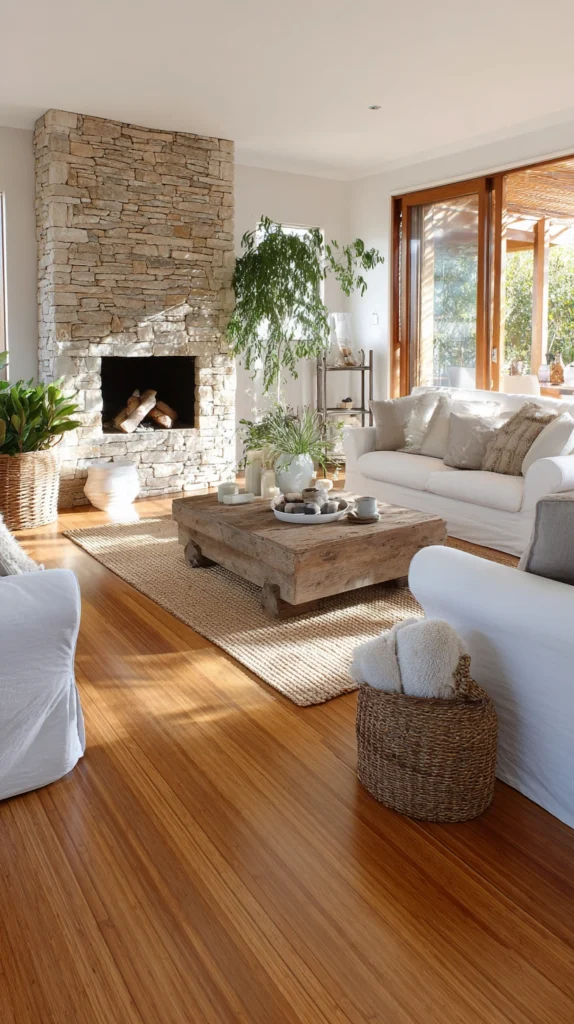
Balancing rustic texture with modern, functional lighting.
Build it:
- Recessed can lights installed in the flat ceiling sections between each exposed beam
- Warm-toned bulbs matched to the beam’s wood tone rather than a stark, cool white
- Positioned symmetrically between beams rather than randomly scattered across the ceiling
Why this combination suits a more updated, livable version of the rustic look:
- It provides genuinely even, functional lighting that purely decorative fixtures alone often can’t achieve
- The clean, minimal recessed cans don’t compete visually with the beams’ more prominent texture
- It’s a practical solution for rooms that need strong, even light for daily tasks alongside the beams’ aesthetic appeal
Cost breakdown: Recessed can lighting installation runs $150 to $300 per fixture including electrical work, typically needing four to six fixtures for an average room.
14. Beams Extending Outdoors to a Covered Porch
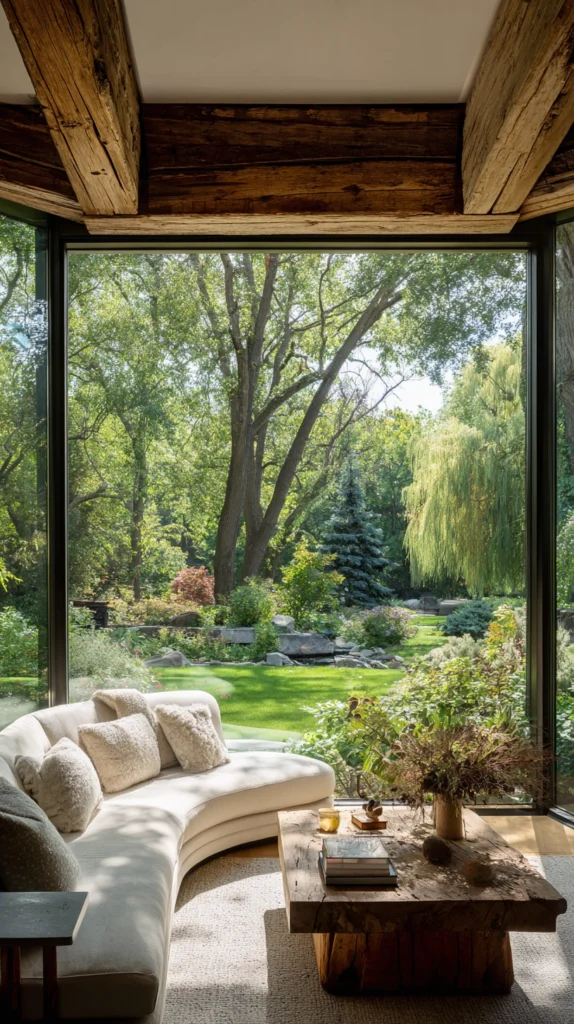
Continuing the same beam material from an interior ceiling out through an exterior overhang.
Build it:
- Matching wood species and stain color used both on the interior ceiling and an adjoining porch or patio cover
- Beams sized and spaced consistently across both spaces to maintain visual continuity
- Exterior sections sealed with a weatherproof finish rated for direct sun and rain exposure, even if the interior beams are left more raw
Why extending beams outdoors expands the design’s overall impact:
- It visually blurs the line between indoor and outdoor space, making a home feel larger and more connected to its surroundings
- Matching materials across both spaces reinforces a cohesive design language throughout the whole property
- It’s a detail that photographs particularly well from the yard looking back toward the house
Cost breakdown: Extending matching beams to an exterior porch adds $300 to $800 depending on the porch’s size and existing structure.
15. Salvaged Ship or Industrial Beams for an Unusual Character
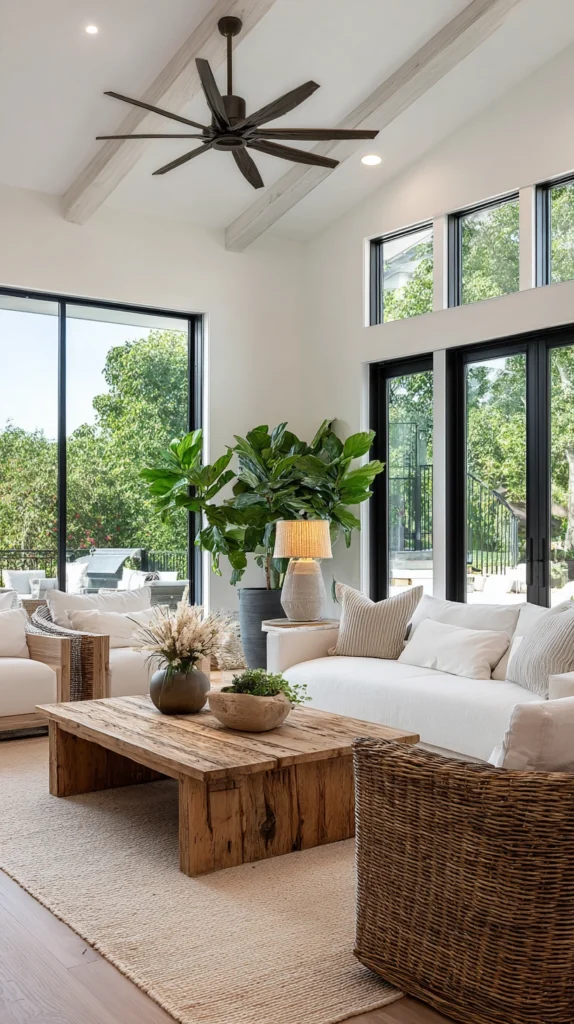
Repurposed materials from an entirely different original use.
Build it:
- Salvaged steel I-beams or ship timber sourced from decommissioned industrial or maritime structures
- Left with visible rust, bolt holes, or original markings intact rather than cleaned to a uniform finish
- Sealed only enough to stabilize the material’s surface without erasing its distinctive history
Why unusual salvaged material creates a genuinely one-of-a-kind ceiling:
- These materials carry a specific, traceable history unlike standard lumber or even typical reclaimed barn wood
- The mixed metal and weathered texture pairs strikingly with more traditional rustic elements like exposed brick or stone
- It’s a conversation-starting choice that few other homes will be able to replicate exactly
Cost breakdown: Salvaged industrial or ship beams vary enormously by source and material, typically running $500 to $2,000 depending on rarity and installation complexity.
Getting started this weekend
You don’t need a full structural renovation before the ceiling starts to feel transformed.
- Start with a small run of faux polyurethane beams in your main living space to test the look before investing in real timber
- Add integrated lighting or a stain color change once you know the basic beam placement works for the room
- Save larger projects like a full box beam grid or vaulted ceiling installation for a dedicated renovation phase
My own ceiling went from an afterthought to the first thing people mention when they walk into the room, starting with a single weekend project.
Budget reality
Exposed beam ceilings scale from a lightweight weekend project to a major structural investment.
- Under $300: Faux polyurethane beams, whitewash or stain finishing on existing beams, painting beams to match an accent wall
- $300-700: Reclaimed wood beam installation, mixed wood tone beams, shiplap and beam combination
- $700-1,500: Box beam ceiling grid, hand-hewn timber beams, integrated beam lighting
- $1,500+: Vaulted ceiling beam installation, exterior porch extension, salvaged industrial or ship beams
Most of the visual transformation comes from the beam’s finish and placement, not the largest possible budget.
What actually creates that rustic charm overhead
It was never really about installing the heaviest or most expensive timber available.
It’s the wood grain finally visible against a plain ceiling, the warm light glowing softly from a hidden channel, the whole room suddenly reading with a scale and warmth it never had before.
Start with one section of beams sized to your budget, and let the ceiling’s new presence guide what the rest of the room needs.