
13 Vertical Herb Wall Ideas for Small Yards
My old apartment patio was barely big enough for two chairs, let alone a garden.
I still wanted fresh herbs within arm’s reach of the kitchen, so I started building up instead of out.

The first version was three plastic pots zip-tied to a railing. Ugly, but it worked.
Every version since has gotten better, and the herbs have never once needed more ground space than a doormat.
Here are 13 ways to grow a genuinely productive herb garden on a wall instead of a yard.
Why vertical is often the better choice, even with space to spare
A wall-mounted herb garden isn’t just a small-space workaround.
- It keeps herbs at standing height, so snipping a few leaves takes seconds, not a trip across the yard
- It concentrates watering and sun exposure into one manageable zone instead of scattered pots
- It turns an unused wall or fence into genuinely productive space instead of a blank surface
Once herbs live at eye level, they actually get used in cooking far more often.
1. Wall-Mounted Pocket Planter Panel
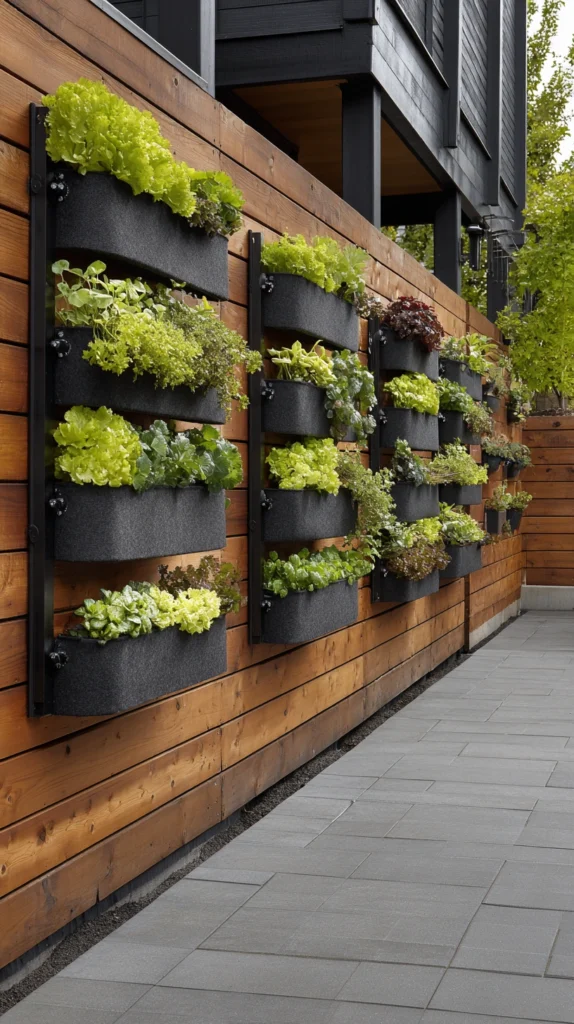
A fabric or felt system with individual pockets sewn in rows.
Build it:
- A heavy-duty felt pocket planter mounted to a sunny exterior wall or fence with sturdy hooks
- Each pocket filled with well-draining potting mix rather than garden soil, which stays too heavy and wet
- Drip irrigation line run along the top row for even watering down through each pocket
Why pocket planters suit herbs specifically:
- The shallow pocket depth matches most herbs’ relatively small root systems
- Multiple pockets let you grow six to eight different herb varieties in a single square yard of wall space
- The fabric material breathes and drains well, reducing root rot compared to sealed plastic containers
Cost breakdown: Felt pocket planters run $30 to $60 depending on size and number of pockets.
2. Repurposed Wooden Pallet Herb Wall
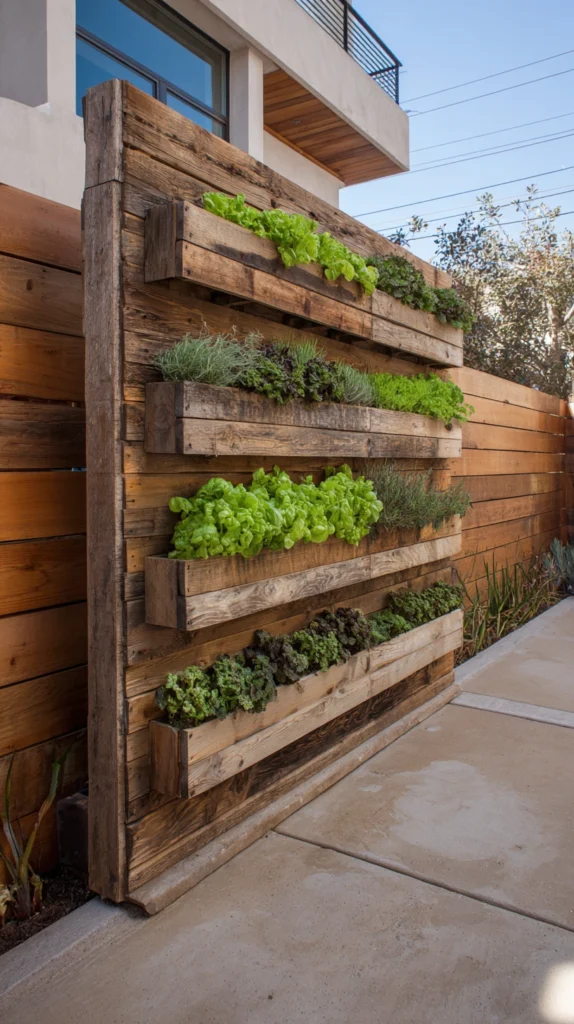
A classic upcycled build using a single standard shipping pallet.
Build it:
- Sand the pallet smooth and seal it with a food-safe, weatherproof finish
- Staple landscape fabric across the back and bottom of each slat gap to contain soil
- Lean the pallet against a wall at a slight angle for a season to let soil settle, then mount it vertically
Why a pallet build remains a go-to for beginners:
- Pallets are often free or nearly free from local businesses looking to get rid of them
- The slat spacing naturally creates individual planting rows without much additional carpentry
- It has real rustic character that a plastic pocket system can’t replicate
Cost breakdown: Free to $15 for the pallet itself, plus $10 to $20 for landscape fabric and sealant.
3. Stacked Terracotta Pot Tower
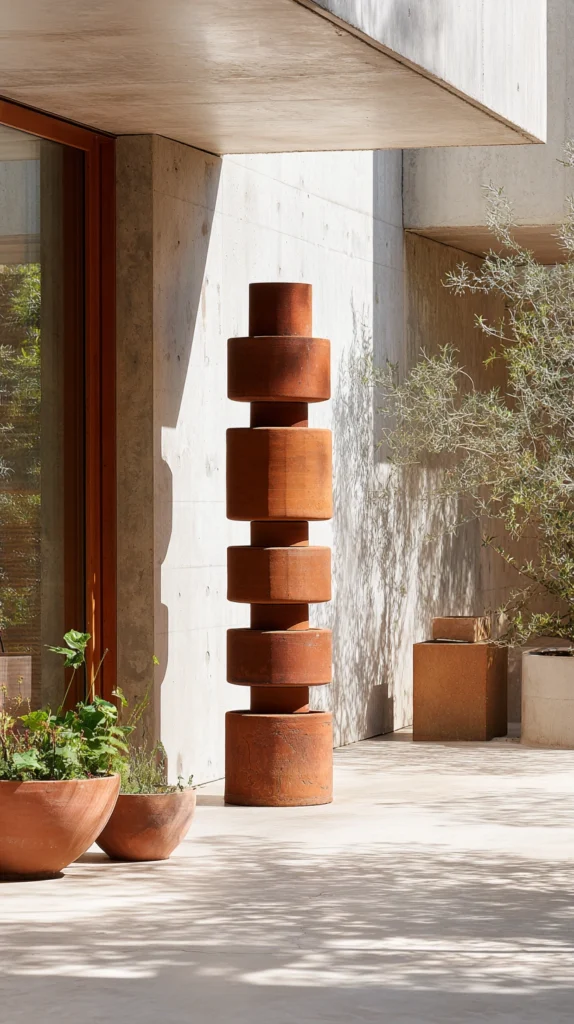
Individual pots threaded onto a central post, stacked vertically.
Build it:
- A sturdy wooden or metal stake driven into a large base pot or planter
- Progressively smaller terracotta pots threaded onto the stake, each offset slightly for sun access to the one below
- Soil added to each pot individually as they’re stacked, rather than filling the whole tower at once
Why terracotta suits this build particularly well:
- The material’s natural porousness helps prevent overwatering, which is a common herb-killing mistake
- Individual pots can be swapped or replanted without disturbing the rest of the tower
- The classic terracotta color pairs naturally with almost any patio or fence backdrop
Cost breakdown: A basic five-pot terracotta tower runs $25 to $45 depending on pot sizes used.
4. Ladder Shelf Herb Display
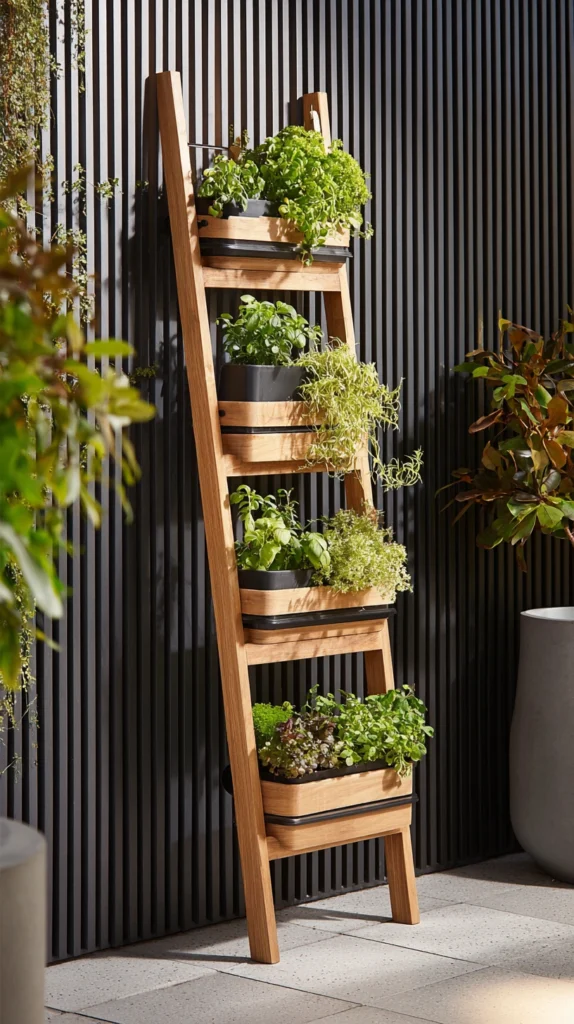
A leaning ladder repurposed as tiered plant shelving.
Build it:
- An old wooden ladder, or a new decorative one, leaned against a sunny wall
- Small pots or planter boxes set across each rung, sized to fit securely without shifting
- Taller herbs like rosemary placed on lower rungs, trailing herbs like thyme on upper rungs where they can spill downward
Why a ladder display works so well in tight spaces:
- It takes up almost no floor footprint compared to its actual growing capacity
- The tiered rungs naturally stagger sun exposure, so no single row shades out another
- It’s easy to rearrange or remove entirely for winter storage, unlike a permanently mounted wall system
Cost breakdown: Secondhand wooden ladders run $15 to $40, plus $5 to $10 per small pot needed.
5. Gutter Planter Wall System
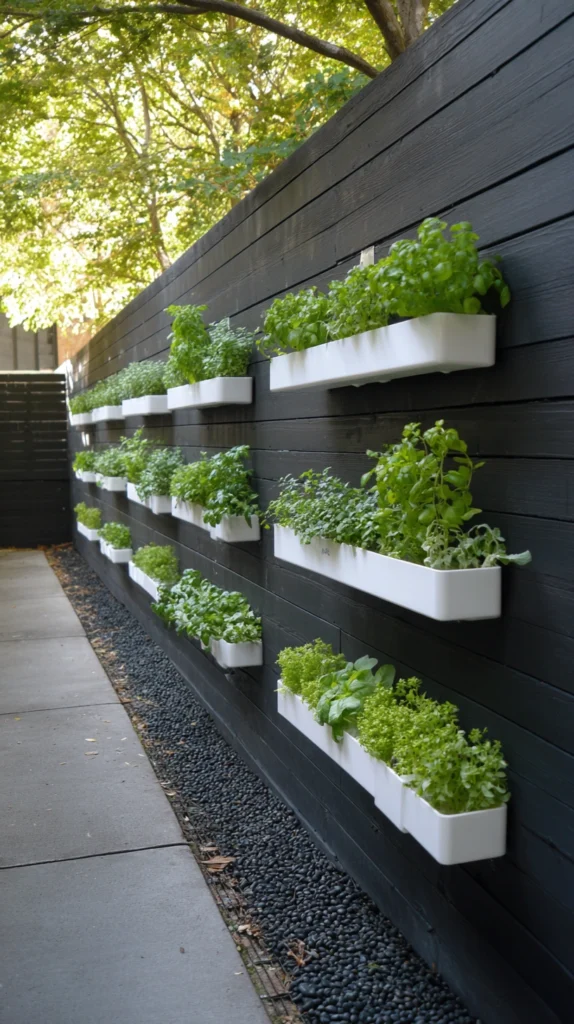
Repurposed rain gutters mounted horizontally in stacked rows.
Build it:
- Sections of vinyl or metal gutter cut to size, with end caps sealed on both sides
- Drainage holes drilled every 6 inches along the gutter’s length
- Mounted with brackets in evenly spaced horizontal rows, each row wired for simple drip irrigation
Why gutters make surprisingly good herb planters:
- Their long, narrow shape suits shallow-rooted herbs like thyme, oregano, and chives especially well
- Multiple rows stacked closely together maximize growing space on a narrow wall
- Materials are inexpensive and widely available at any hardware store
Cost breakdown: Vinyl gutter sections run $8 to $15 per 10-foot length, plus $10 in end caps and mounting brackets.
6. Modular Living Wall Panel System
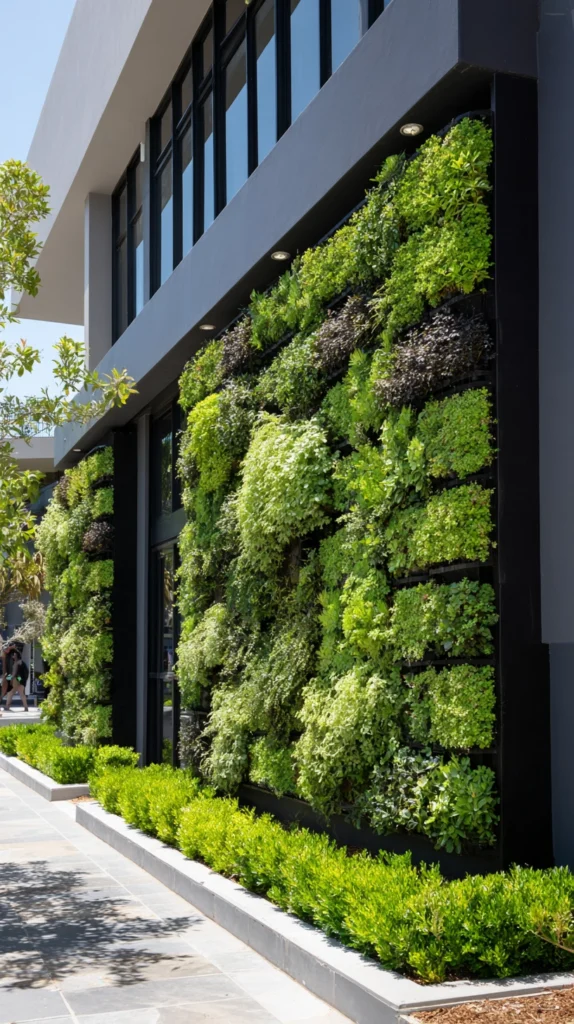
A prefabricated grid system designed specifically for vertical planting.
Build it:
- Interlocking plastic or felt planting cells mounted to a wall-fixed frame
- Each cell filled individually, allowing single plants to be added, removed, or replaced without disturbing neighbors
- An integrated drip line running through the frame’s built-in channels for consistent watering
Why a modular system suits anyone wanting a polished, uniform look:
- The interlocking design creates an even, professional appearance without custom carpentry
- Individual cells make seasonal replanting simple, swapping out one herb without redoing the whole wall
- Most systems are designed to be fully removable, which suits renters needing a non-permanent option
Cost breakdown: Modular living wall starter kits run $50 to $120 depending on the number of cells included.
7. Mason Jar Wall Rack
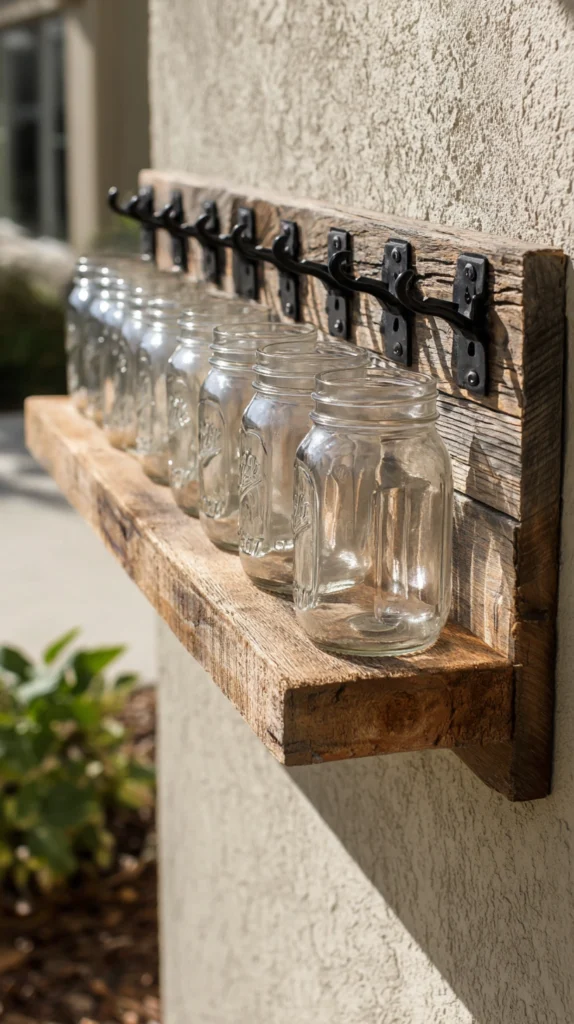
A rustic, farmhouse-style build using repurposed glass jars.
Build it:
- A wood board or reclaimed pallet slat mounted to the wall as a base
- Metal jar-holding brackets or hose clamps screwed in at even intervals
- Mason jars with drainage holes drilled through the bottom, filled with potting mix and set into each bracket
Why mason jars suit a smaller-scale herb collection:
- The clear glass lets you see soil moisture directly, reducing overwatering mistakes
- It’s an especially budget-friendly option if jars are already on hand from canning or food storage
- The look pairs naturally with a farmhouse or cottage-style outdoor aesthetic
Cost breakdown: Mason jars run $1 to $3 each if not already owned, plus $10 to $15 for mounting brackets and a base board.
8. Vertical PVC Pipe Planter Wall
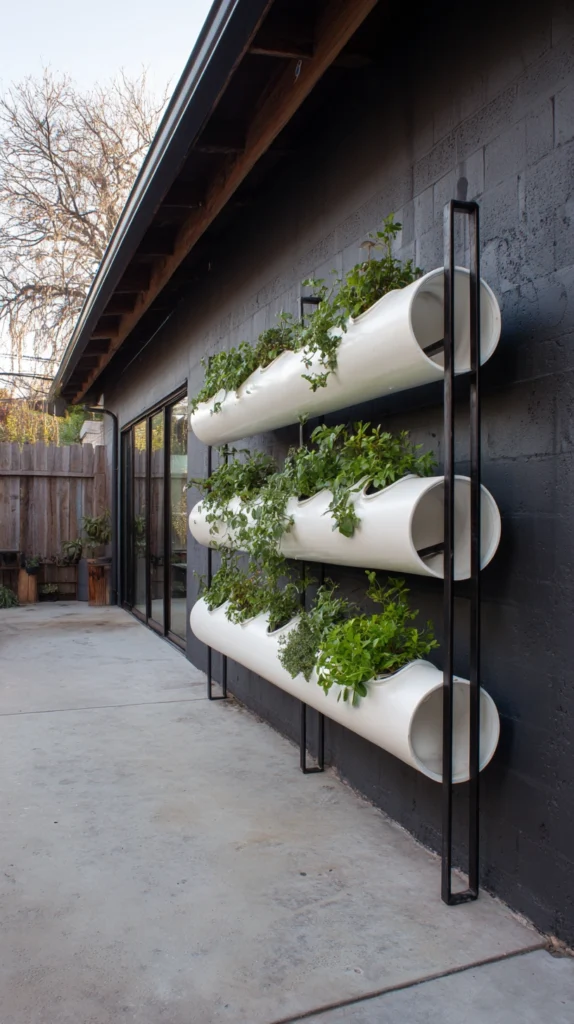
A low-cost, high-capacity build using standard plumbing pipe.
Build it:
- Wide-diameter PVC pipe, at least 4 inches, cut into sections and mounted horizontally in a stacked frame
- Planting holes cut into the top of each pipe section, spaced to fit individual herb plants
- End caps sealed on both sides of each pipe, with small drainage holes drilled along the bottom
Why PVC offers the best growing capacity per dollar spent:
- A single length of pipe holds significantly more plants than an equivalent stretch of gutter or pocket planter
- The material is entirely weatherproof and needs no additional sealing or finishing
- It’s easy to source at any hardware store and simple to cut to whatever wall width you’re working with
Cost breakdown: A basic PVC herb wall for six to eight plants runs $25 to $40 in pipe, caps, and mounting hardware.
9. Freestanding A-Frame Herb Ladder
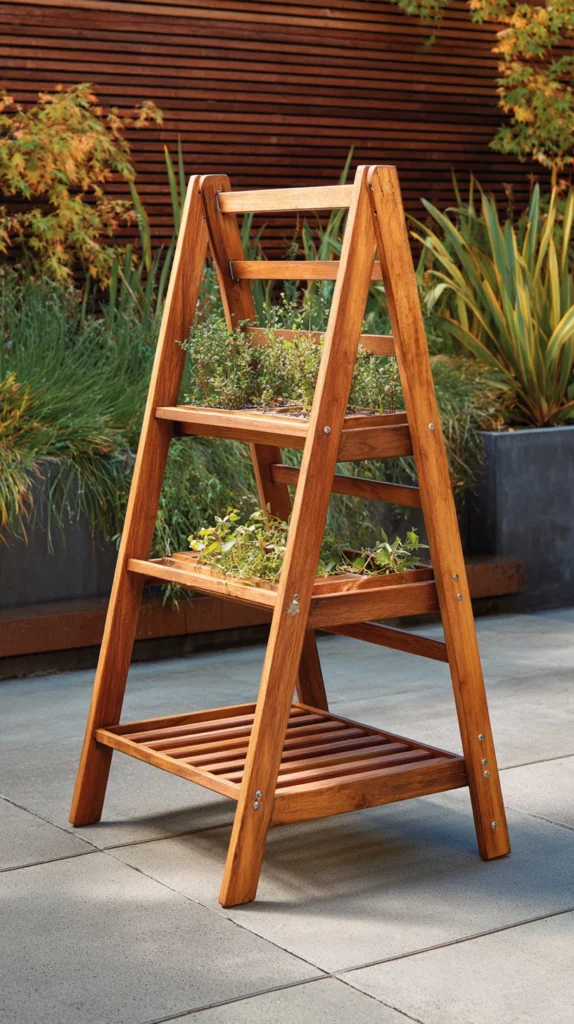
A structure that doesn’t require any wall mounting at all.
Build it:
- Two ladder-like side frames hinged together at the top in an A-frame shape
- Shelves or planting boxes fitted between the rungs on both sides
- Positioned freestanding on a patio or balcony, foldable flat for off-season storage
Why a freestanding option suits renters and shared spaces:
- No drilling into walls or fences means it’s fully move-in ready for temporary living situations
- Both sides of the A-frame can be planted, doubling the growing capacity of a single footprint
- It folds flat, making winter storage considerably easier than a permanently mounted system
Cost breakdown: A basic A-frame herb stand runs $40 to $90 depending on size and material.
10. Chalkboard-Labeled Hanging Planter Row
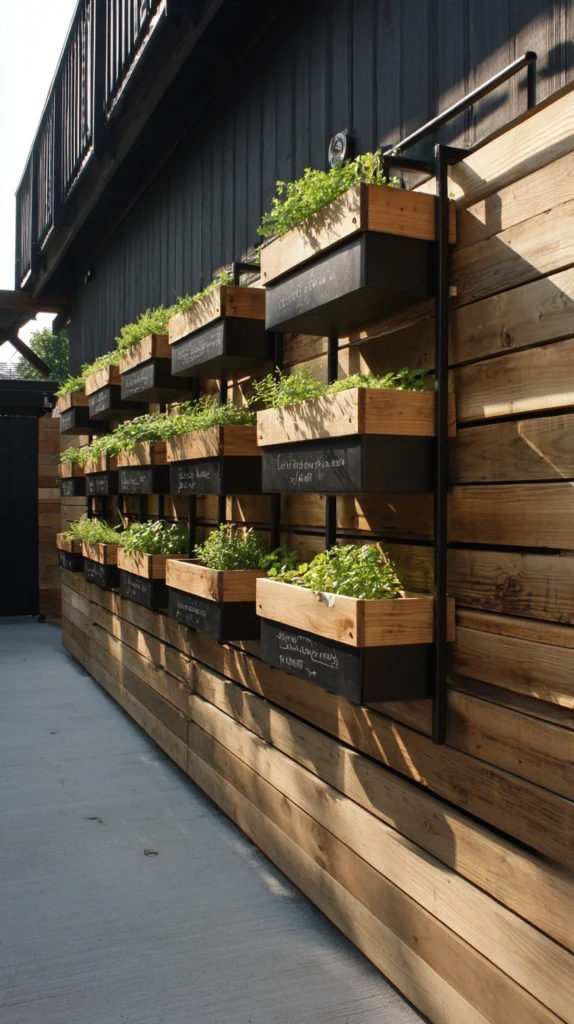
A styled system that combines function with easy plant identification.
Build it:
- A row of small hanging planters suspended from a mounted horizontal rail
- Each planter fitted with a small chalkboard tag for labeling the herb inside
- Positioned at a height where labels are easily readable while cooking or harvesting
Why labeling matters more than it seems for a beginner herb wall:
- Many herbs look nearly identical before they mature, and mislabeling leads to cooking mistakes
- Chalkboard tags can be updated instantly when herbs are swapped seasonally
- The uniform hanging row style gives even a mismatched pot collection a coordinated look
Cost breakdown: Small hanging planters with chalkboard tags run $6 to $12 each, typically $50 to $80 for a full row of six to eight.
11. Recycled Tin Can Herb Wall
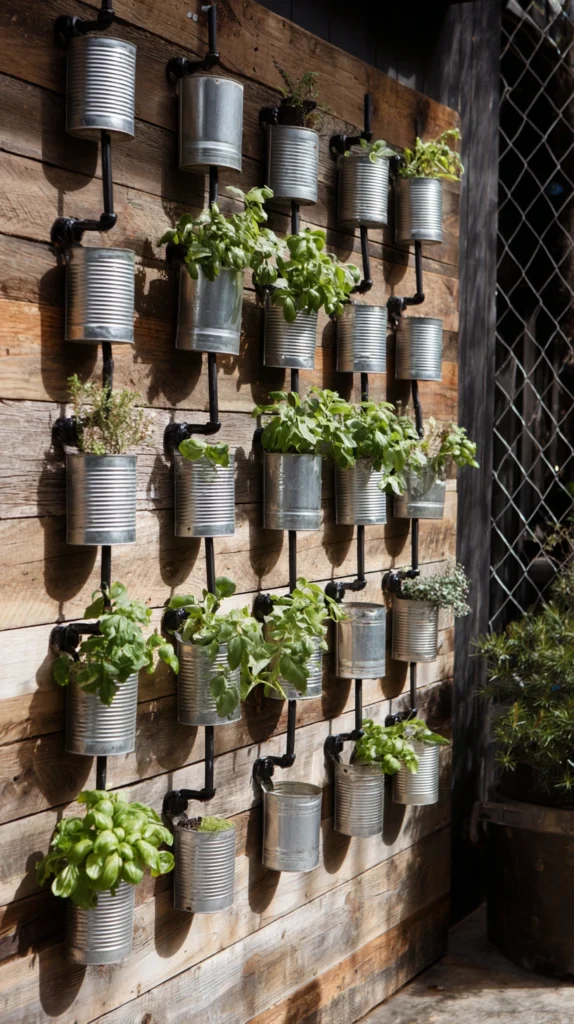
An industrial, budget-conscious build using repurposed food cans.
Build it:
- Cleaned tin cans with labels removed, drainage holes punched through the bottom
- Mounted to a wood board using hose clamps or wire loops, arranged in evenly spaced rows
- Left in their raw metal finish for an industrial look, or spray-painted for a more polished appearance
Why tin cans work better than people expect:
- Nearly free, since most households generate enough cans for a small wall within a few weeks of regular cooking
- The metal retains heat, which can help herbs that prefer slightly warmer root zones
- It’s an easy project to size up or down depending on how many cans you’ve collected
Cost breakdown: Free for the cans themselves, plus $10 to $15 for a mounting board and hardware.
12. Trellis-Backed Climbing Herb Wall
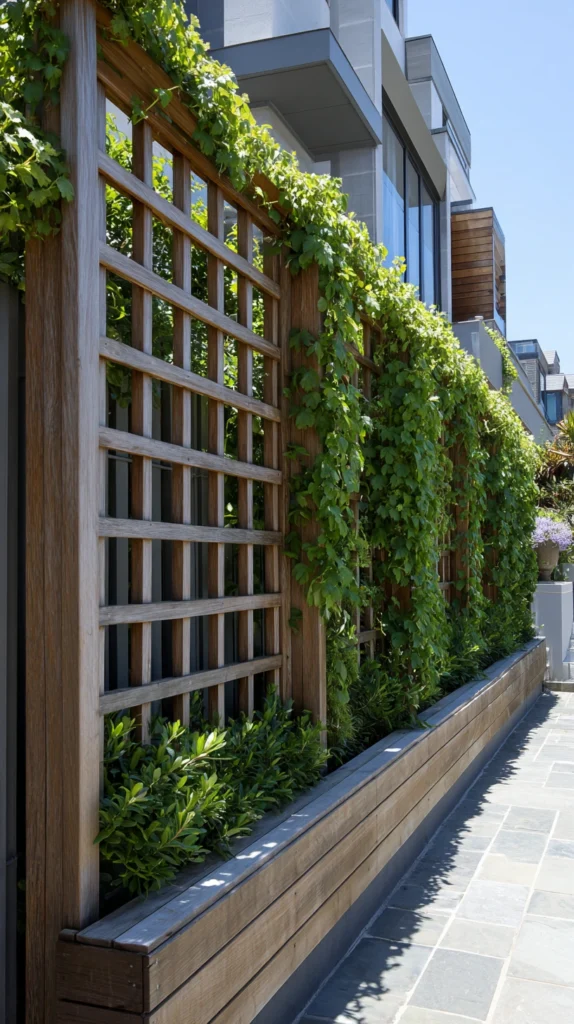
For the handful of herbs that actually benefit from vertical support rather than containment.
Build it:
- A simple wood or wire trellis mounted against a sunny wall
- Climbing or sprawling herbs like nasturtium trained up the trellis structure
- A raised planter box installed at the base, feeding the trellis from below rather than individual pots along it
Why this differs from the container-based options on this list:
- It suits specific trailing or climbing varieties rather than the typical upright herbs like basil or rosemary
- The single base planter simplifies watering compared to managing many individual small containers
- It creates a fuller, greener wall appearance once the plants mature and fill in the trellis
Cost breakdown: A basic trellis and base planter box run $40 to $70 depending on size and material.
13. Indoor-Outdoor Convertible Herb Wall
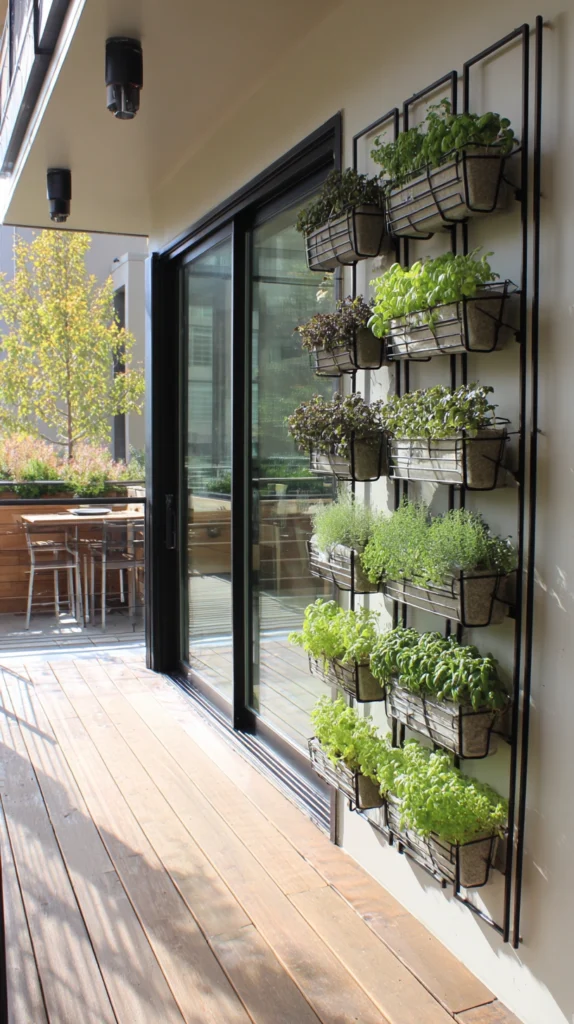
A wall system built to move between seasons rather than staying fixed outdoors year-round.
Build it:
- A lightweight modular or pocket-style system mounted to brackets that can be unhooked easily
- The full unit brought indoors near a bright window once outdoor temperatures drop
- A simple grow light added for indoor use during shorter winter daylight hours
Why a convertible system extends the herb wall’s usefulness through the whole year:
- Most herbs suited to this style of growing don’t survive a hard frost outdoors
- A removable system means the investment in the wall itself isn’t lost each winter
- It keeps fresh herbs available for cooking through months when an outdoor garden would otherwise sit empty
Cost breakdown: A basic grow light addition runs $25 to $50 on top of whichever wall system it’s paired with.
Getting started this weekend
You don’t need the full wall built before herbs start growing.
- Start with a small pocket planter or a repurposed pallet section against your sunniest wall
- Add drip irrigation once you know the system holds up to regular watering
- Save modular or convertible systems for a second build once you know which herbs you actually use
My own wall started as three zip-tied pots and grew, one weekend project at a time, into a full working system.
Budget reality
Vertical herb walls scale from nearly free to a fully custom build.
- Under $25: Tin can wall, mason jar rack, basic terracotta tower
- $25-60: Pocket planter panel, gutter system, PVC pipe wall
- $60-120: Modular living wall kit, A-frame stand, trellis with base planter
- $120+: Fully irrigated system with grow lights, large-scale multi-row builds
Most of the productivity comes from sun placement and watering consistency, not the wall system’s price tag.
What actually makes a small-space herb wall work
It was never really about how many herbs could technically fit on the wall.
It’s the sunniest spot chosen deliberately, the watering routine that actually gets kept up, the wall positioned close enough to the kitchen that snipping a few leaves becomes second nature.
Start with one small section, keep it alive through a full season, and build the rest of the wall from what you learn.